Seat Backrest: Removal
NOTE:
To prevent system failure, carry out the OCS reset when a front passenger seat cushion is disassembled, a new trim cover is installed or an OCS service kit is installed. Use scan tool to carry out the OCS reset command.
NOTE:
For parts identification and location, refer to Seat - Exploded View, Front .
- 1.
Remove the seat. Refer to Seat .
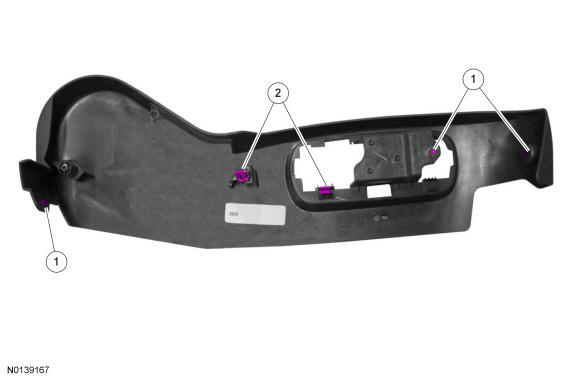
- 2.
Detach the carpet flap toe-kick retainers from under the seat.- Separate the 3 J-clips from the seat cushion frame.
- Position the carpet toe-kick upward and remove the 2 push pin retainers.
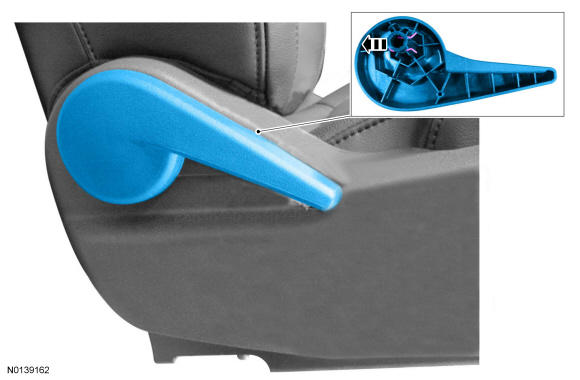
- 6.
If equipped, remove the manual recline handle.- Remove the clip and slide the handle off the shaft.
- 7.
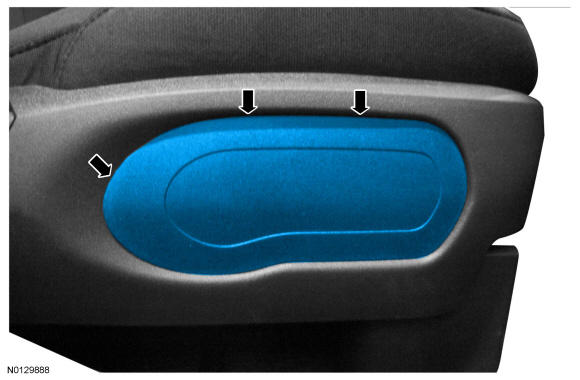
For manual seats, remove the seat switch delete cover.- Insert a flat-blade screwdriver between the seat cushion and cushion side shield, at the locations shown below, and release the retaining tabs.
- 8.
For power seats, remove the power seat switch. Refer to Seat Control Switch .
- 10.
Remove the cushion side shield.- Remove the screws at the front, center and rear of the cushion side shield.
- Pull outward and release the 2 retaining clips.
- 12.
If equipped, remove the manual lumbar cable.- Detach the manual lumbar cable retainer.
- Pull the manual lumbar cable outward.
- Release the manual lumbar cable from the manual lumbar adjuster.
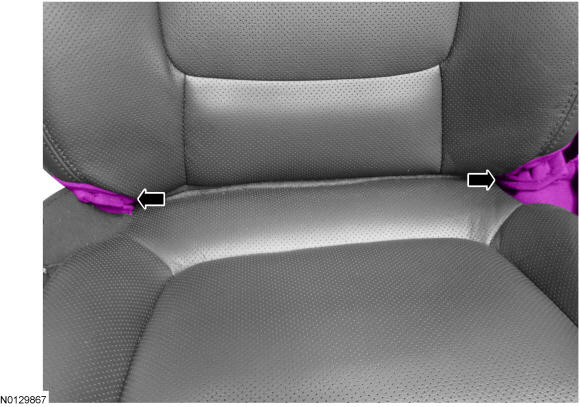
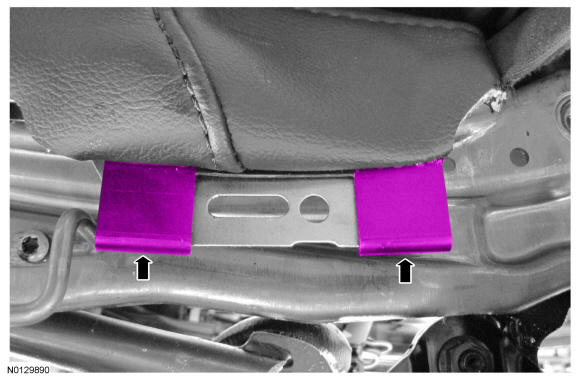
- 14.
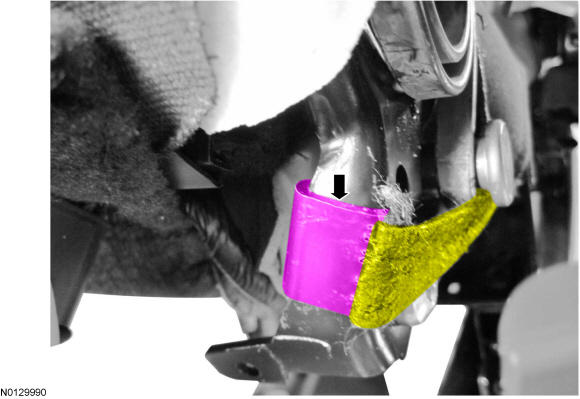
Remove the outboard cushion cover J-clip and strap from the backrest frame.
NOTE:
Note J-clip strap routing for installation.
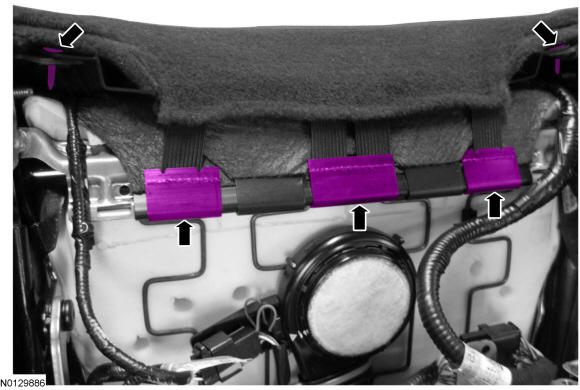
- 15.
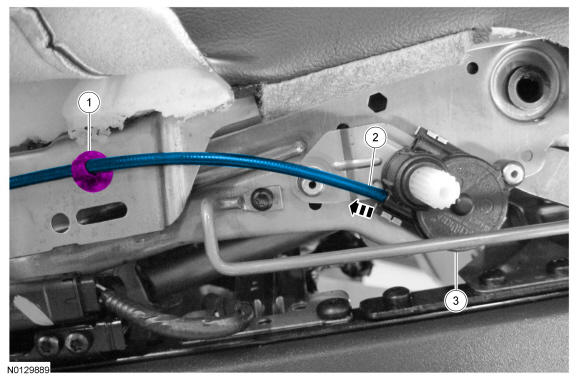
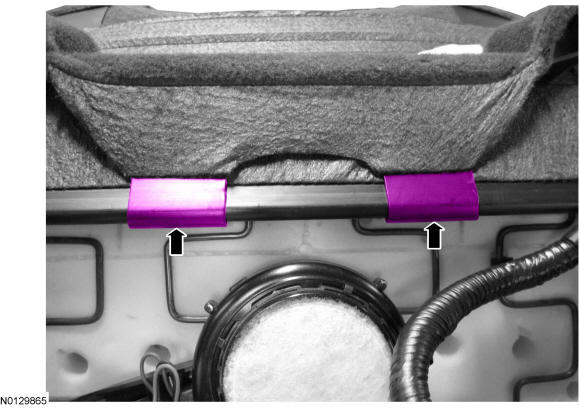
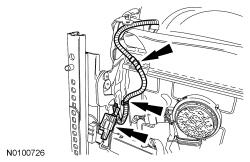
Release the side air bag module electrical connector and wire harness retainers under the seat.
NOTE:
Vehicle with a TED shown, all others similar.
NOTE:
Note wire harness routing for installation.
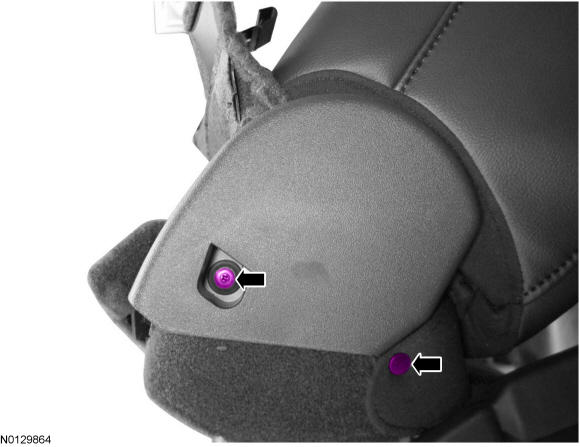
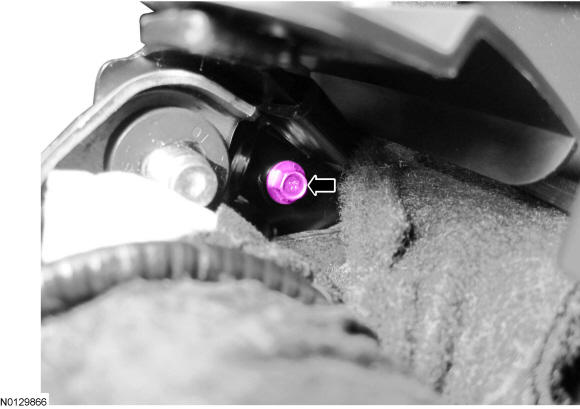
- 16.
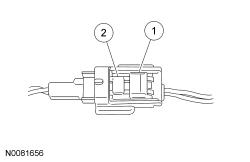
Disconnect the side air bag module electrical connector.- Slide the locking clip back.
- Push the tab in and disconnect the electrical connector.
- 17.
If equipped, disconnect the backrest electrical connector and release the wire harness retainers attached under the seat.
NOTE:
Note wire harness routing for installation.