Thermostatic Expansion Valve Manifold and Tube Assembly - 3.5L Ti-VCT: Removal
WARNING:
Before beginning any service procedure in this service information, refer to SAFETY WARNINGS
- 1.
With the vehicle in NEUTRAL, position it on a hoist. REFER to Jacking and Lifting .
- 2.
Recover the refrigerant, Refer to Air Conditioning (A/C) System Recovery, Evacuation and Charging .
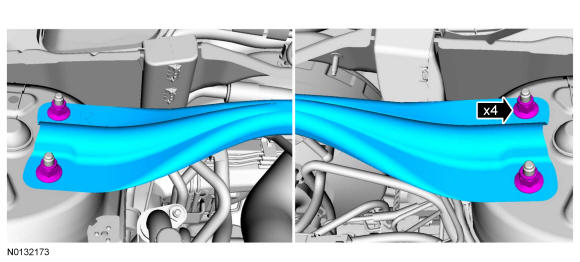
- 3.
Remove the 4 strut tower brace nuts and remove the strut tower brace.- To install, tighten to 55 Nm (41 lb-ft).
- 6.
Remove the cowl panel grille. REFER to Front End Body Panels .
- 7.
Disconnect the 2 PCM and engine harness electrical connectors.- Detach the wiring harness retainer.

- 8.
Remove the engine wiring harness retainer from the bulkhead.- Push the wiring harness retainer tab in.
- Slide the wiring harness up and out of the bulkhead.
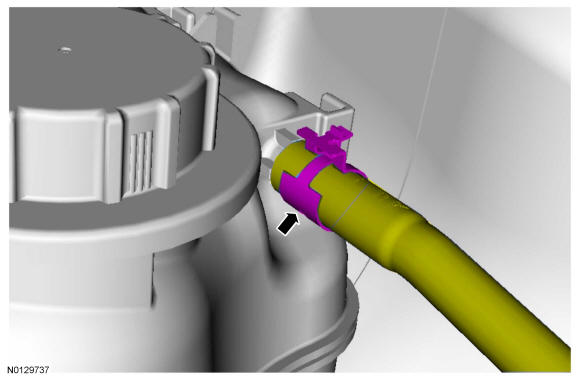
- 9.
Remove the evaporator outlet line fitting nut and disconnect the fitting.- To install, tighten to 15 Nm (133 lb-in).
- Discard the O-ring seal and gasket seal.
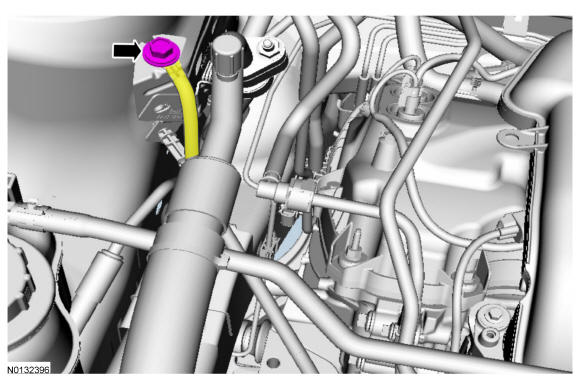
- 11.
Remove the front auxiliary evaporator inlet line fitting nut and disconnect the fitting.- To install, tighten to 15 Nm (133 lb-in).
- Discard the O-ring seal and gasket seal.
- 12.
Remove the front auxiliary evaporator outlet line fitting nut and disconnect the fitting.- To install, tighten to 15 Nm (133 lb-in).
- Discard the O-ring seal and gasket seal.
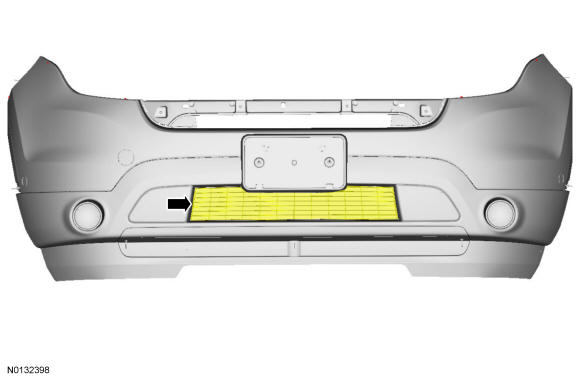
- 13.
Detach the lower bumper grill from the lower bumper by pushing the grill toward the rear of the vehicle at each of the fastener locations. Once the grille is detached, position the grille out of the way inside the lower bumper to gain access to the condenser outlet fitting.
- 14.
Remove the condenser outlet fitting nut and disconnect the fitting.- To install, tighten to 15 Nm (133 lb-in).
- Discard the O-ring seal and gasket seal.
- 15.
Remove the TXV manifold and tube bracket bolt at the RH upper strut tower.- To install, tighten to 8 Nm (71 lb-in).
- 16.
Completely loosen the TXV manifold and tube clamp bracket bolt at the RH lower strut tower.- To install, tighten to 8 Nm (71 lb-in).
- 17.
Completely loosen the TXV manifold and tube clamp bracket bolt at the RH frame rail.- To install, tighten to 8 Nm (71 lb-in).