Radiator Grille Support: Installation
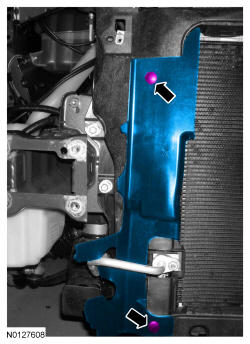
- 1.NOTE: If installing a new radiator grille support, transfer all cooling module components.NOTE: LH side shown in illustration, RH side similar.
Position the radiator grille support assembly to the vehicle.
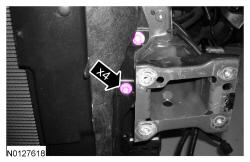
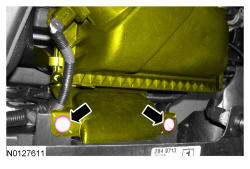
- 3.NOTE: LH side shown in illustration, RH side similar.
Install the 4 lower radiator grille support bolts.
- Tighten to 20 Nm (177 lb-in).
- 5.
Install the hood latch. REFER to Handles, Locks, Latches and Entry Systems Without Intelligent Access (IA) without Intelligent Access (IA) or REFER to Handles, Locks, Latches and Entry Systems With Intelligent Access (IA) for vehicles equipped With Intelligent Access.
- 12.
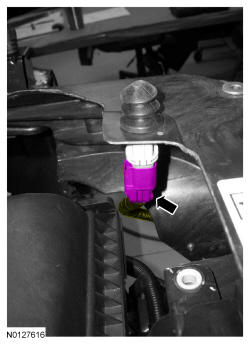
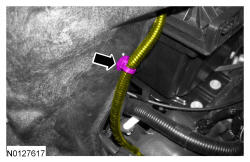
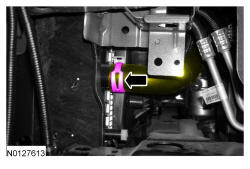
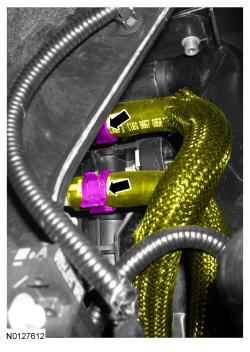
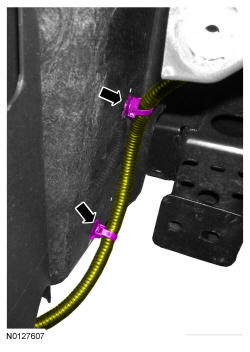
Position the wiring harness and install the pin-type retainers along the top of the radiator grille support.
- 15.
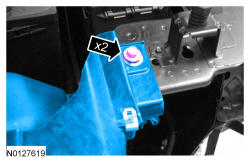
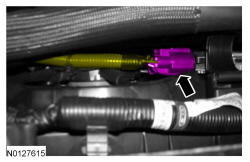
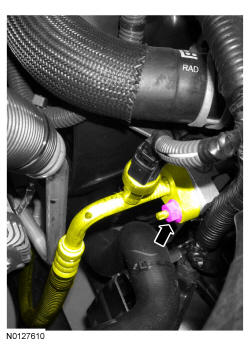
Install a new O-ring seal and connect the A/C compressor-to-condenser line.- Tighten to 15 Nm (133 lb-in).
- 16.
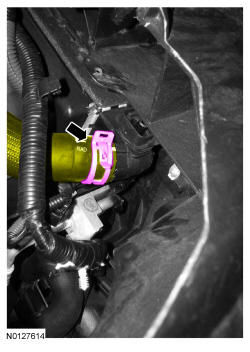
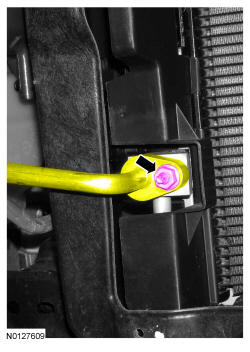
Install a new O-ring seal and connect the A/C condenser-to-evaporator line.- Tighten to 15 Nm (133 lb-in).

- 19.
Install the headlamp assemblies. REFER to Exterior Lighting .
- 20.
Install the bumper. REFER to Bumpers .
- 21.
Fill and bleed the cooling system. REFER to Engine Cooling .
- 22.
Evacuate and recharge the A/C system. REFER to Climate Control DATC for vehicles equipped with DAMB or REFER to Climate Control EMTC for vehicles equipped with EMTC.