LEMON Manuals: Even more car manuals for everyone: 1960-2025
Home >> Ford >> 2015 >> Explorer Limited, 3.5L Eng VIN 8, AWD >> Repair and Diagnosis (Single Page) >> Body & Frame >> Seats >> Seating System - 1ST Row >> General Procedures >> Accessing Mounting Bolts On an Inoperative Power Seat

Accessing Mounting Bolts On an Inoperative Power Seat

General Equipment

Drill(s)
WARNING: Wear protective gloves when handling components or parts that have pointed or sharp edges. Failure to follow this instruction may result in serious personal injury.
NOTE: 
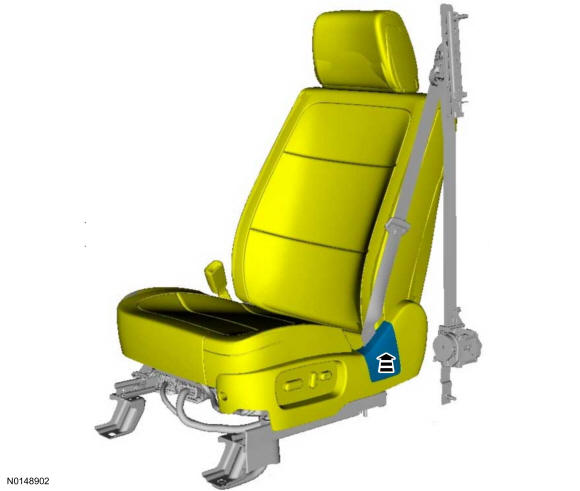
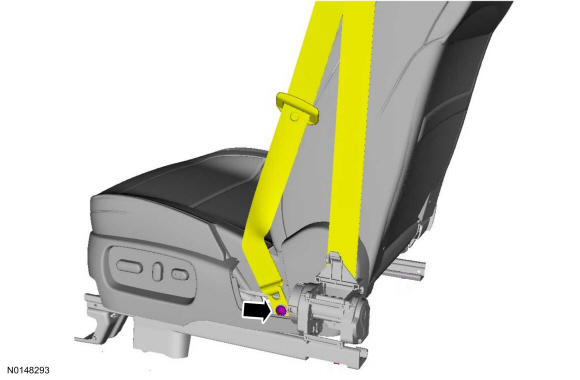
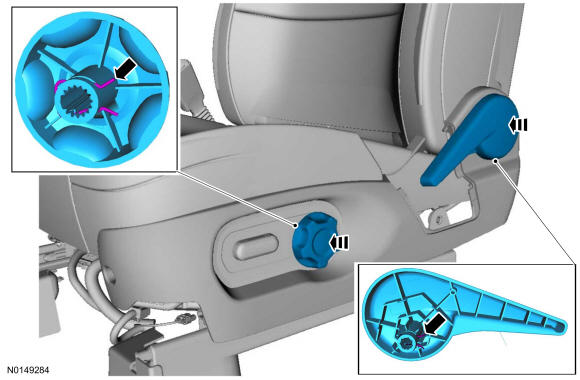
Typical driver seat shown, other seats similar.
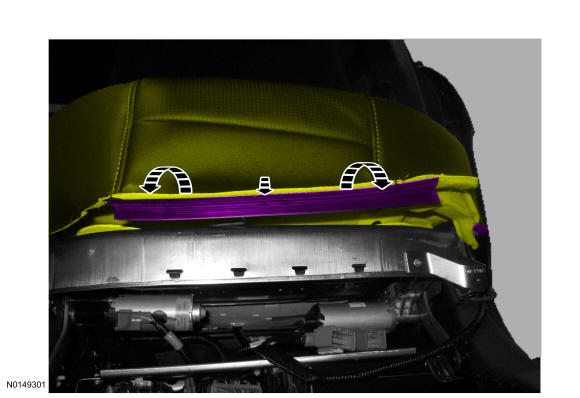
  1. 1.

    If equipped.
GFD37380Courtesy of FORD MOTOR COMPANY

  1. 2.

    If equipped.
GFD37381Courtesy of FORD MOTOR COMPANY

  1. 3.

    If equipped, passenger seat.
GFD37382Courtesy of FORD MOTOR COMPANY

  1. 4.

GFD37383Courtesy of FORD MOTOR COMPANY

  1. 5.

    If equipped.
GFD37384Courtesy of FORD MOTOR COMPANY

  1. 6.

GFD37385Courtesy of FORD MOTOR COMPANY

  1. 7.

GFD37386Courtesy of FORD MOTOR COMPANY

  1. 8.

    1. 1.

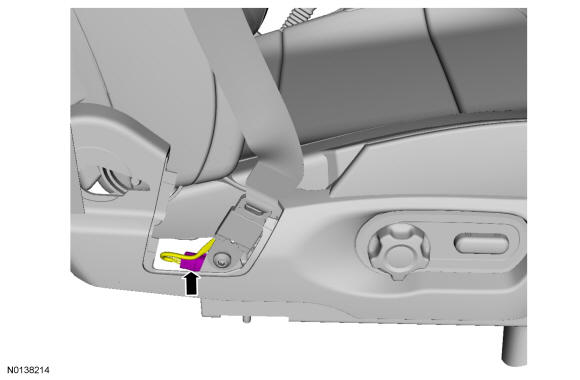
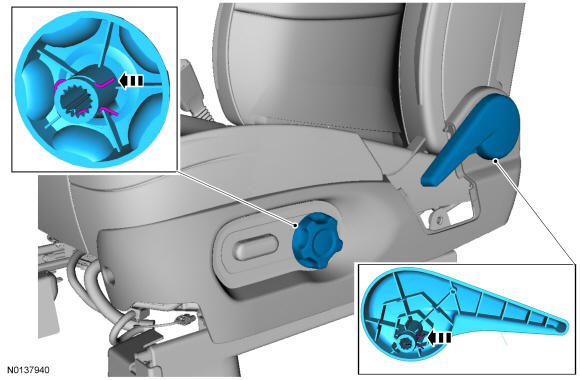
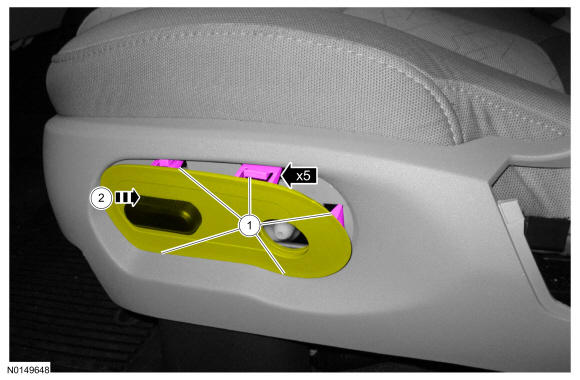
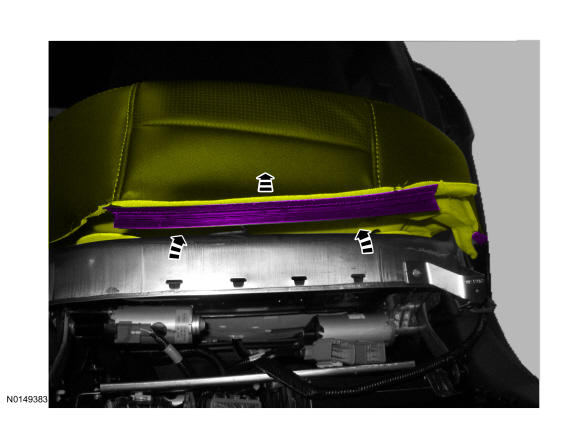
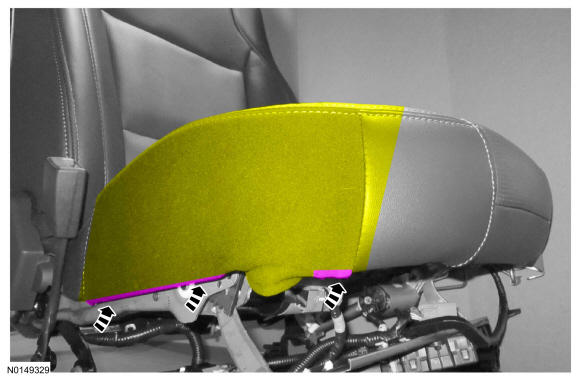
      From under the cushion side shield, push out from behind the seat control switch bezel to start detachment.
      NOTE: Do not pull out at the front of the seat control switch bezel, slide it rearward. Otherwise, seat control switch bezel retainers can break.

    1. 2.
      -
GFD37387Courtesy of FORD MOTOR COMPANY

  1. 9.

GFD37388Courtesy of FORD MOTOR COMPANY

  1. 10.

GFD37389Courtesy of FORD MOTOR COMPANY

  1. 11.

GFD37390Courtesy of FORD MOTOR COMPANY

  1. 12.

GFD37391Courtesy of FORD MOTOR COMPANY

  1. 13.

    Use the General Equipment: Flat Headed Screw Driver
GFD37392Courtesy of FORD MOTOR COMPANY

  1. 14.

    Passenger seat with bladder OCS.
GFD37393Courtesy of FORD MOTOR COMPANY

  1. 15.

    If equipped with climate controlled seats.
GFD37394Courtesy of FORD MOTOR COMPANY
    NOTE: Note the position of the cushion support wires for installation.

  1. 16.
    On both sides.
GFD37395Courtesy of FORD MOTOR COMPANY
    NOTE: 
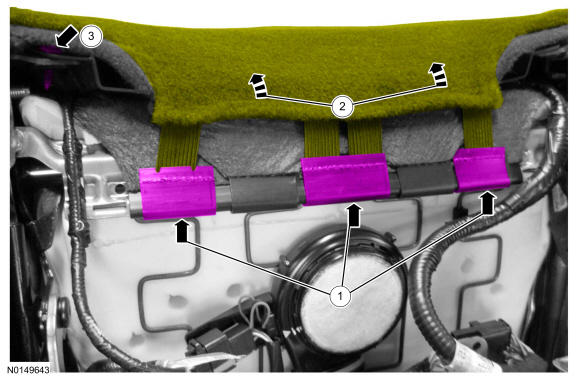
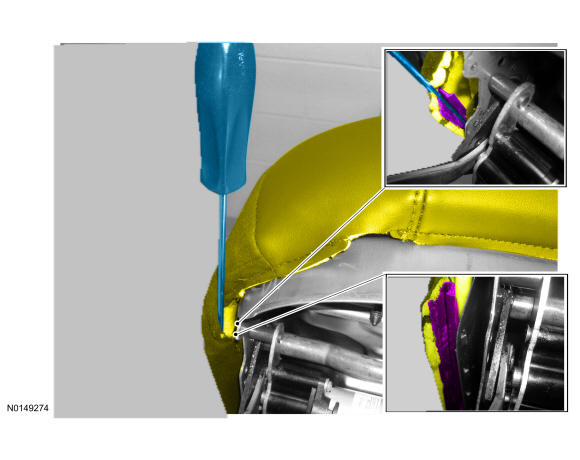
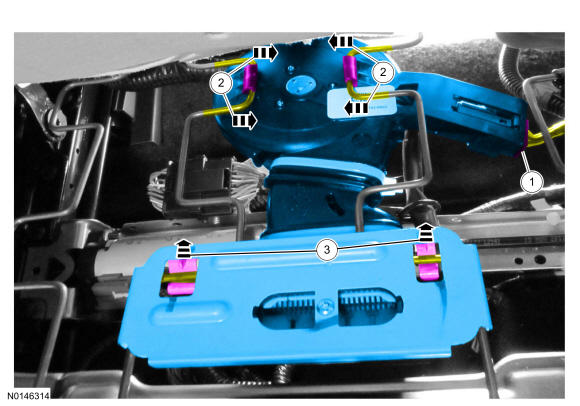
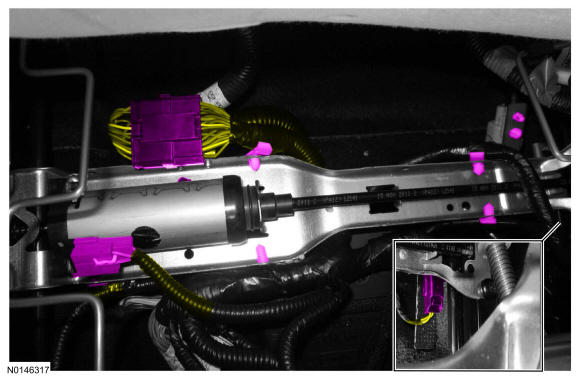
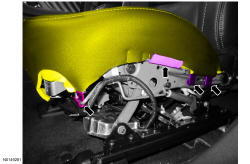
Seat cushion wire harness take-outs will vary with seat option content. Note the wire harness routing, attachment points and connections to the horizontal seat motor and bracket for installation.
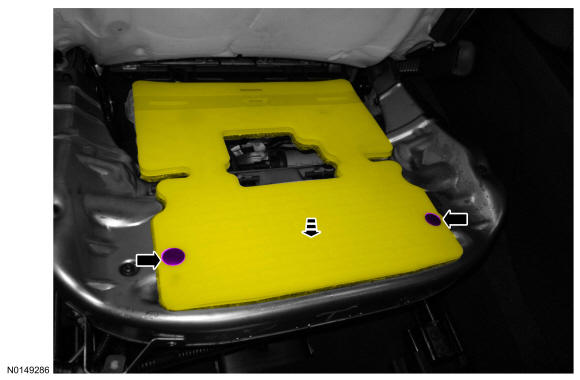
  1. 17.
GFD37396Courtesy of FORD MOTOR COMPANY

  1. 18.

GFD37397Courtesy of FORD MOTOR COMPANY

  1. 19.

GFD37398Courtesy of FORD MOTOR COMPANY
    NOTE: Pushing the seat forward or backward can aid in bolt hole alignment.

  1. 20.
    On both sides.
GFD37399Courtesy of FORD MOTOR COMPANY
    NOTE: Rotate the cables using 2 drills operating at similar speeds to most efficiently position the seat track.
    NOTE: Be sure to drive the seat track evenly or the track will bind during movement.
    NOTE: When using a drill to move the seat track, do not move the seat track to its forward or rearward end of travel stops. Doing so can result in damage to the seat track requiring its replacement.

  1. 21.
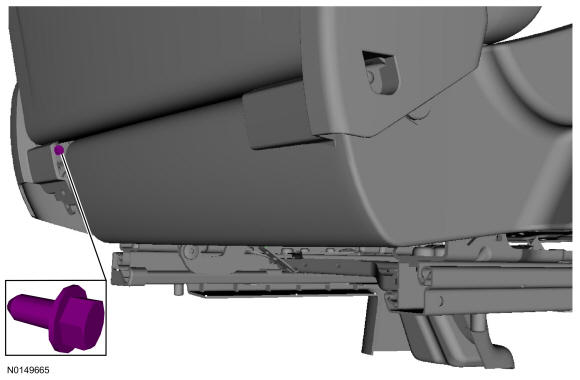
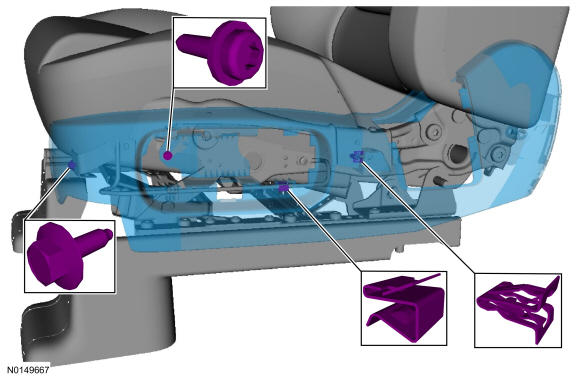
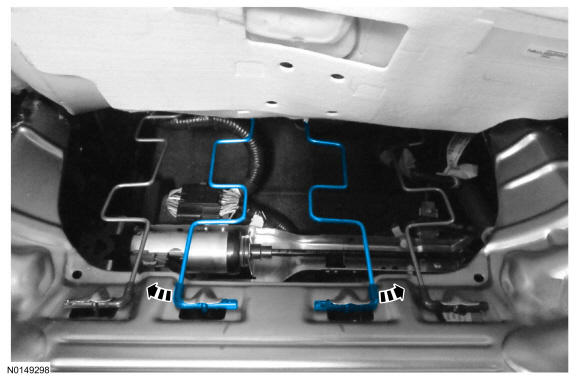
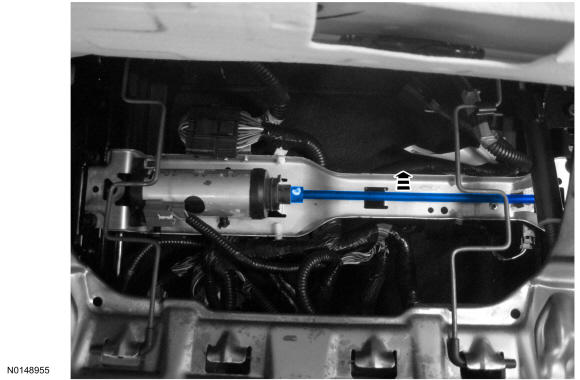
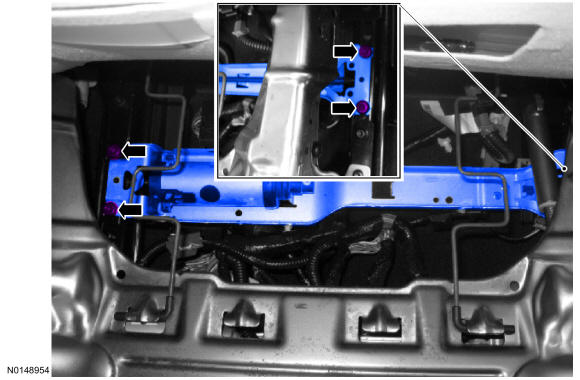
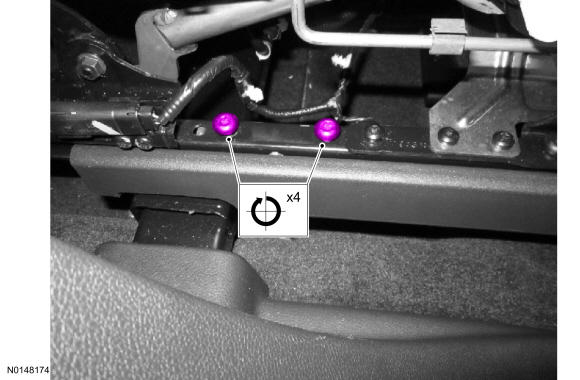
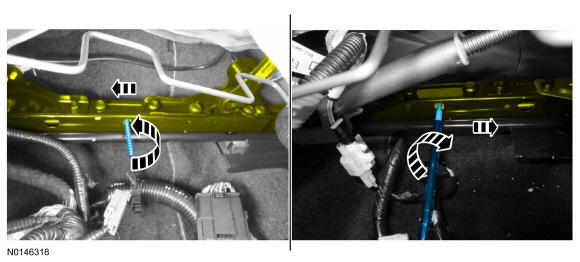
    Insert both seat track cables then drive the inboard and outboard seat tracks forward until the rear mounting bolts are accessible. General Equipment: Drill(s).
GFD37400Courtesy of FORD MOTOR COMPANY

  1. 22.

    Remove the front seat. Refer to Seat .

  1. 23.

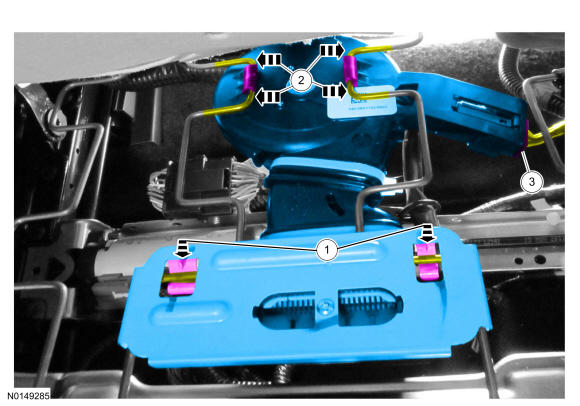
    Install the front seat track motor. Refer to Seat Track Motor - Front . Do not install the seat at this time.
    NOTE: Install as noted during removal.

  1. 24.
    On both sides.
GFD37401Courtesy of FORD MOTOR COMPANY

  1. 25.

    If equipped with climate controlled seats.
GFD37402Courtesy of FORD MOTOR COMPANY

  1. 26.

    Passenger seat with bladder OCS.
GFD37403Courtesy of FORD MOTOR COMPANY

  1. 27.

GFD37404Courtesy of FORD MOTOR COMPANY

  1. 28.

GFD37405Courtesy of FORD MOTOR COMPANY

  1. 29.

GFD37406Courtesy of FORD MOTOR COMPANY

  1. 30.

GFD37389Courtesy of FORD MOTOR COMPANY

  1. 31.

GFD37388Courtesy of FORD MOTOR COMPANY

  1. 32.

GFD37386Courtesy of FORD MOTOR COMPANY

  1. 33.

GFD37407Courtesy of FORD MOTOR COMPANY

  1. 34.

    If equipped.
GFD37408Courtesy of FORD MOTOR COMPANY

  1. 35.

    Install the front seat. Refer to Seat .

    If a passenger seat with a bladder OCS has been serviced, do not prove out the SRS within the seat installation procedure. Proceed to the next step here after the seat has been installed in the vehicle and repower has been done. 

  1. 36.

    For a passenger seat with a bladder OCS, carry out the OCS reset. REFER to Supplemental Restraint System .

  1. 37.

    If equipped with memory seat, operate the horizontal motor in both directions through the full range of travel to allow the DSM to correctly register stop positions and prevent premature stopping points after the repair is complete.