Removal And Installation: Installation
NOTE:
LH shown in illustration, RH typical.
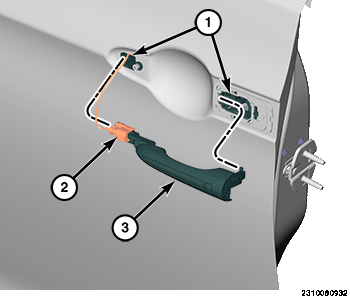
- Connect the harness connector and position the handle (1) to the door.
- Slide handle (1) in and forward.NOTE:
Visually confirm the bell crank has been reset correctly.
- The handle (1) will not be seated once installed.
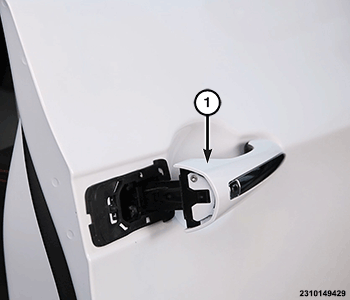
- Position the door lock cylinder/trim cap (1) to the front door. Once properly positioned, tighten the PIA fastener accessible rearward of the handle securely and install the protective plug over the fastener opening.
- Pull on the handle (2) to fully seat it and check for proper operation.
- Connect the negative battery cable. If equipped with an Intelligent Battery Sensor (IBS), connect the IBS connector to the negative battery cable.