Removal And Installation: Installation

NOTE:
Prior to installing the door trim panel, replace any trim panel retaining clips that may have been damaged during the removal process.
- Connect the interior handle cables (1) and connect the trim panel wire harness connectors.
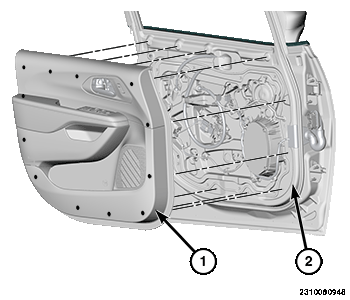
- Position the trim panel assembly (1) back onto the door (2).
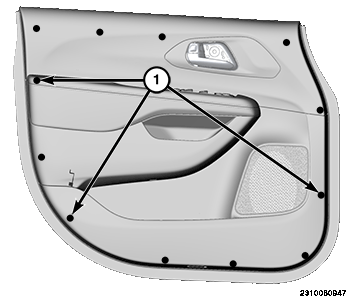
- Seat the 12 attachment fasteners (1) fully.
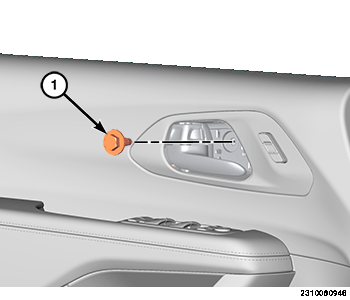
- Install the bolt (1) and tighten to the proper torque specifications. Refer to TECHNICAL SPECIFICATIONS .
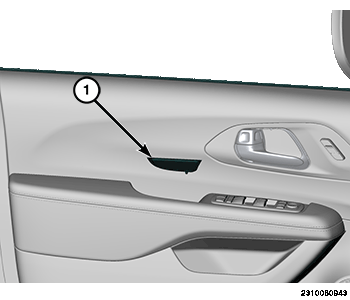
- Install the trim cover (1) and seat fully.
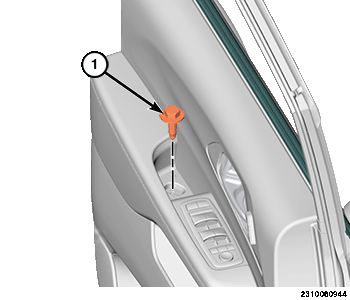
- Install the bolt (1) and tighten to the proper torque specifications. Refer to TECHNICAL SPECIFICATIONS .
- Install the pull cup trim mat (1) and seat fully.
- Install the window switch assembly. Refer to SWITCH, POWER WINDOW, REMOVAL AND INSTALLATION .
- Connect the negative battery cable. If equipped with an Intelligent Battery Sensor (IBS), connect the IBS connector to the negative battery cable.