Removal And Installation: Installation
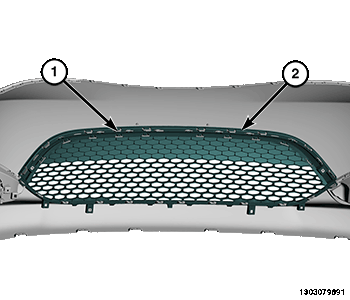
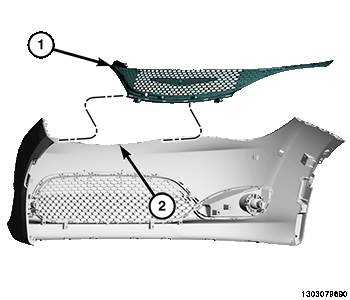
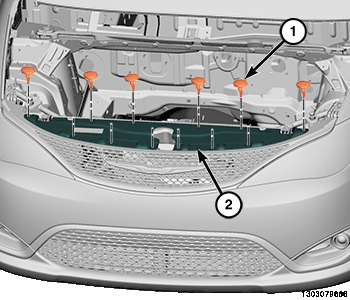
- Install the lower grille (2) onto the fascia and seat the attachment clips (1) fully.
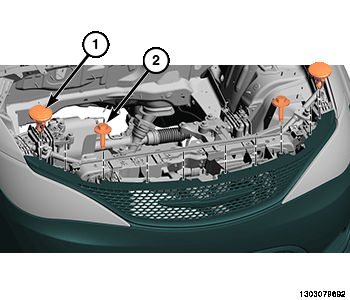
- Position the upper grille (1) onto the fascia and seat the attachment clips (2) fully.
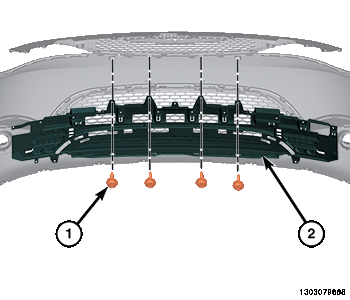
- Install the energy absorber (2) onto the fascia assembly and install the screws (1).
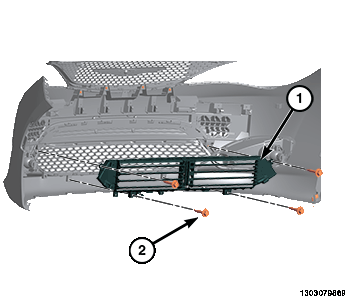
- Install the adjustable grille shutter assembly (1) onto the fascia assembly and install the screws (2).
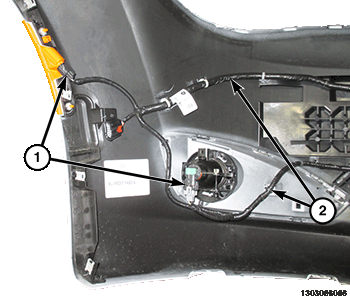
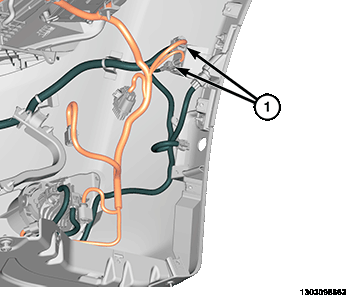
- Install the wire harness (2) and connect all the wire harness connectors (1).
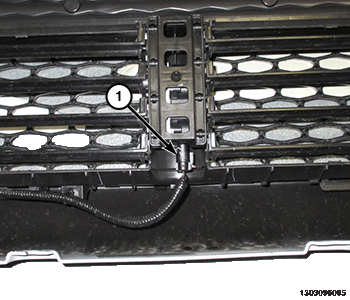
- Connect the adjustable grille shutter wire harness connector (1).
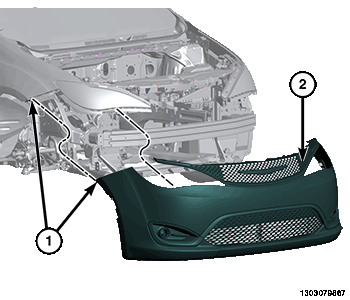
- Position the fascia (2) onto the vehicle and connect the wire harness connectors as necessary.
- Position the fascia up onto the fender and headlight support clips (1).
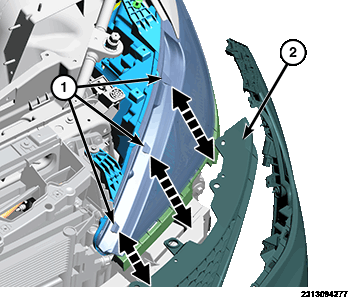
- Position the upper grille (2) onto the headlight tabs (1).
- Seat the support clips (2) onto the fender and headlight attachment clips (1) and seat fully.
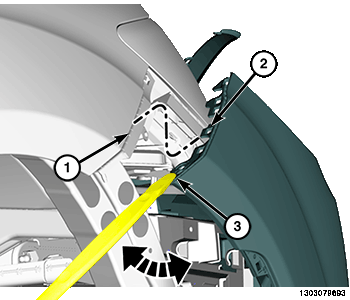
- Install the upper grille push pin fasteners (1) and the bolts (2) to secure the top of the grille to the radiator support.
- Install the upper fascia closeout panel (2) and install the push pin fasteners (1).
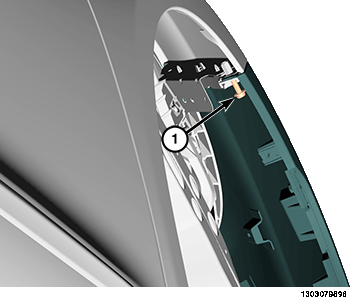
- Install the screws (1) attaching the fascia to the fenders.
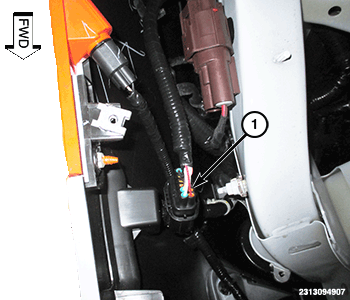
- Connect the front fascia wire harness connector (1) on the left side.
- Connect the front fascia wire harness connector (1) on the right side
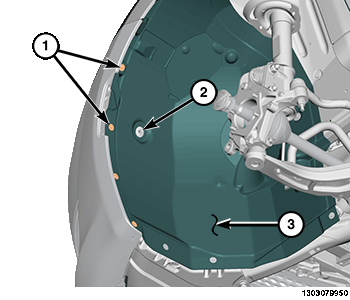
- Position the wheelhouse splash shield (3) back and install the nut (2) and the four screws (1).
- Install the front belly pan. Refer to BELLY PAN, FRONT, REMOVAL AND INSTALLATION .
- Connect the negative battery cable. If equipped with an Intelligent Battery Sensor (IBS), connect the IBS connector.