Removal And Installation: Removal
- Disconnect and isolate the negative battery cable. If equipped with an Intelligent Battery Sensor (IBS), disconnect the IBS connector first before disconnecting the negative battery cable.
- Raise and support the vehicle. Refer to HOISTING, STANDARD PROCEDURE .
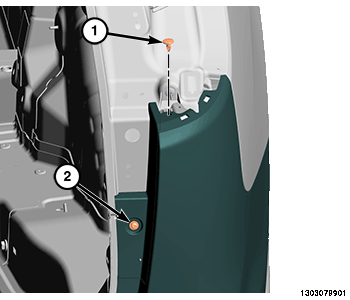
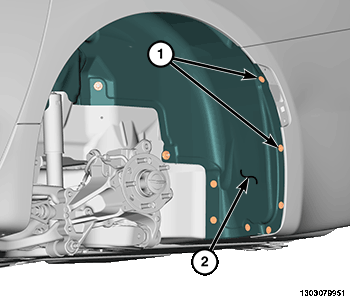
- Remove the screws (1) and separate the rear wheelhouse splash shield (2) from the rear fascia.
- Remove the rear belly pan. Refer to BELLY PAN, REAR, REMOVAL AND INSTALLATION .
- Remove the screws (1) on underside of the rear fascia (2).
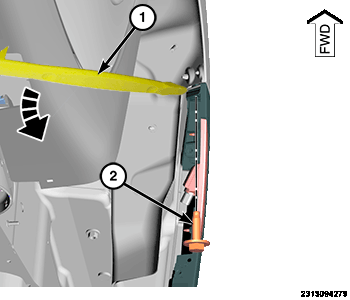
- Remove the side support bolts (2) and using trim stick (special tool #C-4755, Trim Stick) or equivalent (1), release the rear of the fascia support clip.
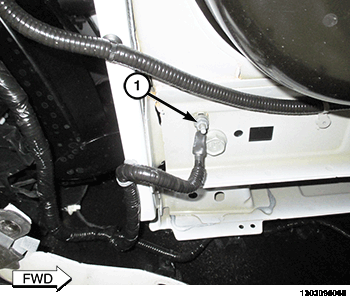
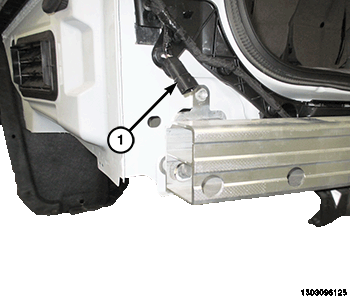
- Remove the nut (1) and disconnect the wire harness ground terminal.
- Remove the rear tail lamp assemblies. Refer to LAMP, TAIL, REMOVAL AND INSTALLATION .
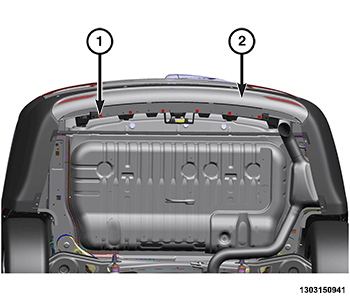
- Remove the upper (1) and lower (2) screws and separate the upper fascia attachment clips.
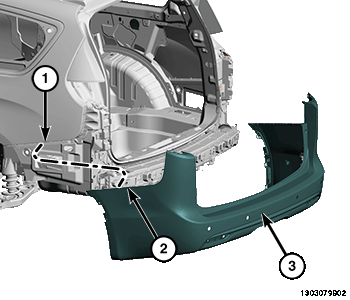
- Separate the fascia clips (2) from the quarter panel support brackets (1) and remove the fascia assembly (3).
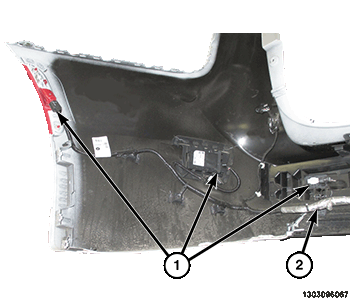
- Disconnect all wire harness connectors (1) as necessary.
- Disconnect the remaining wire harness connectors (1) and remove the wire harness (2).
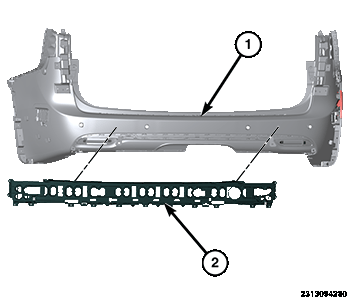
- Release the clips and remove the energy absorber (2) from the fascia (1).