Removal And Installation: Installation
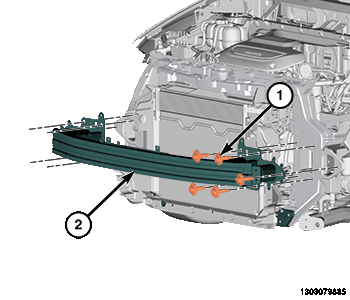
- Install the bumper reinforcement (2) and install the bolts (1).
- Tighten the bolts to the proper torque specification. Refer to TECHNICAL SPECIFICATIONS .
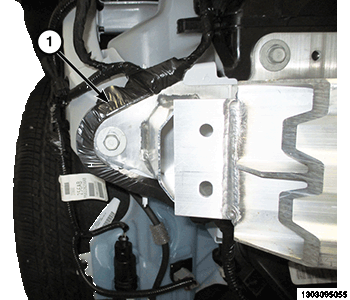
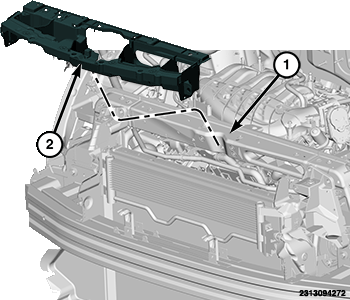
- Connect the wire harness (1) to the reinforcement on both sides.
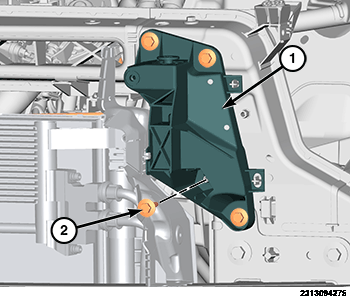
- Install the upper radiator support brackets (1).
- Install the bolts (2) and tighten to the proper torque specifications. Refer to TECHNICAL SPECIFICATIONS .
- Secure the side cover tabs.
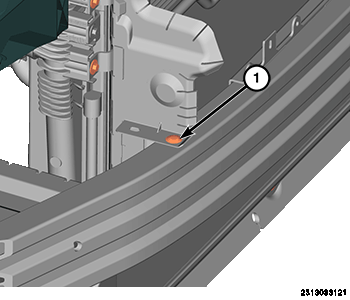
- Install the side cover lower push pin fasteners (1).
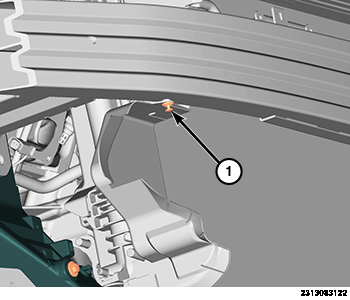
- Install the side cover upper push pin fasteners (1).
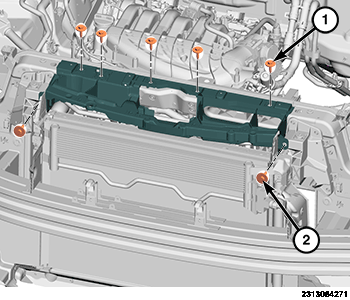
- Position the radiator closeout panel (2) onto the radiator crossmember (1).
- Install the crossmember bolts (1) and tighten to the proper torque specifications. Refer to TECHNICAL SPECIFICATIONS .
- Install the radiator support bracket bolts (2) and tighten to the proper torque specifications. Refer to TECHNICAL SPECIFICATIONS .
- Position the hood latch cable back and install the hood latch assembly. Refer to LATCH, HOOD, REMOVAL AND INSTALLATION .
- Install the horn assemblies. Refer to HORN, REMOVAL AND INSTALLATION .
- Install the front fascia. Refer to FASCIA, FRONT, REMOVAL AND INSTALLATION .