Removal And Installation: Removal

- Disconnect and isolate the negative battery cable. If equipped with an Intelligent Battery Sensor (IBS), disconnect the IBS connector first before disconnecting the negative battery cable.
- Remove the steering shaft to steering gear pinch bolt (1), and DISCARD the pinch bolt.
Do not start to remove (or break free) pinch bolt with an impact wrench/gun.
- Remove the dash seal to dash panel bolts (2).
- Raise and support the vehicle. Refer to HOISTING, STANDARD PROCEDURE .
- Remove the front wheels. Refer to REMOVAL AND INSTALLATION .
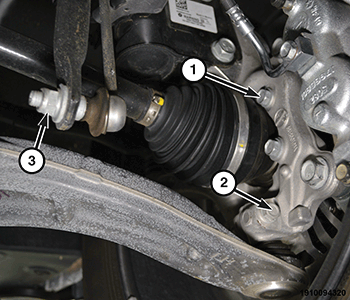
- Disconnect the outer tie rods and the lower ball joints from the steering knuckles. Refer to KNUCKLE, STEERING, REMOVAL AND INSTALLATION
.
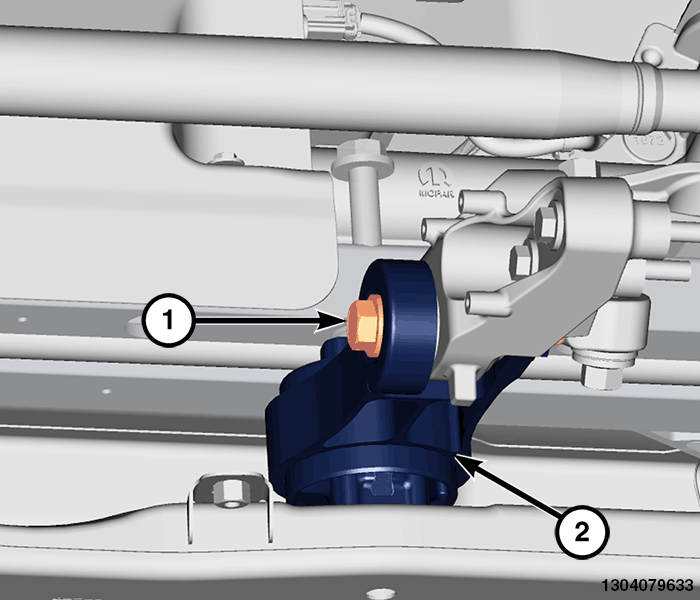
- Remove the lower stabilizer bar link mounting nuts (3) from the stabilizer bar.
- Remove the side belly pans. Refer to BELLY PAN, SIDE, REMOVAL AND INSTALLATION .
- Remove the exhaust crossunder pipe. Refer to PIPE, EXHAUST CROSSUNDER, REMOVAL AND INSTALLATION
.
- Remove the bolt (1) attaching the mount (2) to the transmission bracket.
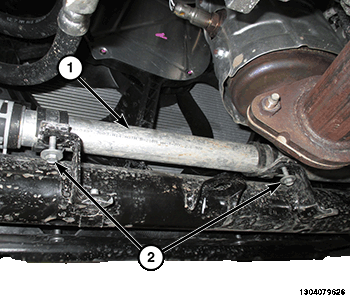
- Remove the bolts (2) attaching the coolant pipe (1) to the crossmember.
- Remove the bolts (1) attaching the radiator support (2) to the crossmember.
- Remove the lower washer solvent reservoir fastener at the cradle.
- Remove the axles shafts. Refer to REMOVAL AND INSTALLATION
or REMOVAL AND INSTALLATION
.
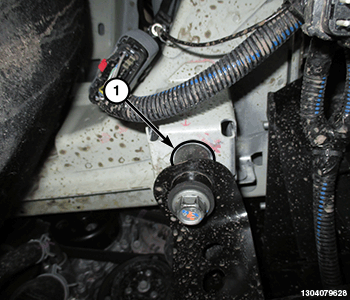
- Disconnect the wire harness connectors (1) at the steering gear.
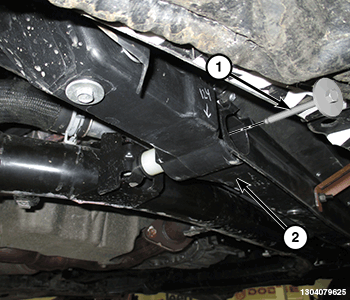
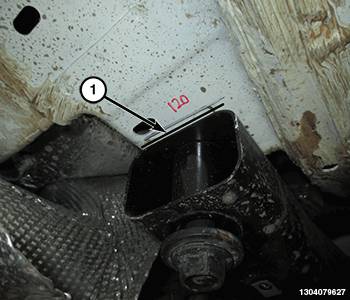
- Using a marker or equivalent, mark the front position of the crossmember on the frame mount (1).
- Using a marker or equivalent, mark the rear position of the crossmember on the frame mount (1).
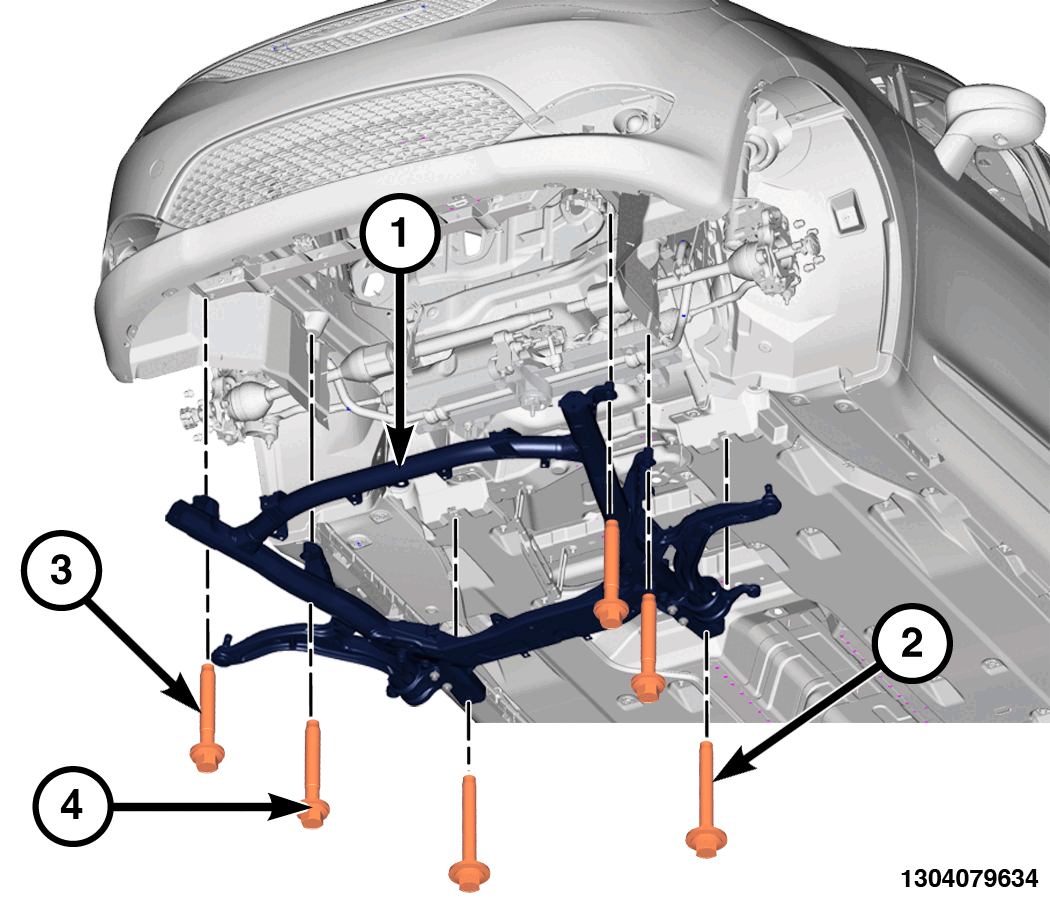
- Remove the rear control arm mount outer bolts (1).
- Support the crossmember (1) with a suitable lifting device, remove the front and mid position bolts (3) and DISCARD , remove and retain the rear bolts (2) and remove the crossmember assembly.