Removal And Installation: Removal
- Disconnect and isolate the negative battery cable. If equipped with an Intelligent Battery Sensor (IBS), disconnect the IBS connector first before disconnecting the negative battery cable.
- Raise and support the vehicle. Refer to HOISTING, STANDARD PROCEDURE .
- Remove the engine belly pan. Refer to BELLY PAN, ENGINE, REMOVAL AND INSTALLATION .
- Remove the right side front halfshaft. Refer to REMOVAL AND INSTALLATION
or REMOVAL AND INSTALLATION
.
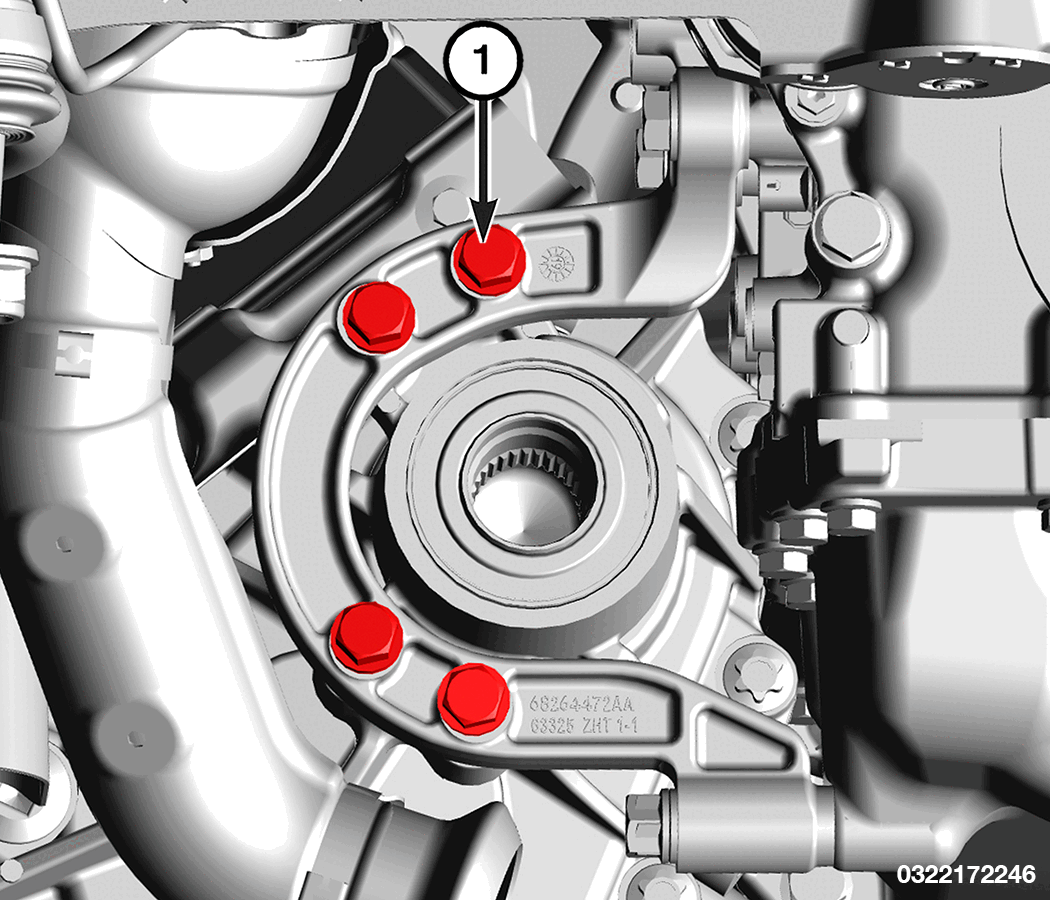
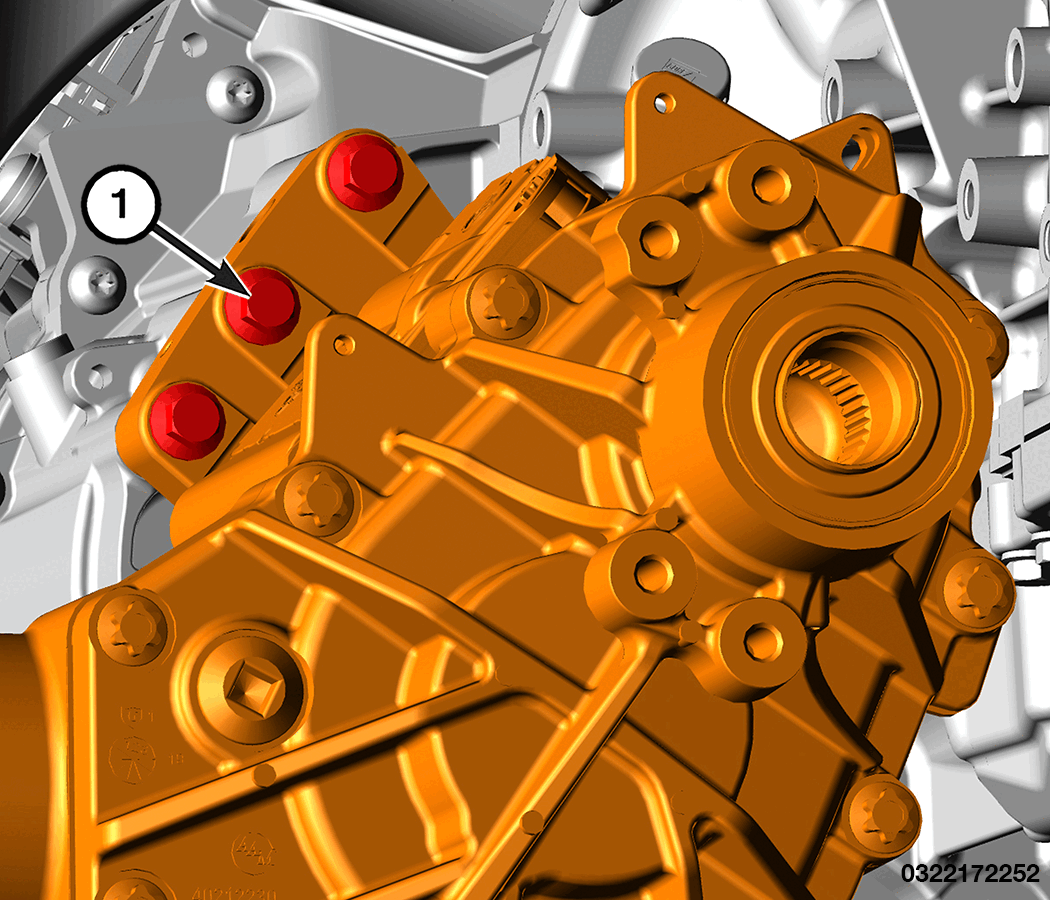
- Remove the fasteners (1) from the Power Transfer Unit (PTU) bracket.
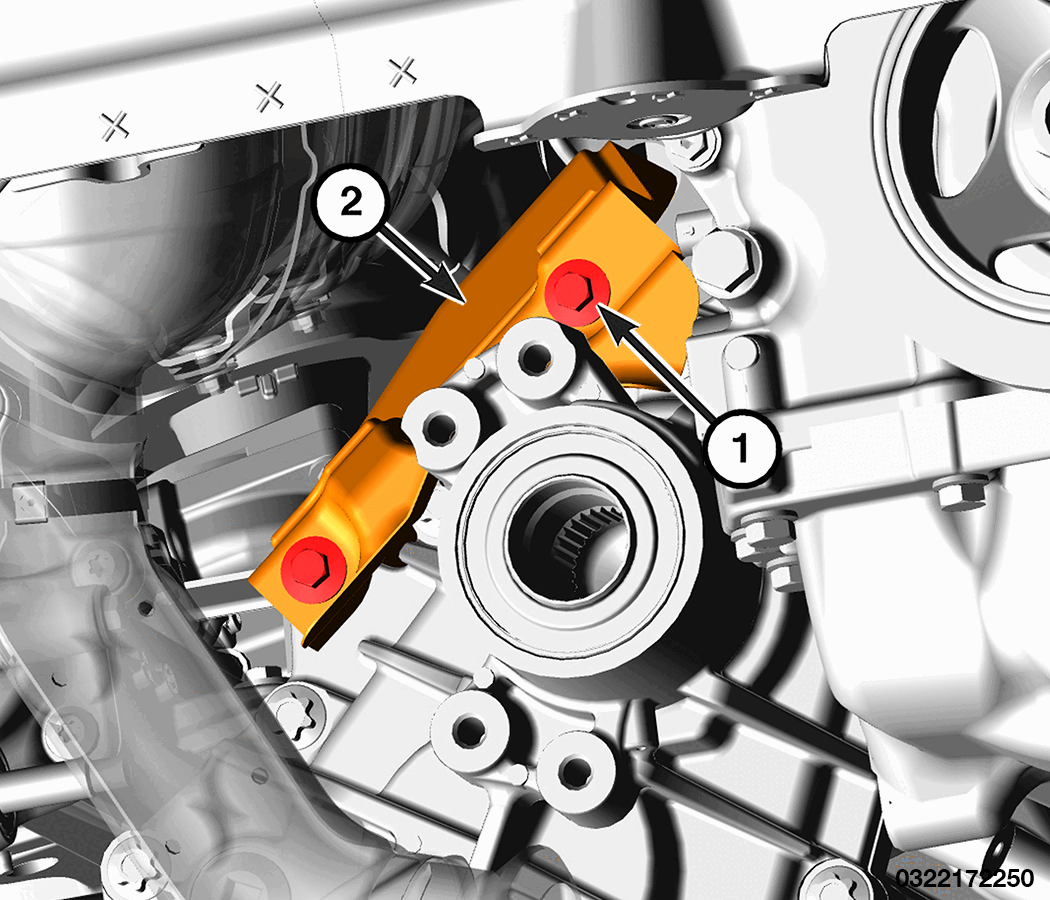
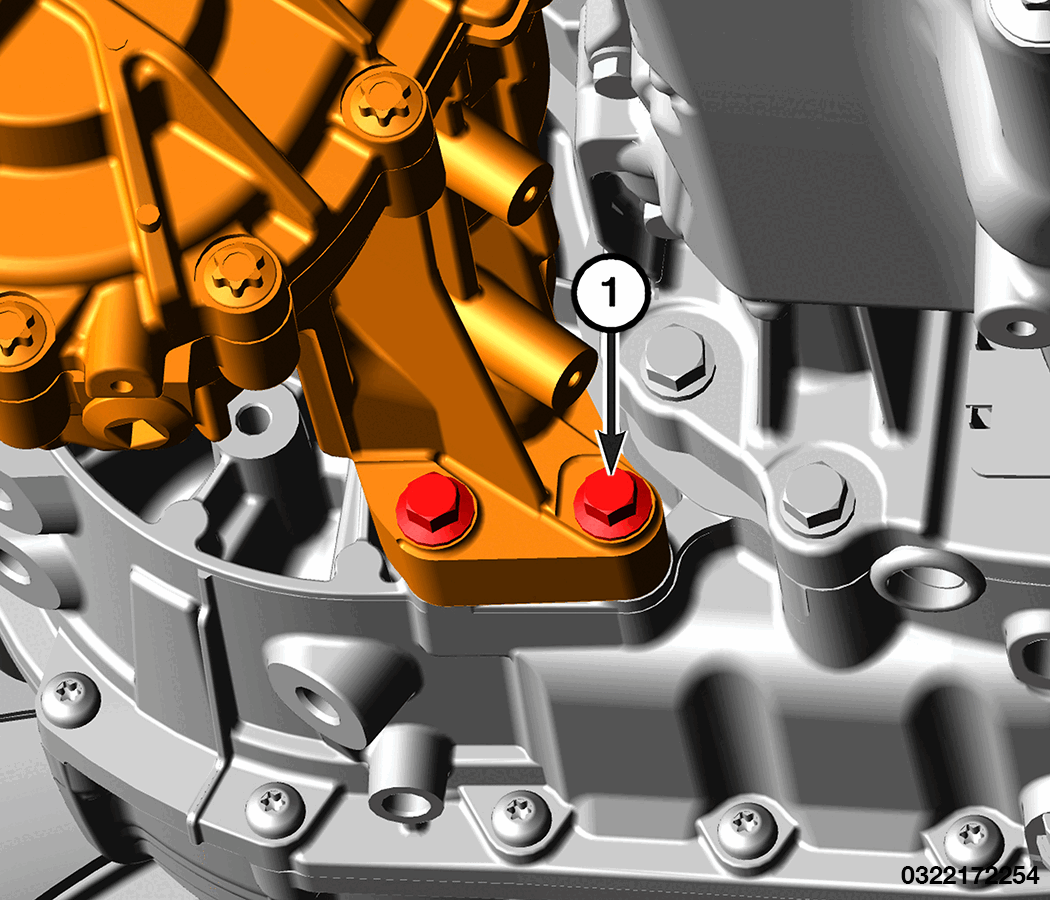
- Remove the fasteners (1) securing the PTU bracket (2) to the engine block and remove the PTU bracket from the vehicle.
- Remove the exhaust crossunder pipe. Refer to PIPE, EXHAUST CROSSUNDER, REMOVAL AND INSTALLATION .
- Remove and position aside the right catalytic converter. Refer to CONVERTER, CATALYTIC, REMOVAL AND INSTALLATION
.
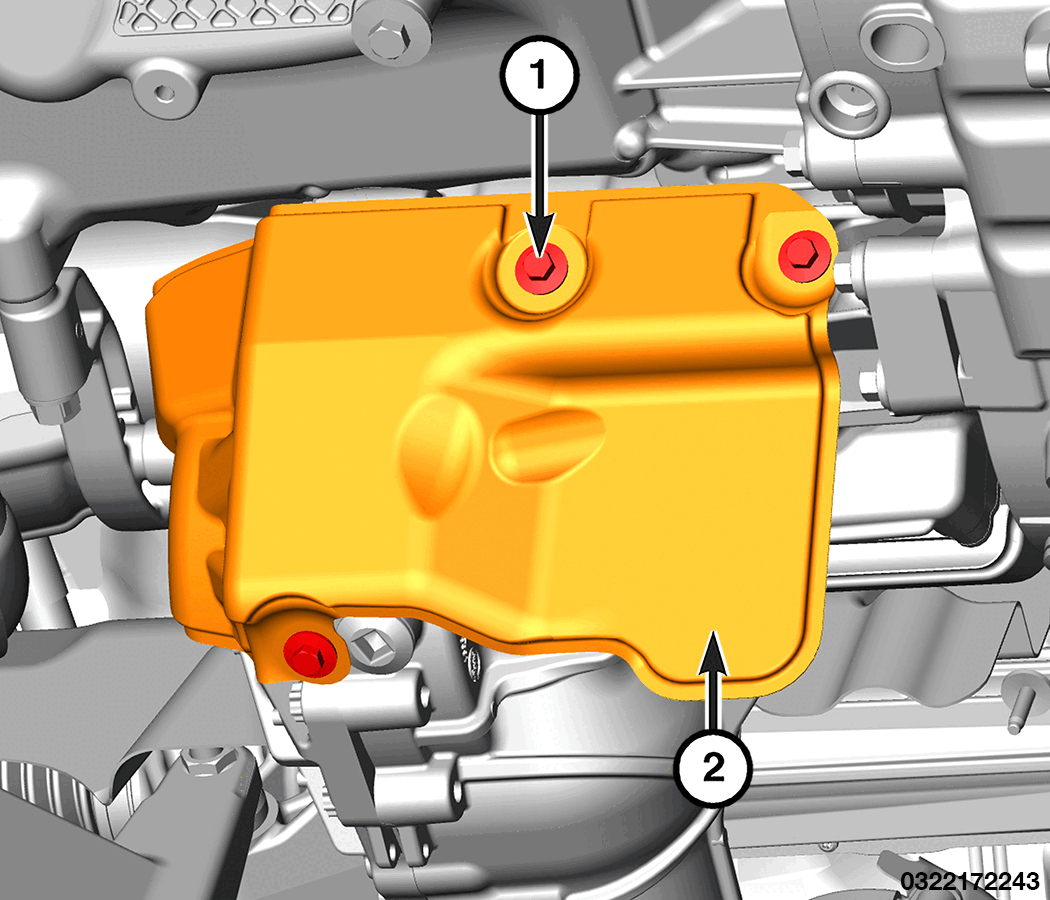
- Remove the fasteners (1) securing the PTU upper heatshield (2).
- Remove the fastener (1) securing the PTU upper heatshield and remove the heatshield from the vehicle.
- Remove the fasteners (1) securing the PTU lower heatshield (2) and remove the heatshield from the vehicle.
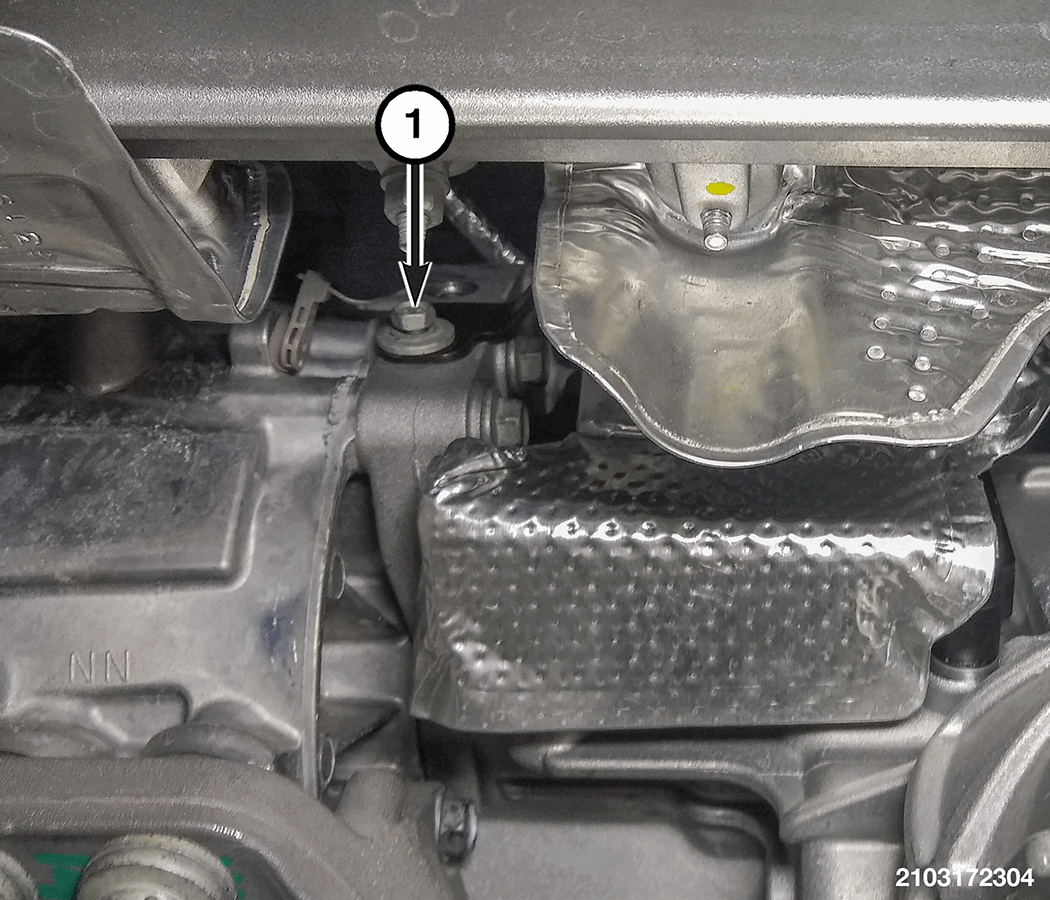
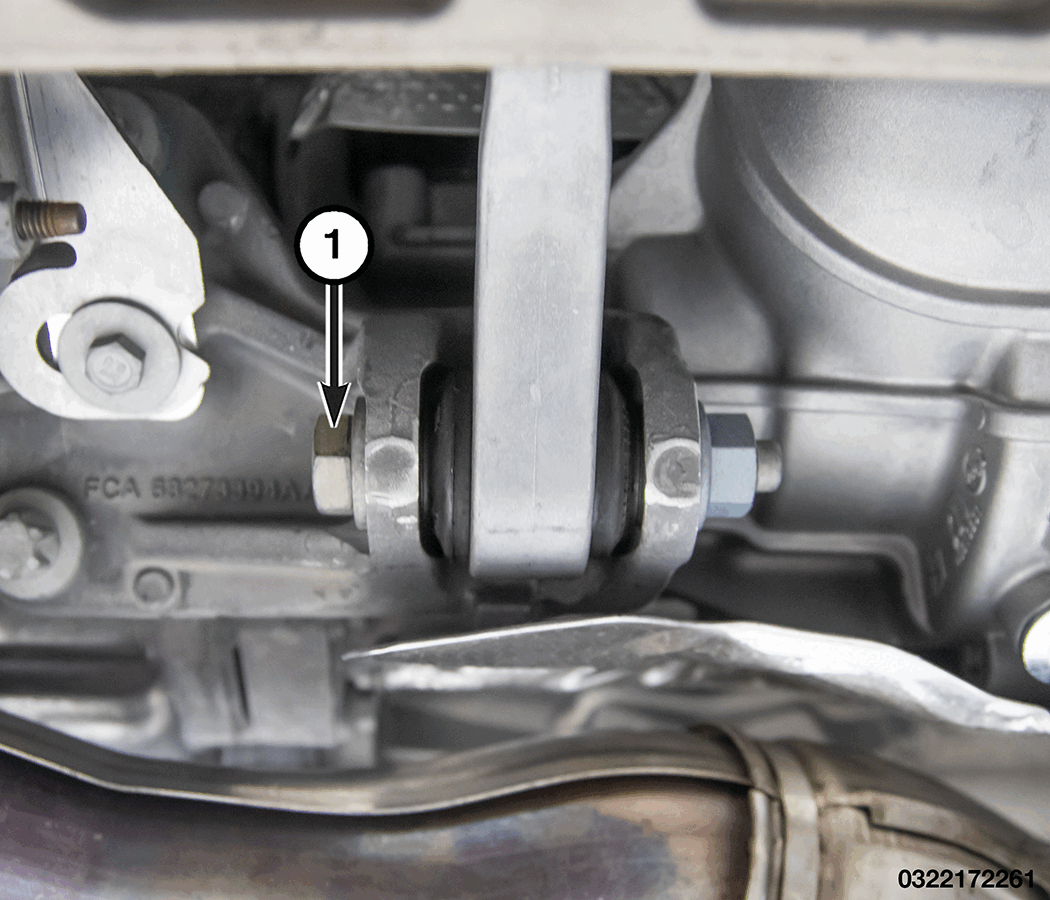
- Remove the rear torque strut fastener (1) at the transmission.
- Using a support stand, shift the front of the drivetrain upward.
- Install the Tool 2075300030 to the propeller shaft (1) and use a prybar to separate the joint.
- Remove and DISCARD the retention ring on the output shaft of the PTU.
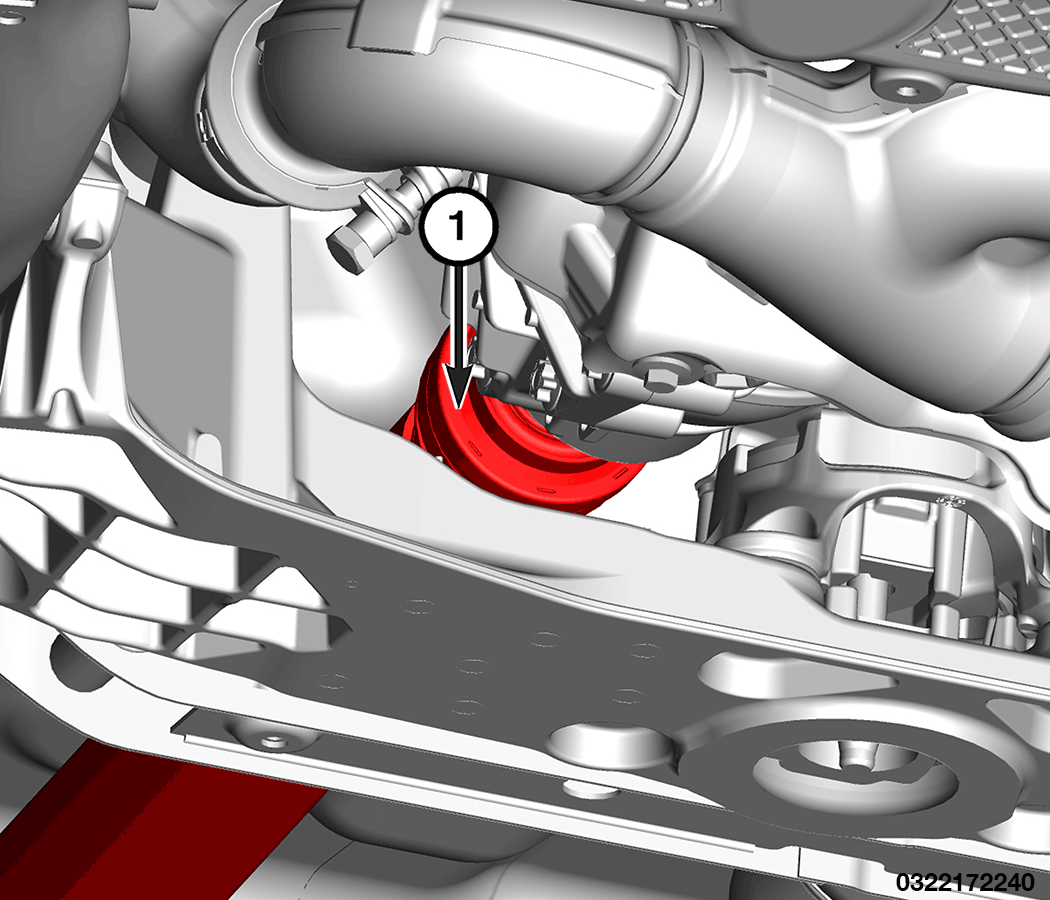
- Remove the rear engine mount isolator. Refer to INSULATOR, ENGINE MOUNT, REAR, REMOVAL AND INSTALLATION
.
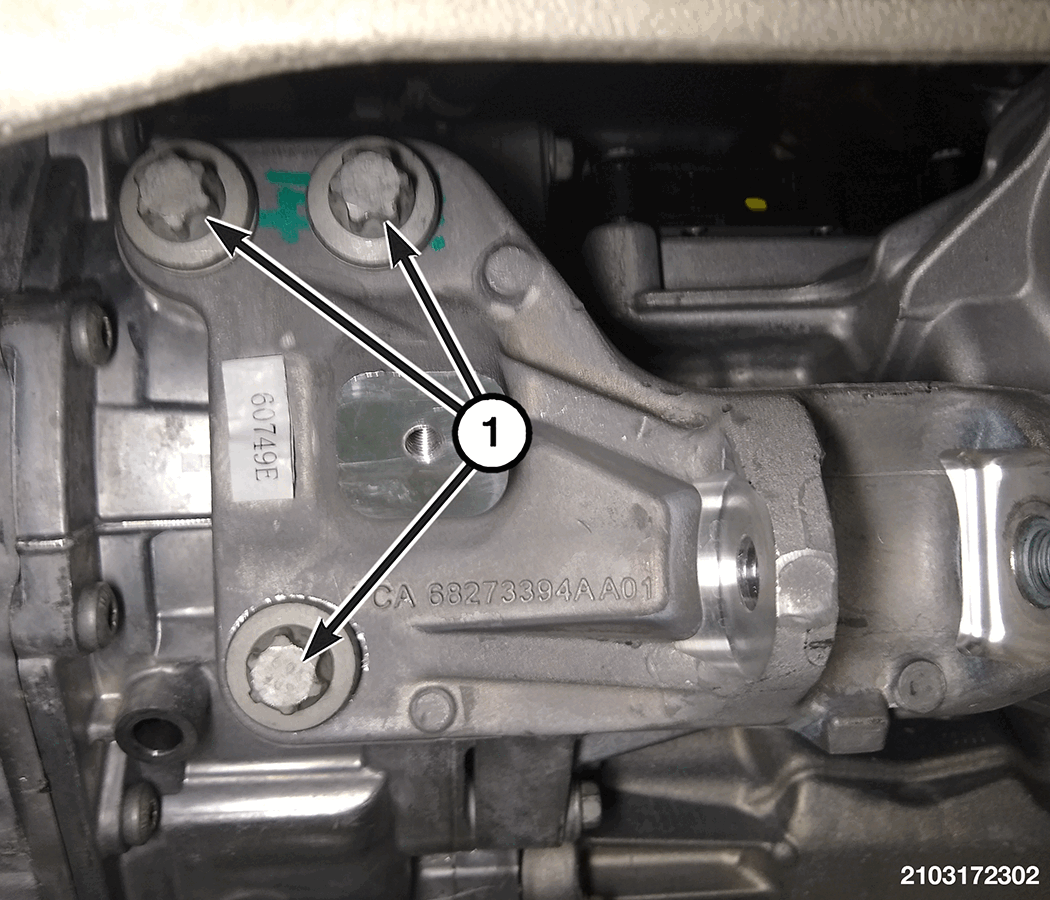
- Remove the fasteners (1) from the rear torque strut bracket.
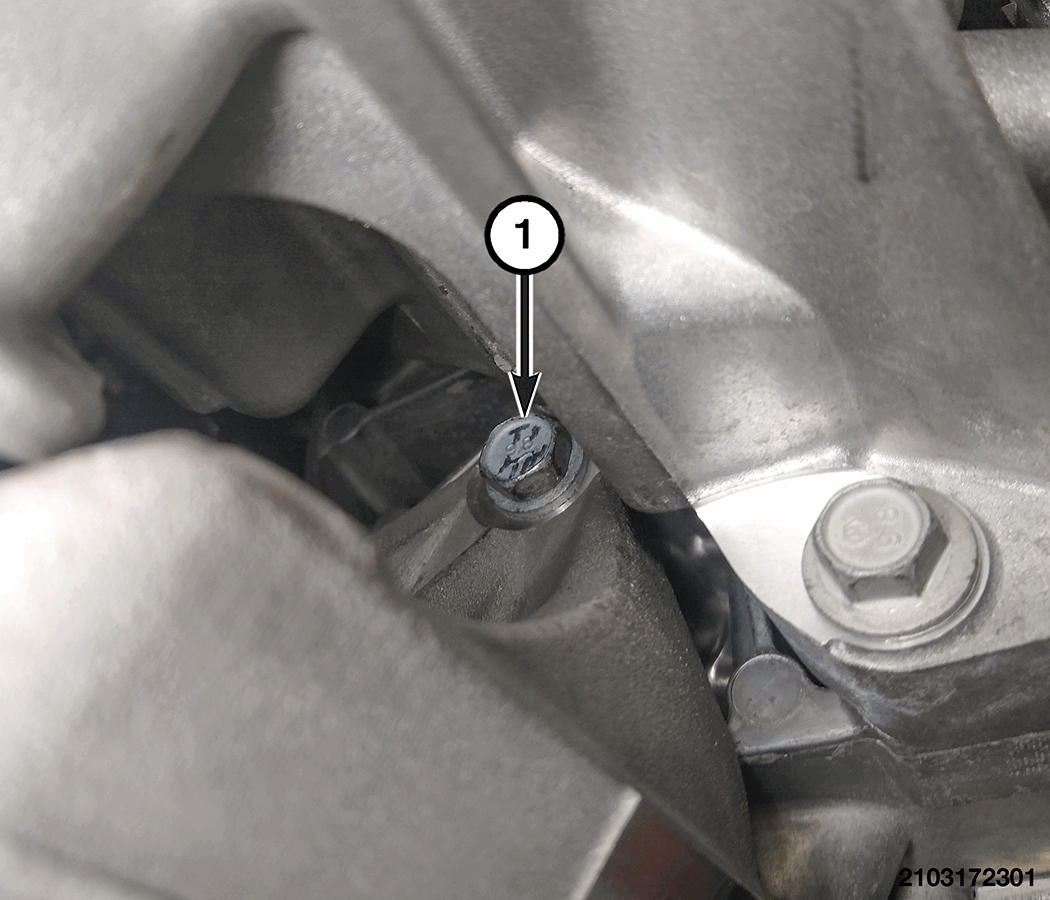
- Remove the fastener (1) and remove the rear torque strut bracket from the vehicle.
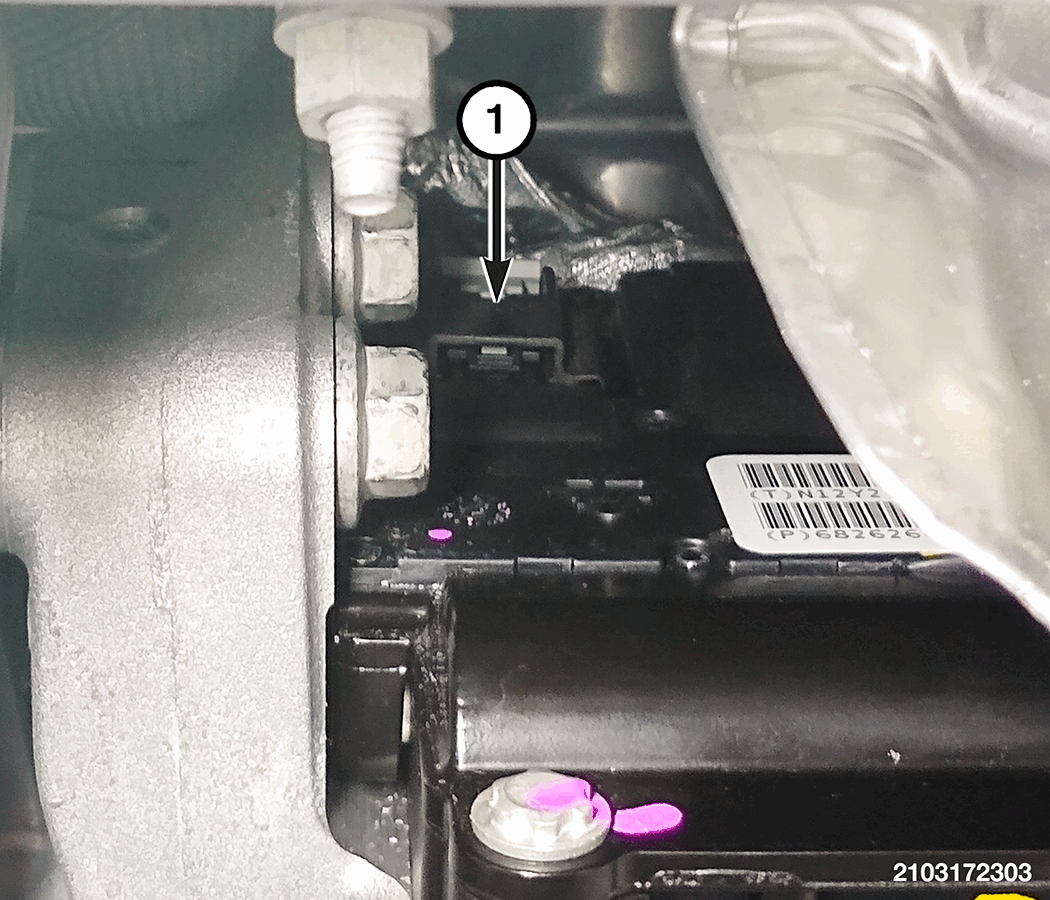
- Disconnect the PTU actuator wire harness connector (1).
- Remove the fasteners (1) from the PTU.
- Remove the fasteners (1) from the PTU. Remove the PTU from the vehicle.