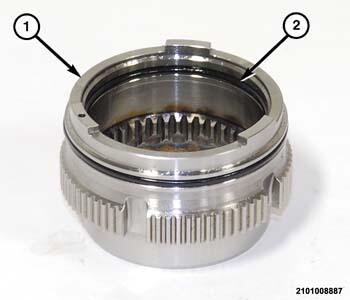
F-Clutch Dog Assembly
Clean the F-clutch dog assembly components with solvent and blow them dry with regulated 344 kPa (50 psi) shop air. Inspect the F-clutch dog assembly components for damage or excessive wear. If F-clutch dog assembly components are damaged the entire output gear support assembly will require replacement. Only the O-ring seals can be replaced. Apply assembly lubricant to the O-ring seals to aid installation.

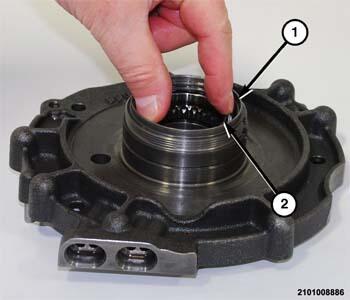
- Install a NEW
upper O-ring seal (1) into the groove inside the output gear support (2) hub.
- Install a NEW
inner O-ring seal (2) into the F-clutch dog assembly piston (1).
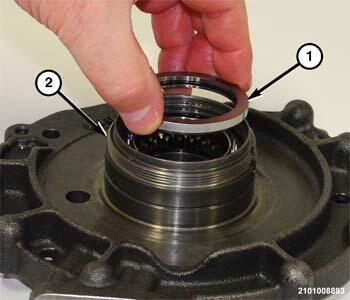
- Install a NEW
outer O-ring seal (2) onto the F-clutch dog assembly piston (1).
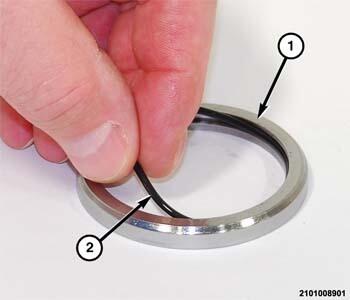
- Install a NEW
O-ring seal (2) into the inside of the F-clutch dog assembly plug (1).
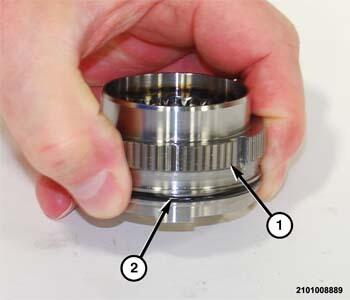
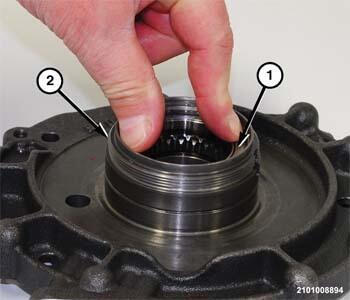
- Install the F-clutch dog assembly piston (1) into the output gear support hub (2).
- Push the F-clutch dog assembly piston (2) to the bottom of the bore in the output gear support hub (1).
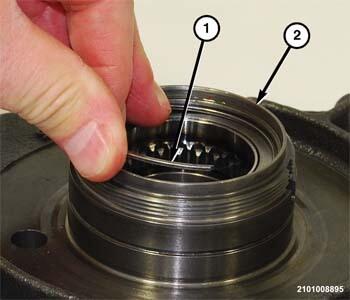
- Install the F-clutch dog assembly plug (1) onto the F-clutch dog assembly piston in the output gear support hub (2), with the chamfered outer edge down.
- Push the F-clutch dog assembly plug (1) into the bore until it bottoms against the top of the spline in the output gear support hub (2).
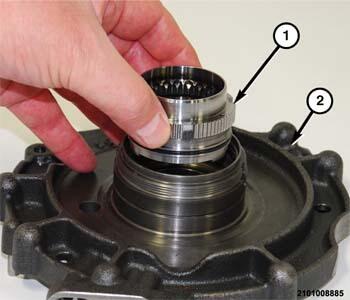
- Install the snap-ring (1) to hold the F-clutch dog assembly plug and piston in the output gear support hub (2).
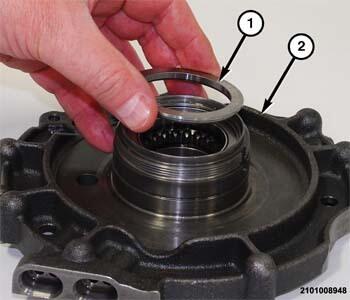
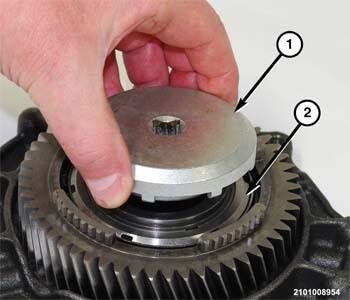
- Place the F-clutch dog assembly thrust plate (1) with stepped side down, into the output gear support (2) hub.
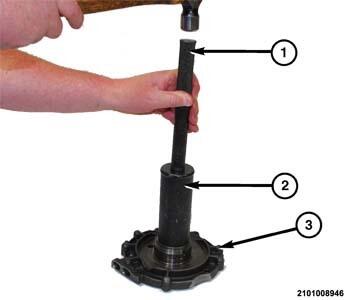
- Using tools (special tool #8148, Cup) (2) and (special tool #C-4171, Driver Handle, Universal) (1), install the F-clutch dog assembly thrust plate into the output gear support (3) hub.
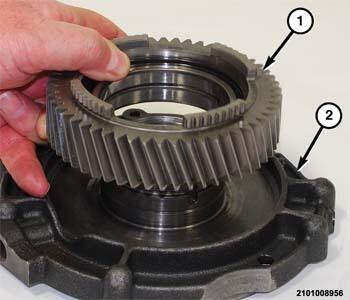
- Install the output gear (1) onto the output gear support (2).
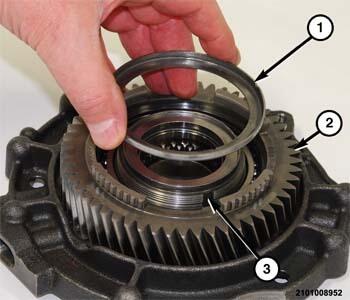
- Align the tab on the lock plate (1) with the notch (3) on the output gear support hub and install the lock plate (1) onto the output gear (2).
- Using tool (special tool #2012900210, Wrench, Spanner) (1), install the stake nut (2) to hold the output gear and bearing to the output gear support hub and tighten to the proper torque specifications. Refer to TECHNICAL SPECIFICATIONS .
- Using a suitable punch, stake the locking plate (1) inward to lock the stake nut in position.
- Install the output gear support in the transaxle.