Removal And Installation - AWD: Removal
- Disconnect and isolate the negative battery cable.
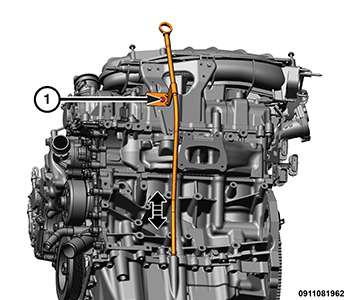
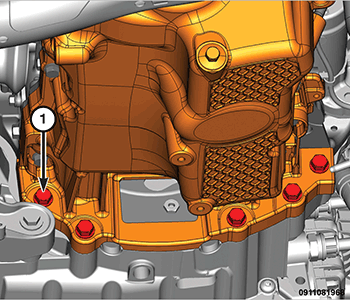
- Remove the bolt (1) and the oil level indicator tube.
- Raise and support the vehicle. Refer to HOISTING, STANDARD PROCEDURE .
- Remove the belly pan. Refer to BELLY PAN, ENGINE, REMOVAL AND INSTALLATION or BELLY PAN, FRONT, REMOVAL AND INSTALLATION .
- Drain the engine oil. Refer to OIL, STANDARD PROCEDURE .
- Remove the crossunder pipe. Refer to PIPE, EXHAUST CROSSUNDER, REMOVAL AND INSTALLATION
.
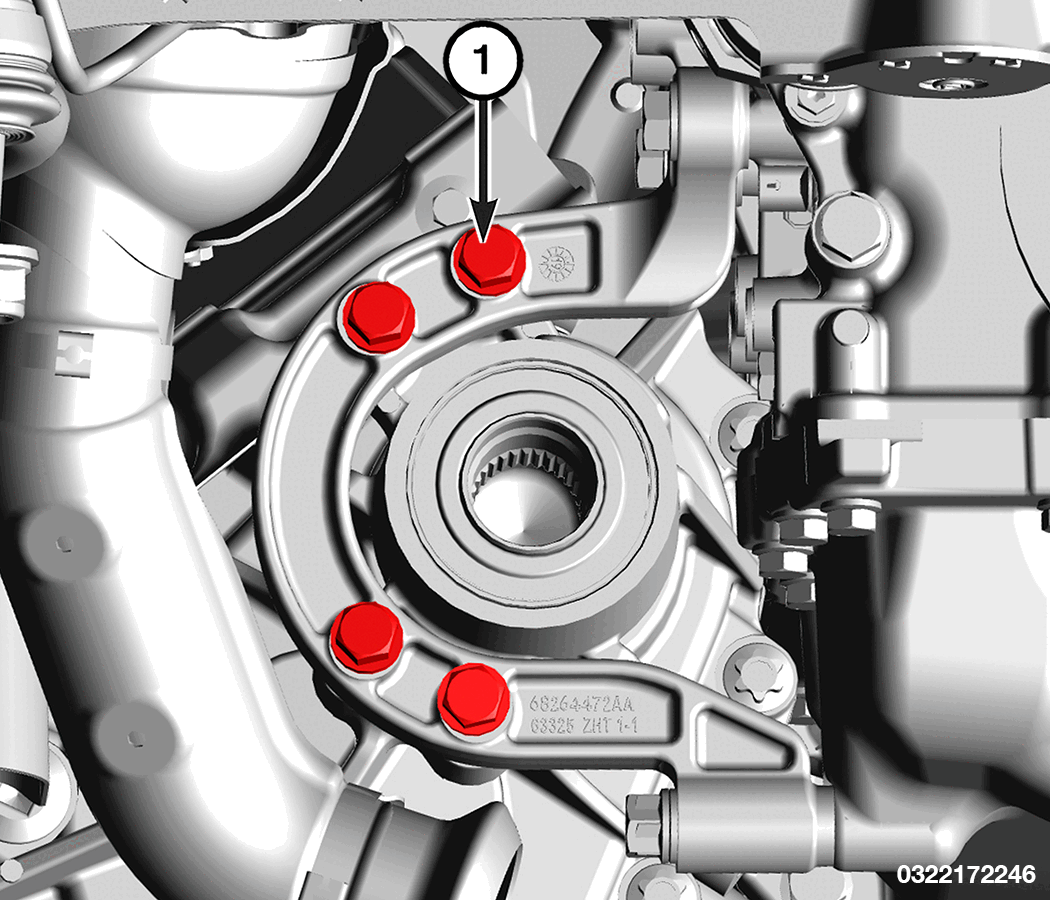
- Remove the fasteners (1) from the Power Transfer Unit (PTU) bracket.
- Remove the fasteners (1) securing the PTU bracket (2) to the engine block and oil pan.
- Remove the bolt (1) securing the coolant tube to the oil pan.
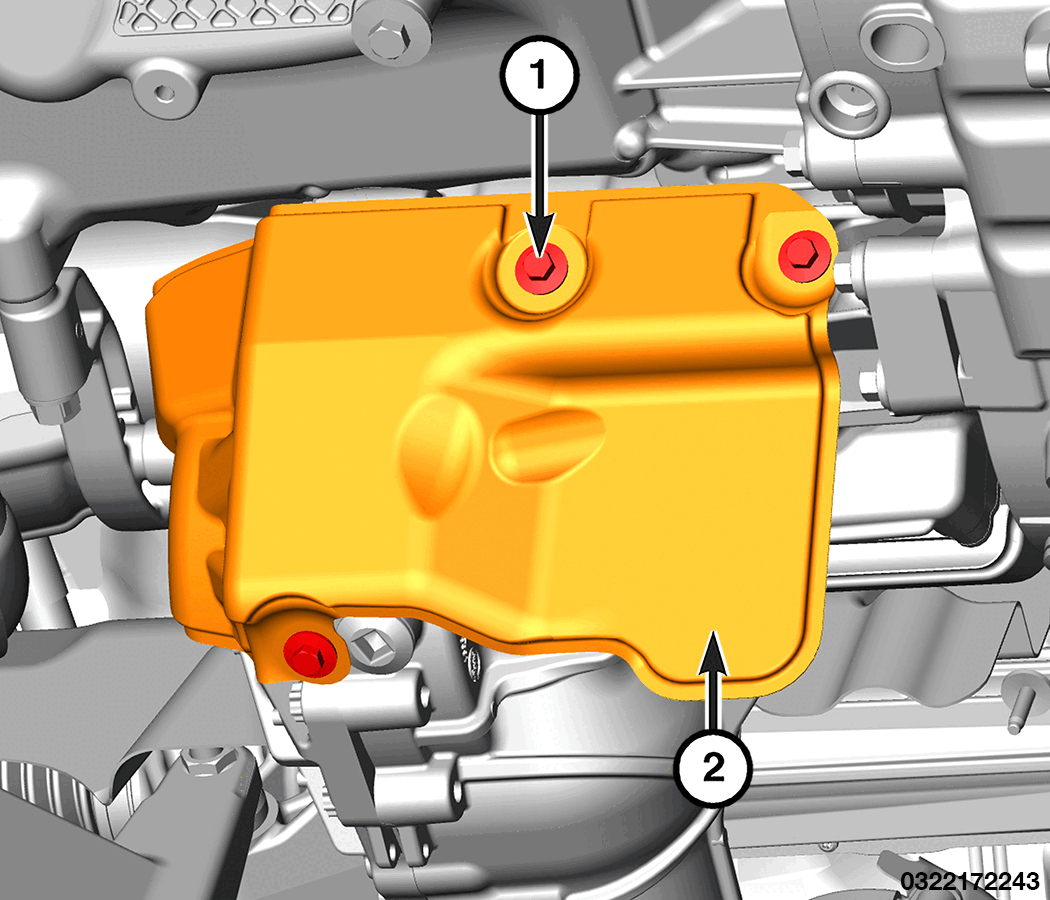
- Remove the fasteners (1) securing the PTU lower heatshield (2) and remove the heatshield from the vehicle.
- Remove the torque converter bolt access cover (1).
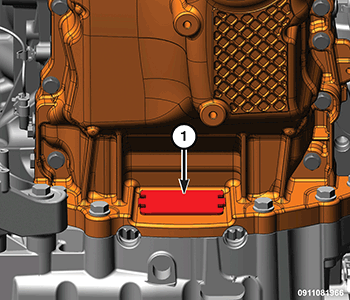
- Remove the five oil pan to transmission bolts (1).
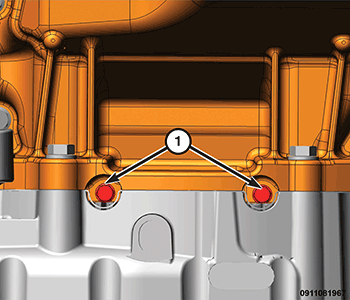
Remove two rubber plugs (2) covering the rear oil seal retainer flange bolts.
CAUTION:There are two hidden M6 bolts that must be removed from the rear of the upper oil pan flange. If these bolts are not removed, the rear oil seal retainer flange will be severely damaged.
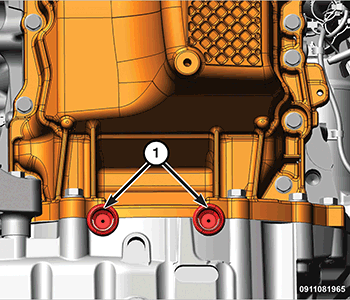
- Remove two M6 bolts (1) from the rear oil seal retainer flange.
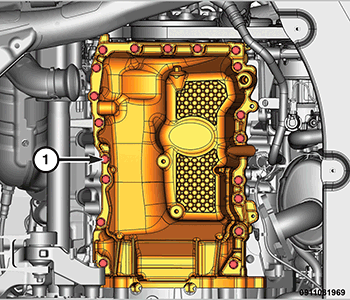
- Remove the nineteen M8 oil pan mounting bolts (1).
- Using the four indicated pry points (1), carefully remove the oil pan.
- Remove all residual sealant from the upper and lower oil pans and clean the mating surfaces with isopropyl alcohol in preparation for sealant application. Refer to PAN, OIL, CLEANING .