Removal And Installation: Removal
- Remove the exterior handle. Refer to HANDLE, EXTERIOR, REMOVAL AND INSTALLATION .
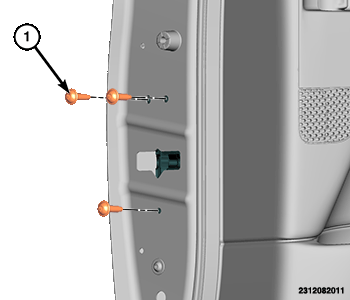
- Remove the exterior handle bracket fastener (1).
- Remove the trim panel. Refer to PANEL, DOOR TRIM, REMOVAL AND INSTALLATION .
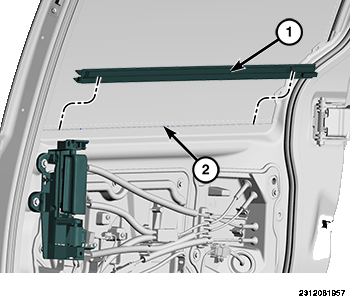
- Remove the inner belt molding (1).
- Open the access hole covers (2) and position aside.NOTE:
If the door glass will not move in the door, remove the regulator motor and manually position the window regulator and glass to the appropriate position.
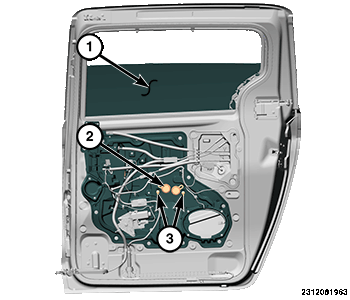
- Temporarily install the window switch, connect the negative battery cable and lower the window (1) until the glass fasteners are visible in both access holes (3).
- Remove the window switch assembly and disconnect and isolate the negative battery cable.WARNING:
Use care when removing the door glass to prevent breakage. Do not force the glass out of the door. Failure to follow this warning may result in serious injury.
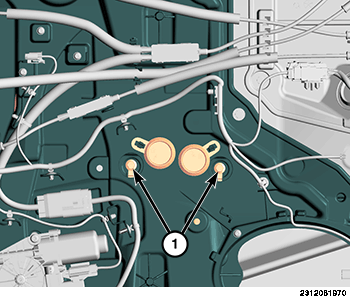
- Remove the glass fasteners (1) and secure the glass in the full up position using tape or wedge block.
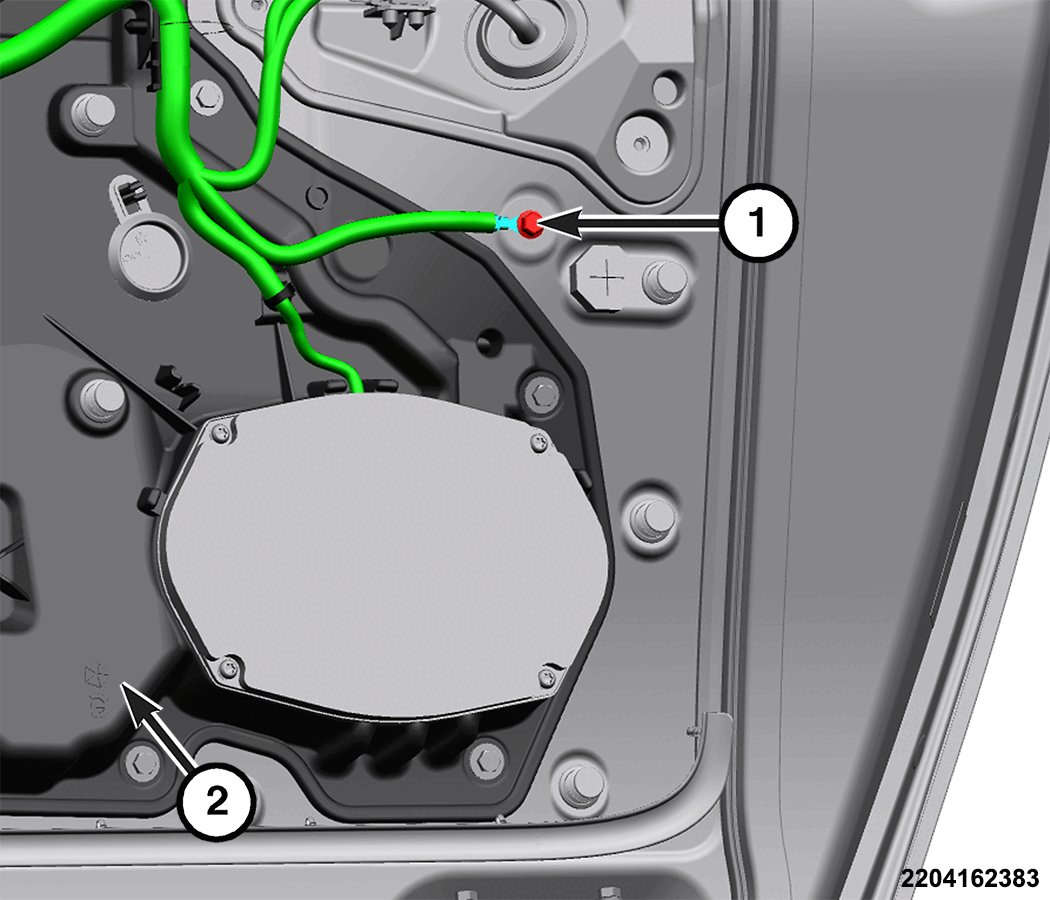
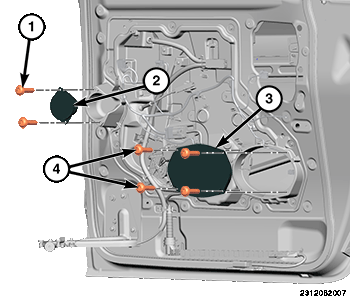
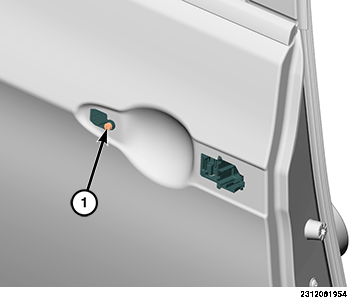
- Remove the fastener (1) to release the wire harness ground.
- Remove the fasteners (1 and 4) as necessary and remove the speakers (2, 3).
- Disconnect the speaker wire harness connectors.
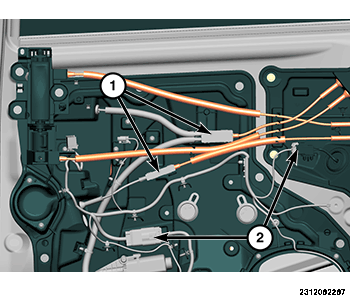
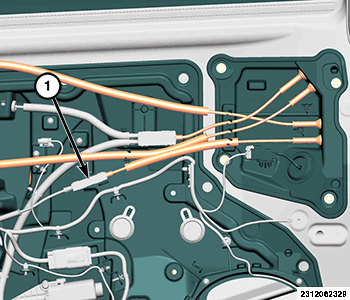
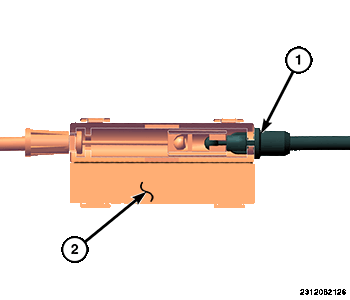
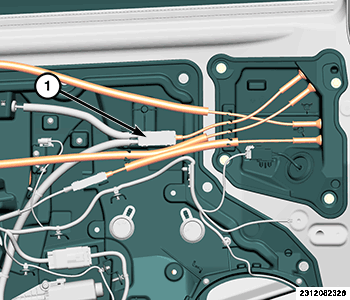
- Disconnect the wire harness connectors (2).
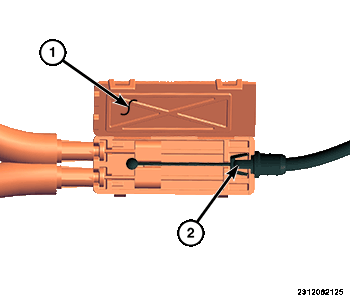
- Locate the front latch control cable union connectors (1).
- Open the front latch control cable union lid (2) and disconnect the cable (1).
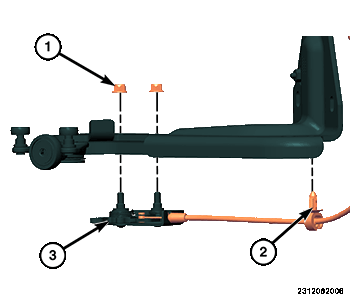
- Locate the hold open latch control cable union (1).
- Open the hold open latch control cable union lid (1) and disconnect the cable (2).
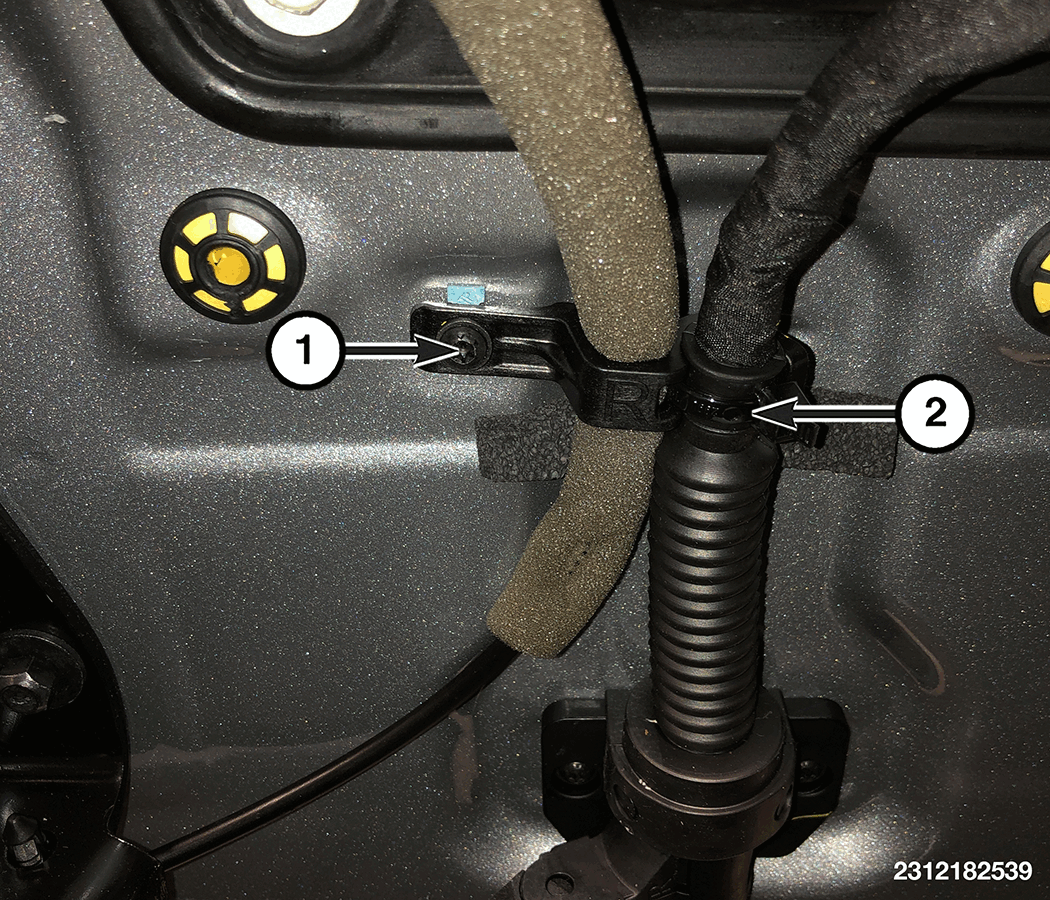
- Remove the fastener (1) securing the cable bracket (2) to the vehicle.
- Remove the fasteners (1) and separate the hold open latch (3) and cable (2) from the hinge assembly.
- Remove the front door latch mounting fasteners (1).
- Remove the fasteners (2) and separate the carrier plate assembly (1) from the door.
- Move the assembly (1) rearward in the door, remove the latch assembly (3) from the door interior (4) and remove the carrier plate.