Removal And Installation: Removal
- Remove the exterior handle. Refer to HANDLE, EXTERIOR, REMOVAL AND INSTALLATION .
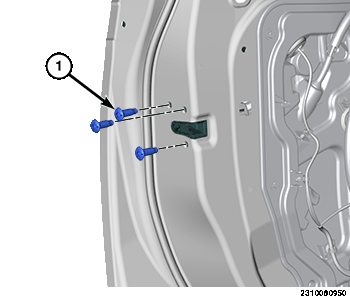
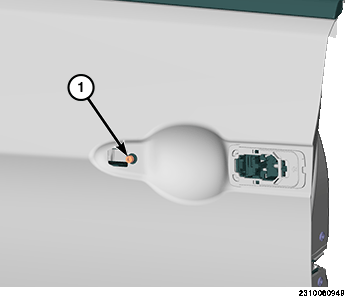
- Remove the exterior handle support fastener (1).
- Remove the front door trim panel. Refer to PANEL, DOOR TRIM, REMOVAL AND INSTALLATION .
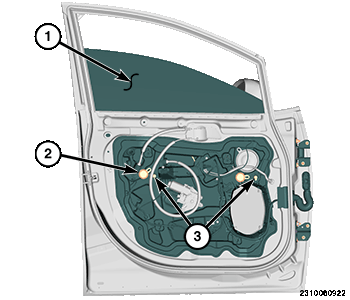
- Remove the inner belt weatherstrip (1) from the front door (2).
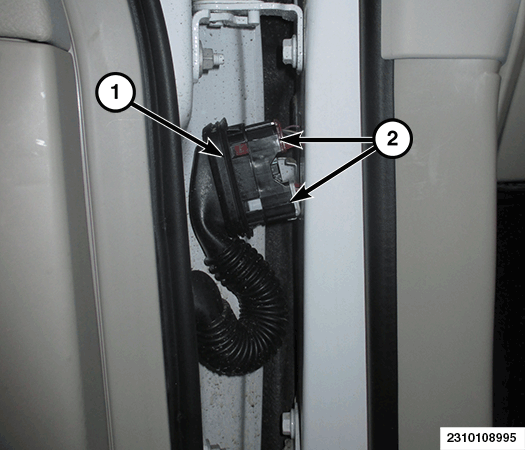
- Disconnect the power mirror wire harness connectors (1) and position aside.
- Open the access plugs (2) and position aside.
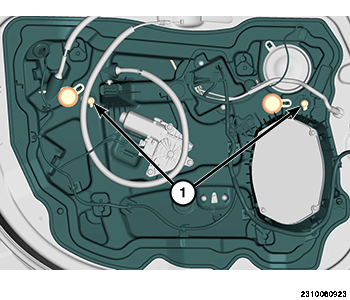
- Remove the window motor fasteners.
- Position the door glass (1) into the down position as shown in illustration so that the fasteners can be reached through the access holes (3).
- Remove the glass fasteners (1).
- Using a hook-type tool or equivalent, release the lower glass tabs (1) from the regulator lift plates (2).
- Secure the window glass into place with a wedge or tape.
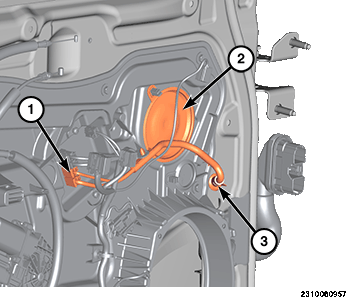
- Remove the front door latch mounting fasteners (1).
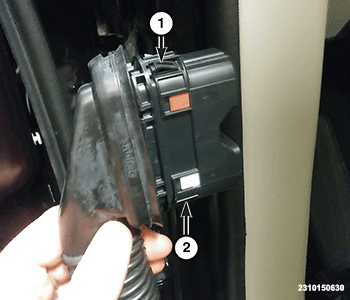
- Release the wire harness (1) from the A-pillar and disconnect the wire harness connectors (2).NOTE:
The connector release tabs are located one at the top and one at the bottom of the connector.
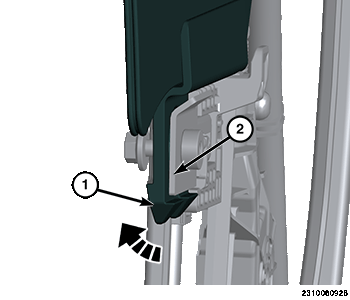
- This graphic shows the positions of the release tabs (1 and 2).
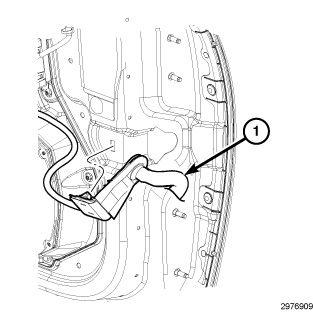
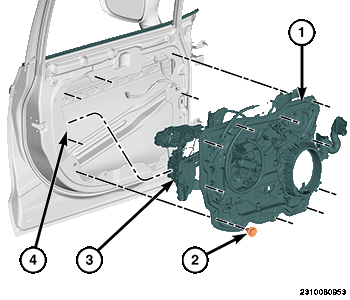
- Remove the front door wire harness bracket (1) from the front of the door.
- Remove the fasteners (2) and separate the carrier plate assembly (1) from the door.
- Move the assembly (1) forward in the door and remove the latch assembly (3) from the door interior (4) and remove the carrier plate.