Removal And Installation: Removal
- Remove the 2nd row Stow-N-Go seat. Refer to SEAT, STOW-N-GO, REMOVAL AND INSTALLATION .
- Remove the headrest. Refer to HEADREST, STOW-N-GO, REMOVAL AND INSTALLATION or HEADREST, THIRD ROW, REMOVAL AND INSTALLATION or HEADREST, THIRD ROW, REMOVAL AND INSTALLATION .
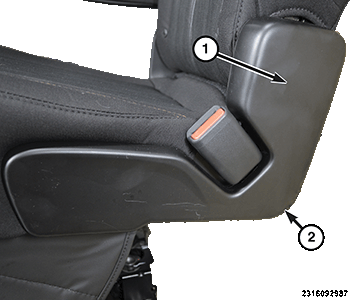
- Remove the armrest. Refer to ARMREST, FRONT, REMOVAL AND INSTALLATION or ARMREST, REAR, WITH RECLINE, REMOVAL AND INSTALLATION .
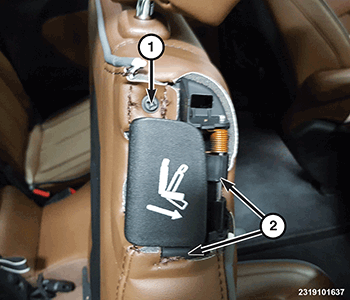
- Using a hook tool, remove the clip from behind the recline handle (2) then pull outward to remove the handle.
- Remove the two screws (1).
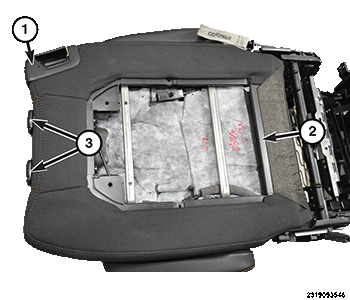
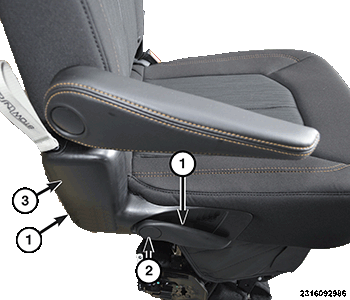
- Using a trim stick, release the front of the outboard side shield (3) then lift and remove.
- Remove the screw (2) at the backside of the inboard side shield (1).
- Using a trim stick, release the front of the inboard side shield then lift and remove.
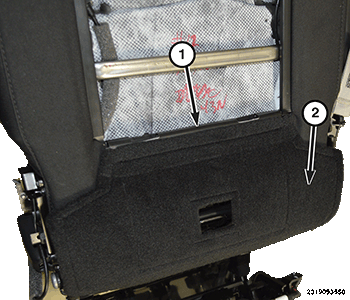
- Release the J-hooks (1) and remove the lower cover panel (2).NOTE:
The sleeve without the headrest cable has a metal retainer that needs to be removed first.
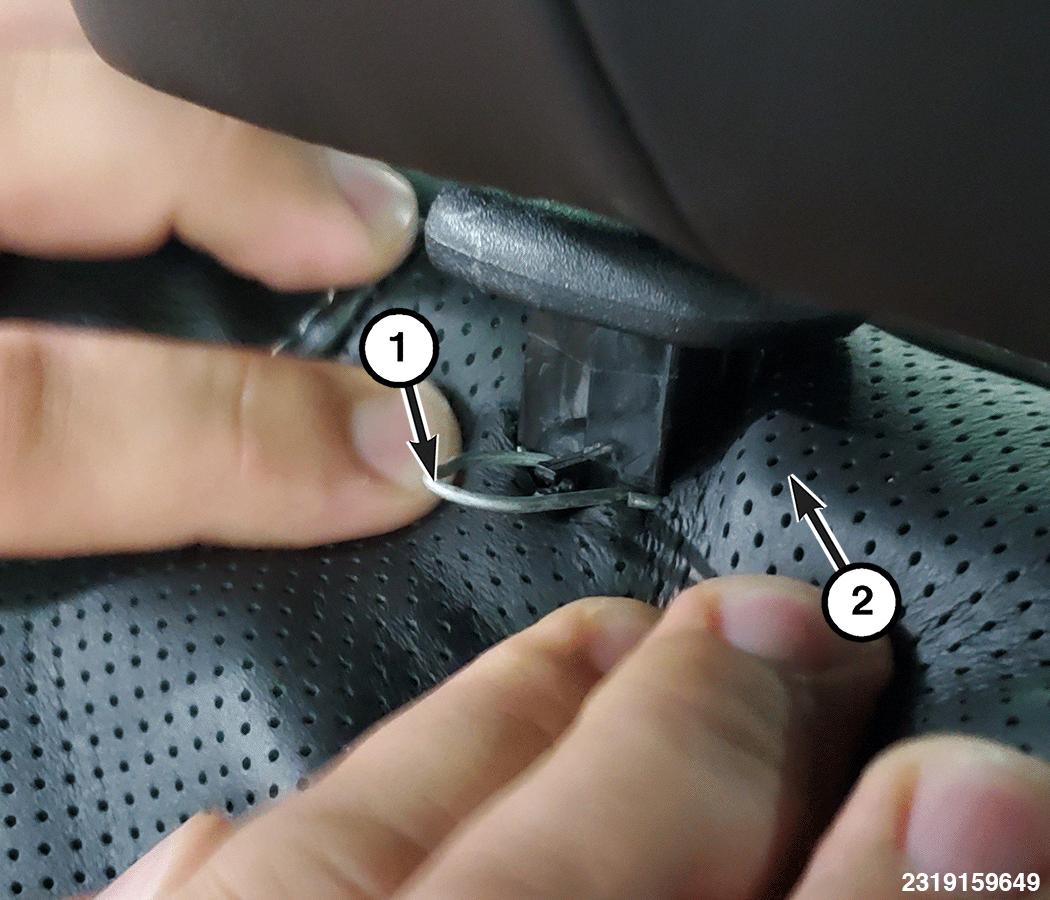
- Push down on the seat cover (2) and remove the clips (1). Then remove the headrest sleeve.
- Reach up behind the seat back cover and push the tabs of the headrest sleeves (3) and pull out to remove.
- Release the J-hooks (2) from the seat frame.
- Remove the screw and remove the fold flat handle bezel (1).
- Remove the screw (1) under the fold flat handle bezel.NOTE:
Be careful not to tear the cover or damage the stiffener. Replace the cover if a stiffener gets torn or damaged.
- Pull the cover stiffeners (2) loose from the fold flat handle housing.
- Remove the seat back cover and the seat back foam as an assembly, from the seat back frame.
- Pull the seat back cover away from the seat back foam, releasing the hook and loop fasteners first.
- Using a hook tool, start at one end to release the clip strips and the seat back cover.NOTE:
Be careful not to damage the clips molded into the seat cushion. If the clips or cushion are damaged during removal, replace the cushion.