Removal And Installation: Installation

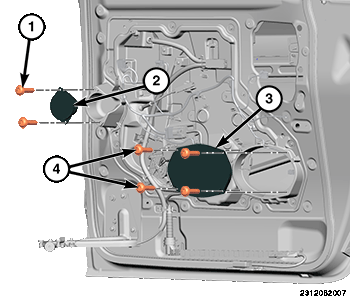
- Position the latch presenter assembly (3) back into the door cavity (4) and install the carrier plate assembly (1).
- Install the fasteners (2) and tighten to the proper torque specifications. Refer to TECHNICAL SPECIFICATIONS .
- Install the front latch mounting fasteners (1).
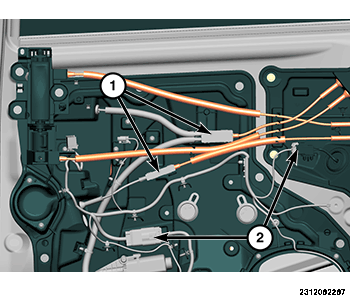
- Connect the control cables (1) and close the covers fully.
- Connect the wire harness connectors (2).
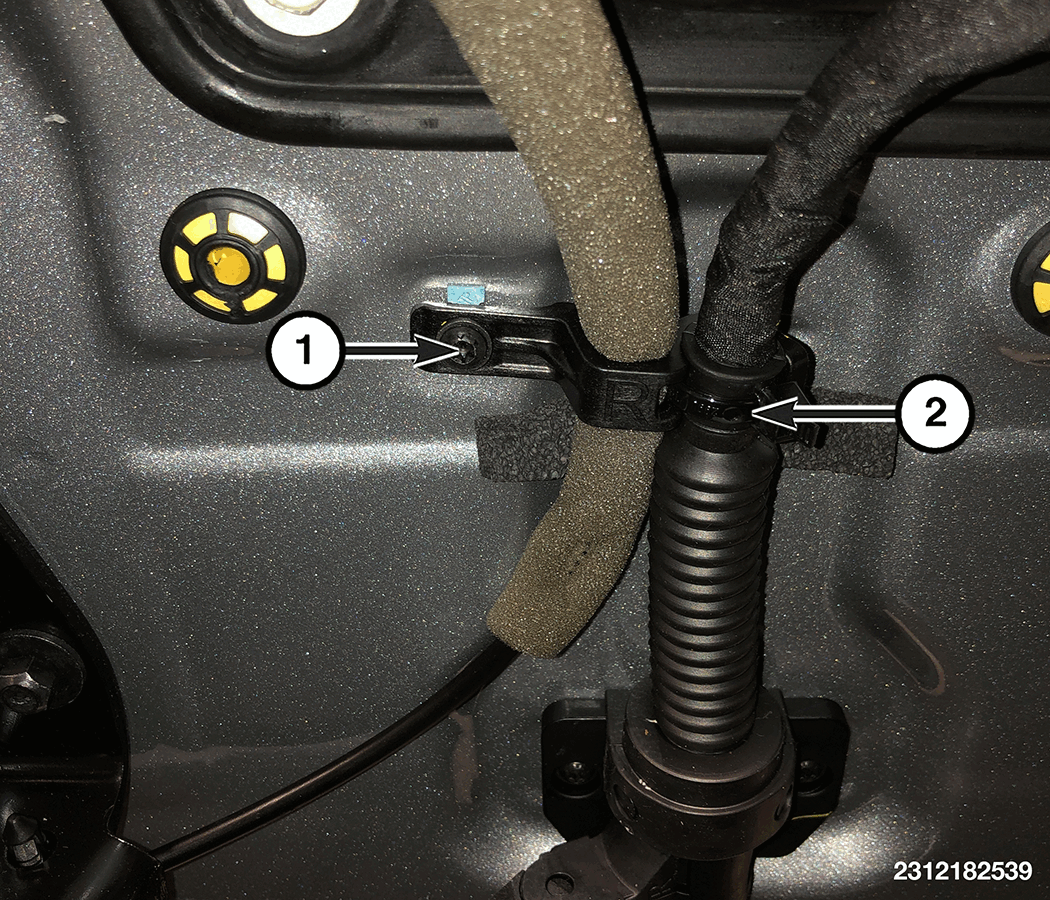
- Position the cable bracket (2) to the vehicle, then install and securely tighten the fastener (1).
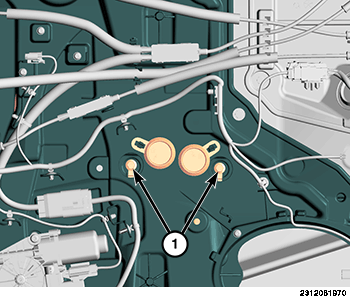
- Connect the wire harness connectors and install the speakers (1, 3).
- Install the screws (1, 4).
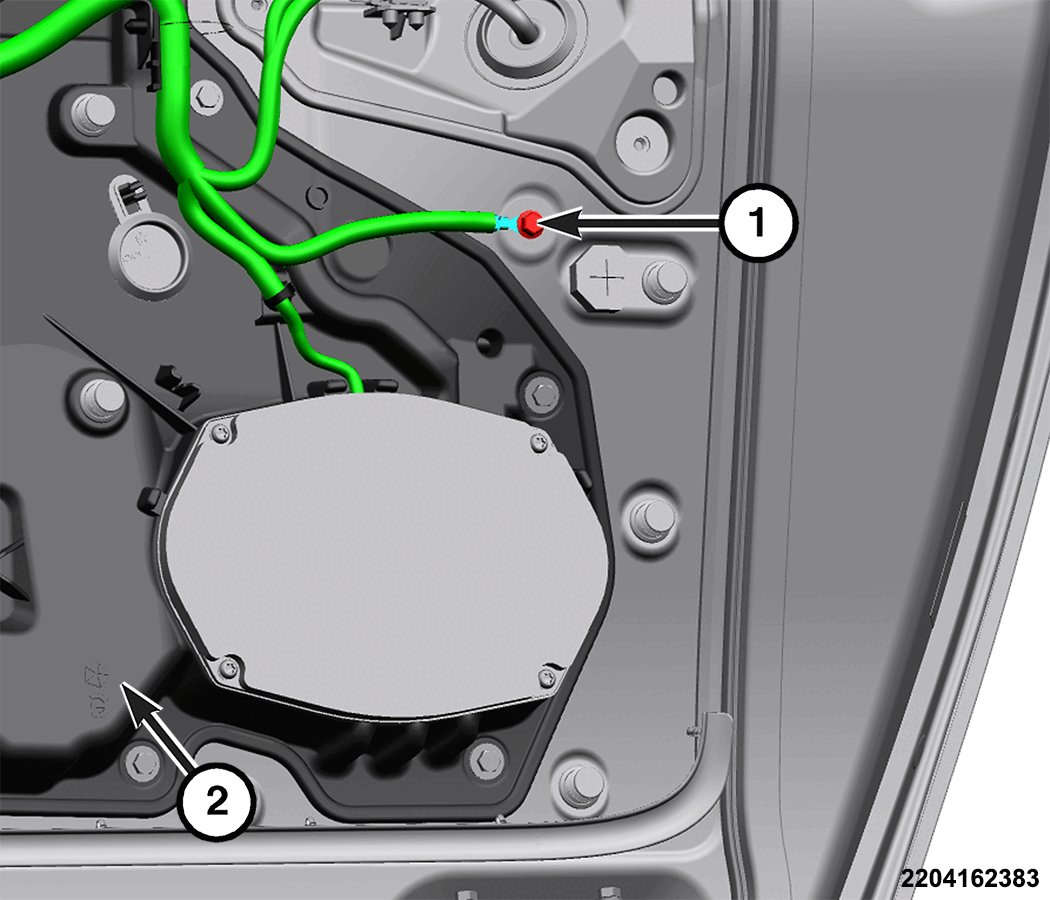
- Position the wire harness ground to the door and install the fastener (1). Tighten the sliding door ground fastener (1) to the proper specification. Refer to TECHNICAL SPECIFICATIONS .
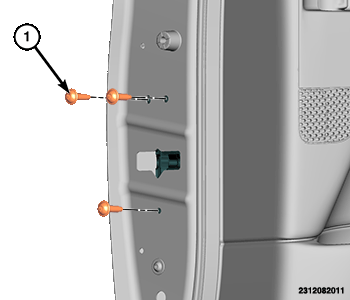
- Lower the glass into position and install the fasteners (1).
- Tighten the fasteners (1) to the proper specification. Refer to TECHNICAL SPECIFICATIONS .
- Close the access hole covers.
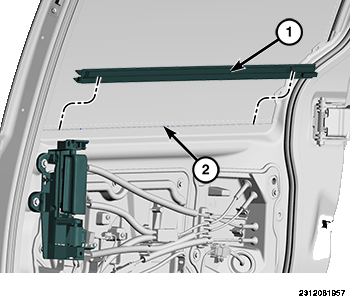
- Install the inner belt molding (1) and seat onto the inner door panel (2) fully.
- Install the trim panel. Refer to PANEL, DOOR TRIM, REMOVAL AND INSTALLATION .
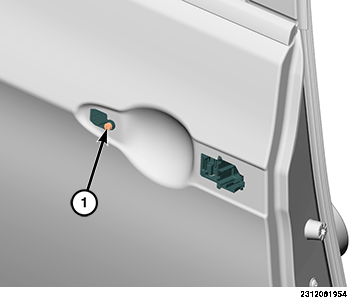
- Install the exterior handle bracket screw (1).
- Install the exterior handle. Refer to HANDLE, EXTERIOR, REMOVAL AND INSTALLATION .