Removal And Installation: Removal
- Disconnect and isolate the negative battery cable. If equipped with an Intelligent Battery Sensor (IBS), disconnect the IBS connector first before disconnecting the negative battery cable.
- Remove the right rear wheelhouse splash shield. Refer to SHIELD, SPLASH, REAR WHEELHOUSE, REMOVAL AND INSTALLATION
.
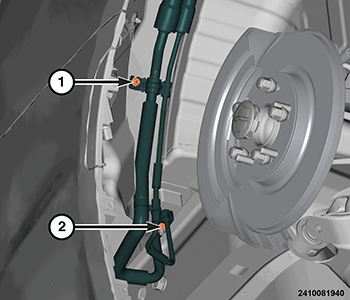
- Remove the A/C line to body nut (1).NOTE:
This step is necessary to prevent damage to the A/C lines in Step 7 .
- Remove the rear floor distribution duct. Refer to DUCT, FLOOR DISTRIBUTION, REAR, REMOVAL AND INSTALLATION .
- Remove the rear ceiling distribution duct. Refer to DUCT, CEILING DISTRIBUTION, REMOVAL AND INSTALLATION .
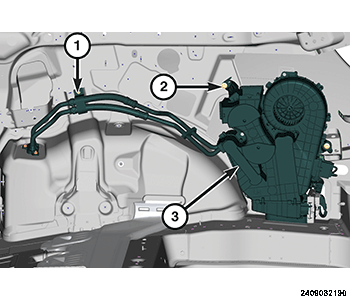
- Remove the Heating, Ventilation and Air Conditioning - Rear (HVACR) housing to inner quarter panel bolts (2).
- Carefully pull the top of HVACR housing 3 inches away from the rear inner quarter panel to gain access to the actuator fasteners and wire harness connector.NOTE:
Extending the HVACR housing greater than 3 inches from the rear inner quarter panel could result in damage to the A/C lines.
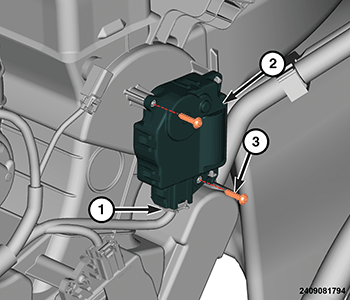
- Disconnect the mode door actuator wire harness connector (1).
- Remove the mode door actuator to HVACR housing screws (3) and remove the actuator.