Removal And Installation: Removal
WARNING:
On vehicles equipped with the high voltage system, disconnecting the 12-volt battery negative cable alone will not power down the 12-volt system. You must perform the 12-volt Power Down procedure before proceeding. Failure to follow these instructions may result in possible serious or fatal injury.
- Disconnect and isolate the negative battery cable. If equipped with an Intelligent Battery Sensor (IBS), disconnect the IBS connector first before disconnecting the negative battery cable.
- Raise and support the vehicle. Refer to HOISTING, STANDARD PROCEDURE .
- Remove the front belly pan. Refer to BELLY PAN, FRONT, REMOVAL AND INSTALLATION .
- Remove the four screws (1) and the nut (2) attaching the wheelhouse splash shields (3) to the front fascia.
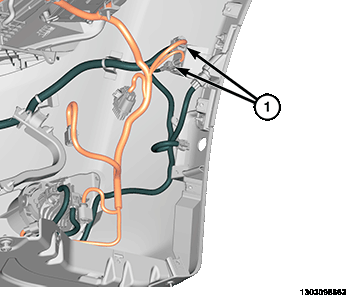
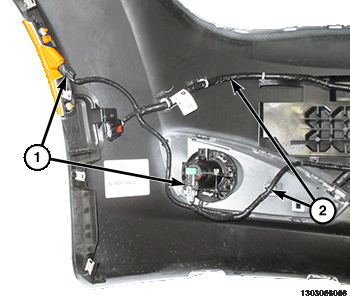
- Disconnect the front fascia wire harness connector (1) on the right side.
- Disconnect the front fascia wire harness connector (1) on the left side.
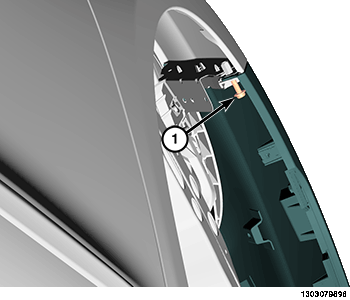
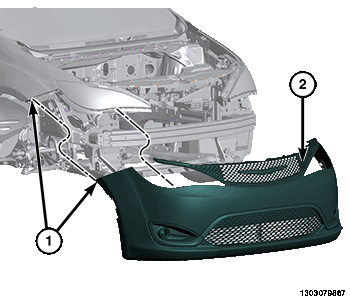
- Position aside the wheelhouse plash shields and remove the screws (1) attaching the fascia to the fenders.
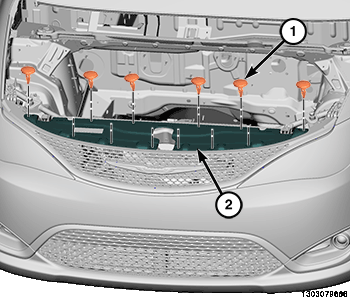
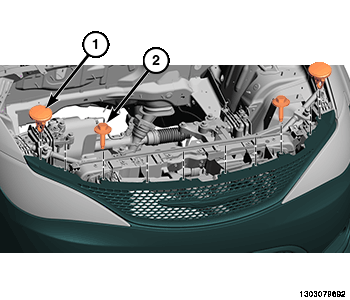
- Remove the push pins (1) and remove the upper fascia closeout panel (2).
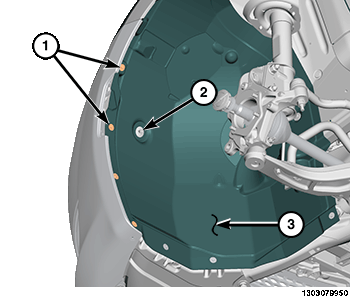
- Remove the upper grille push pin fasteners (1) and the bolts (2) that secure the grille to the radiator support.
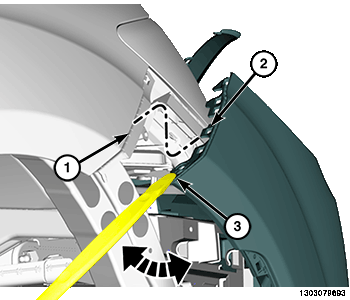
- Using trim stick (special tool #C-4755, Trim Stick) or equivalent, release the rear of the fascia support clip (3).
- Carefully pull out and release the fascia attachments (2) from the fender attachment and the headlight brackets (1).
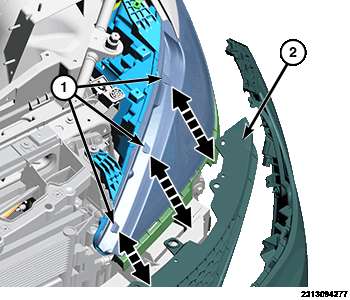
- Separate the upper grille (2) from the headlight tabs (1) by pulling straight ahead gently.
- Position the fascia (2) off the vehicle and disconnect any wire harness connectors as necessary. Remove the fascia (2).
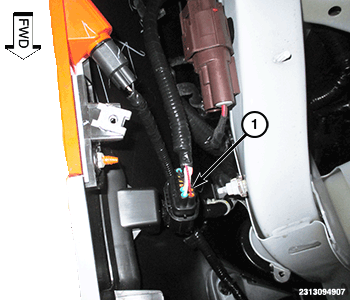
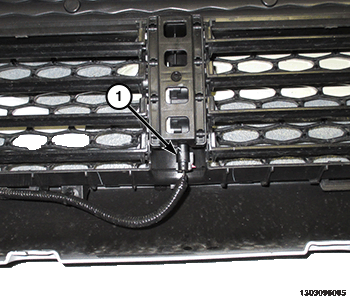
- Disconnect the adjustable grille shutter wire harness connector (1).
- Disconnect the remaining wire harness connectors (1) and remove the wire harness (2).
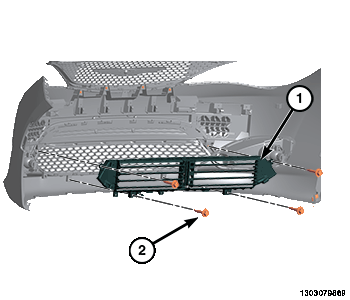
- Remove the screws (2) and remove the adjustable grille shutter assembly (1).
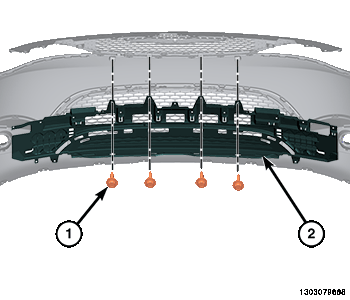
- Remove the screws (1) and remove the energy absorber (2).
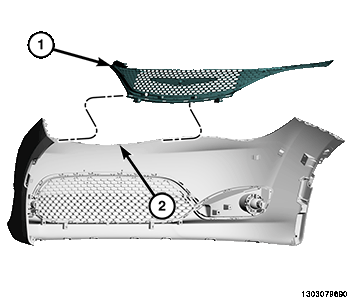
- Separate the clips (2) and remove the upper grille (1).
- Separate the clips (1) and remove the lower grille (2).