BELLHOUSING Removal
Before disassembling the transmission, wash the transmission with a suitable solvent and a siphon pressure washer to remove oily grime and loose dirt. Place the transmission on a clean work surface with ample fluid drainage or absorbency.
- Place the transmission on a suitable, clean work surface.
- Remove the torque converter.
- Measure the input shaft end-play. Refer to STANDARD PROCEDURES .
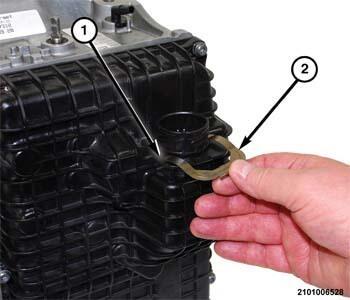
- Remove the clip (2) holding the transmission solenoid connector (1) in the valve body cover pan.
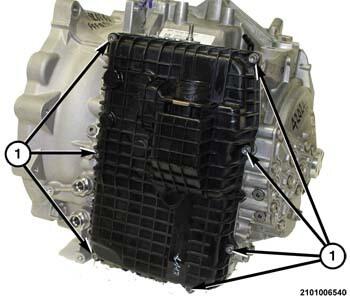
- Remove the valve body cover pan bolts (1) and the valve body cover pan.
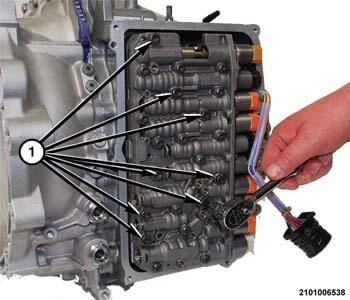
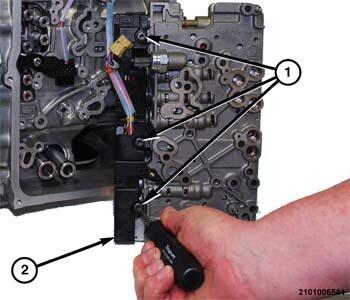
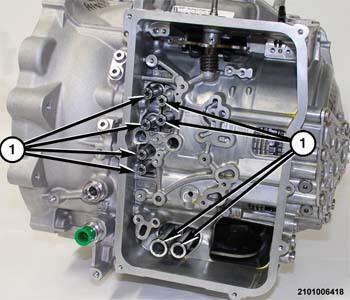
- Remove the valve body bolts (1).
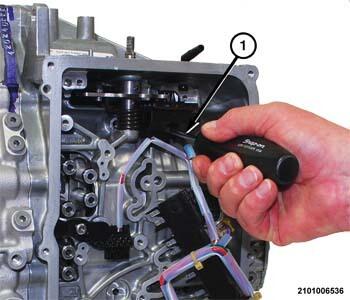
- Using a suitable prying tool, pry the valve body away from the adapter tubes.
- Turn the valve body over to gain access to wire harness connectors.
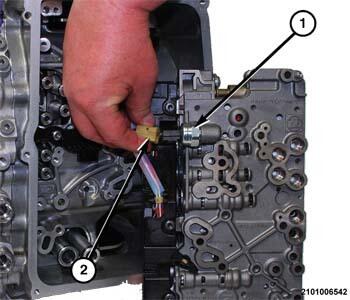
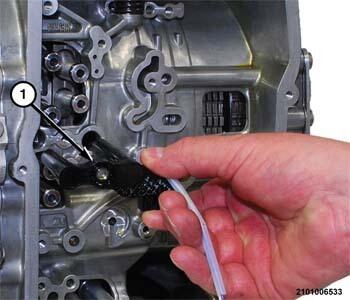
- Release the lock on the fluid pressure transducer wire connector (2) and separate the wire harness connector (2) from the fluid pressure transducer (1).
- Remove the bolts (1) holding the transmission solenoid connector to the valve body and solenoids.
- Using a suitable prying tool, separate the transmission solenoid connector (2) from the solenoids.
- Separate the valve body from the transmission.NOTE:
If the valve body is to be reused without disassembling it, store the valve body in a clean area until it is installed.
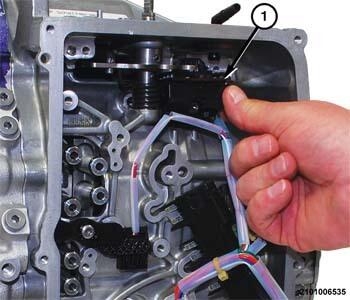
- Remove the Transmission Range Sensor (TRS) screw (1).
- Separate the TRS (1) from the transmission with the wire harness connected.
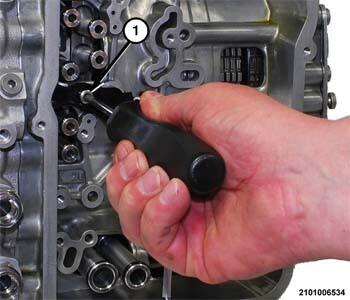
- Remove the speed sensor screw (1).
- Separate the speed sensor (1) from the transmission with the wire harness connected.
- Using suitable pliers, remove the fluid adapter tubes (1) from the transmission.
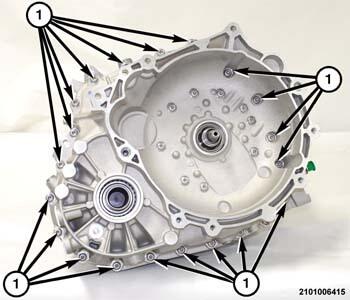
- From around the perimeter of the transmission, remove the bellhousing bolts (1) holding the bellhousing to the transmission housing.
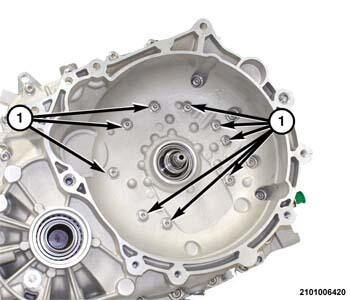
- Remove the bellhousing bolts (1) holding the bellhousing to the output gear support.
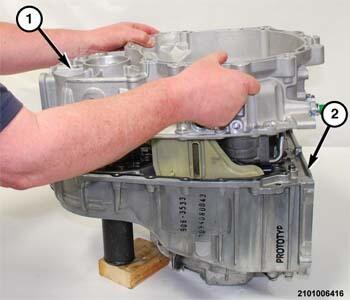
- Using wooden blocks to stabilize the transmission on the work surface, position the transmission on the bench with the bellhousing facing upward.
- Using a suitable pry-bar in the pry point locations, pry upward to dislodge the bellhousing from the transmission housing.
- Lift the bellhousing (1) upward and separate the assembly from the transmission housing (2).