Upper Intake Manifold: Removal
- Disconnect and isolate the negative battery cable.
- Remove the engine cover. Refer to COVER, ENGINE, REMOVAL AND INSTALLATION .
- Remove the air cleaner resonator. Refer to RESONATOR, AIR CLEANER, REMOVAL AND INSTALLATION .
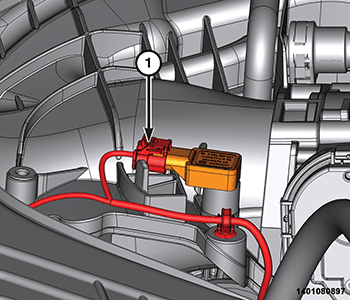
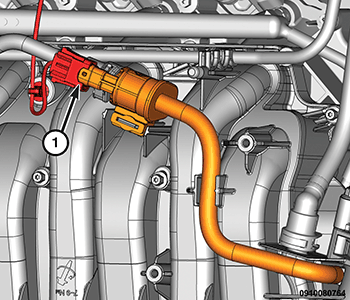
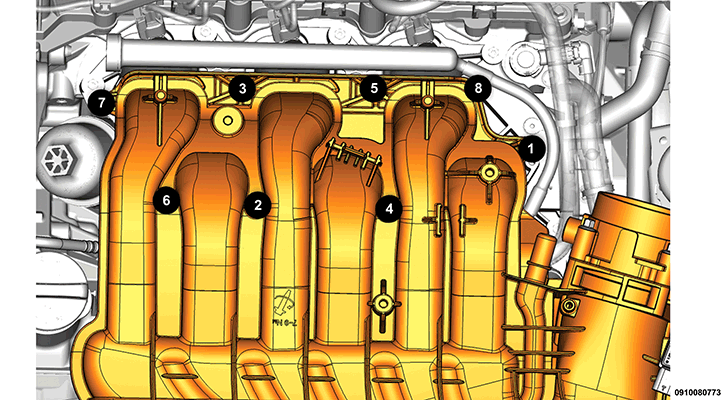
- Disconnect Manifold Absolute Pressure (MAP) sensor wire harness connector (1) and detach the wire harness retainer from the manifold.
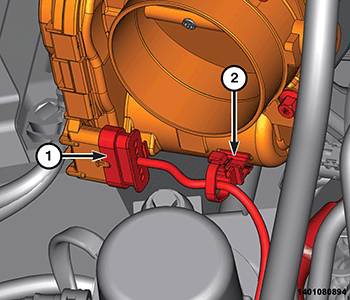
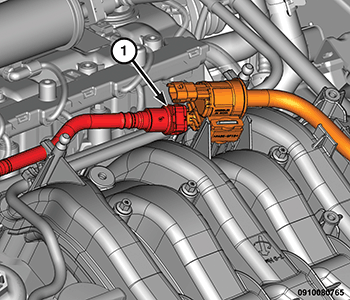
- Disconnect the Electronic Throttle Control (ETC) wire harness connector (1) and detach the wire harness retainer (2) from the ETC.
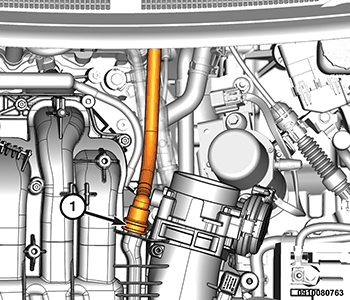
- Disconnect the Positive Crankcase Ventilation (PCV) hose (1).
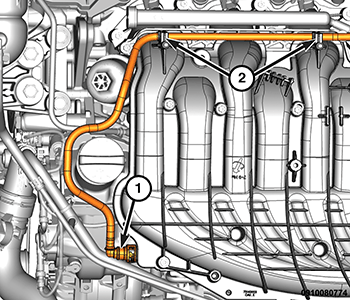
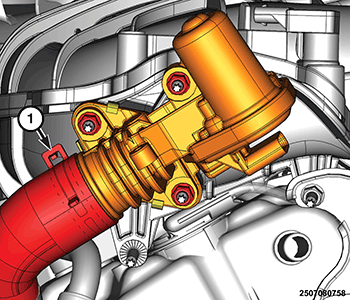
- Disconnect the brake booster (1) and detach the hose (2) from manifold.
- Disconnect the evaporative purge solenoid wire harness connector and detach the wire harness retainer from the manifold.
- Disconnect the vapor purge line (1).
- Remove the electric vacuum pump and bracket. Refer to PUMP, VACUUM, REMOVAL AND INSTALLATION
.
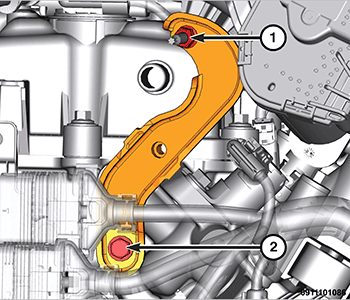
- Remove the nut (1) from the upper intake manifold stud.
- Remove the lower mounting bracket bolt (2) from the cylinder head.
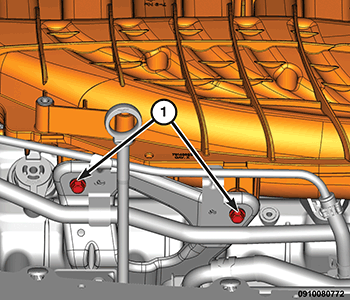
- Remove the two upper intake manifold support bracket bolts (1).
- Disconnect the EGR valve wire harness connector.
- Disconnect the EGR cooler hose (1) from the EGR valve.NOTE:
The upper intake manifold attaching bolts are captured in the upper intake manifold. Once loosened, the bolts will have to be lifted out of the lower intake manifold and held while removing the upper intake manifold.
NOTE:Exercise care not to inadvertently loosen the two fuel rail attachment bolts that are in close proximity of the upper intake manifold attaching bolts.
- Remove the eight bolts and the upper intake manifold.
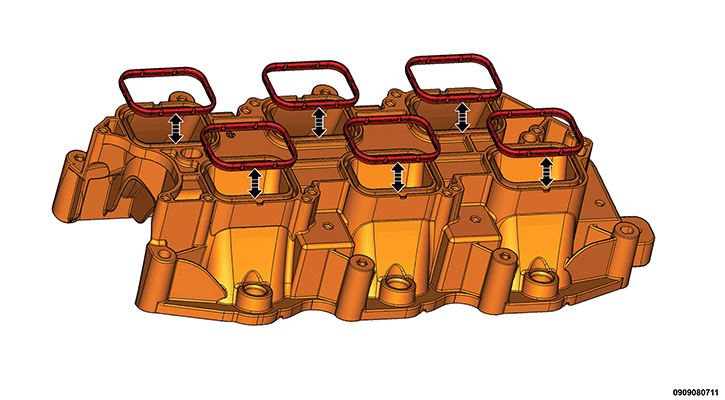
- Inspect and reuse if acceptable, the six upper to lower intake manifold gaskets.
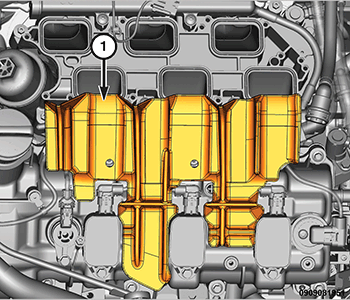
- Cover the open intake ports to prevent debris from entering the engine.
- If necessary, remove the insulator (1) from the left cylinder head cover.