Left Side With Stow-N-Vac: Removal
NOTE:
It is very important to follow the removal steps closely in order to prevent damage to the quarter trim panel.
- Fold the second and third row seats into the floor. If not equipped with stow and go second row seat then move second row all the way forward and tilt seat back to forward position.
- Using a trim stick, lift the front of the scuff plate extension (1) then pull forward to release the tabs (2) and remove.
- Remove the liftgate scuff plate. Refer to PLATE, SCUFF, LIFTGATE SILL, REMOVAL AND INSTALLATION .
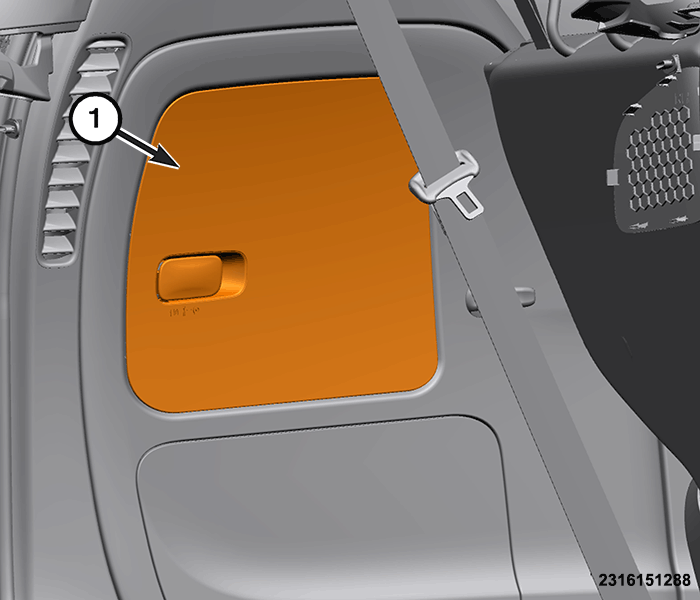
- Open the upper storage door (1).NOTE:
Door removed for clarity but does not need to be removed.
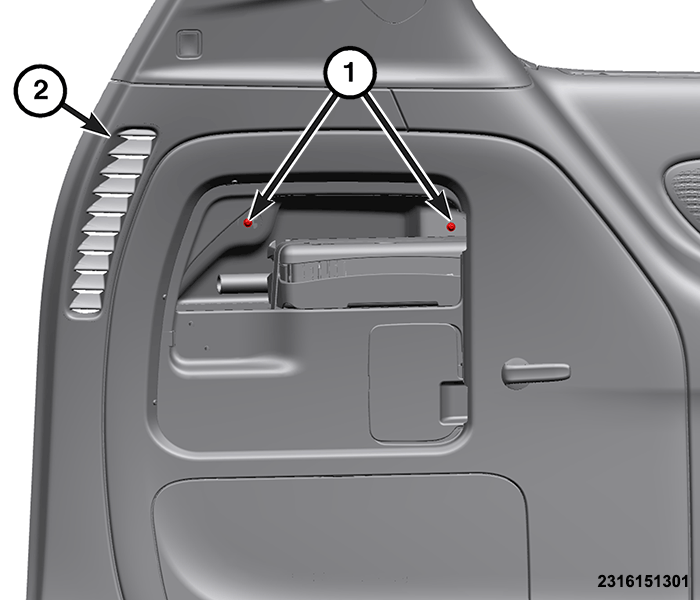
- Remove the fastener covers (1).
- Remove the fasteners (1).
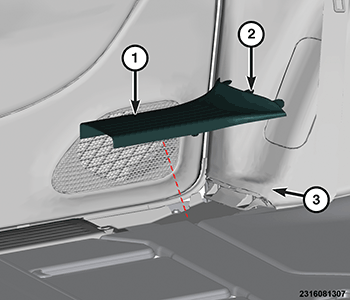
- Using a trim stick or equivalent, remove the vacuum insert panel (1).
- Remove the D-pillar trim panel. Refer to PANEL, D-PILLAR TRIM, REMOVAL AND INSTALLATION .
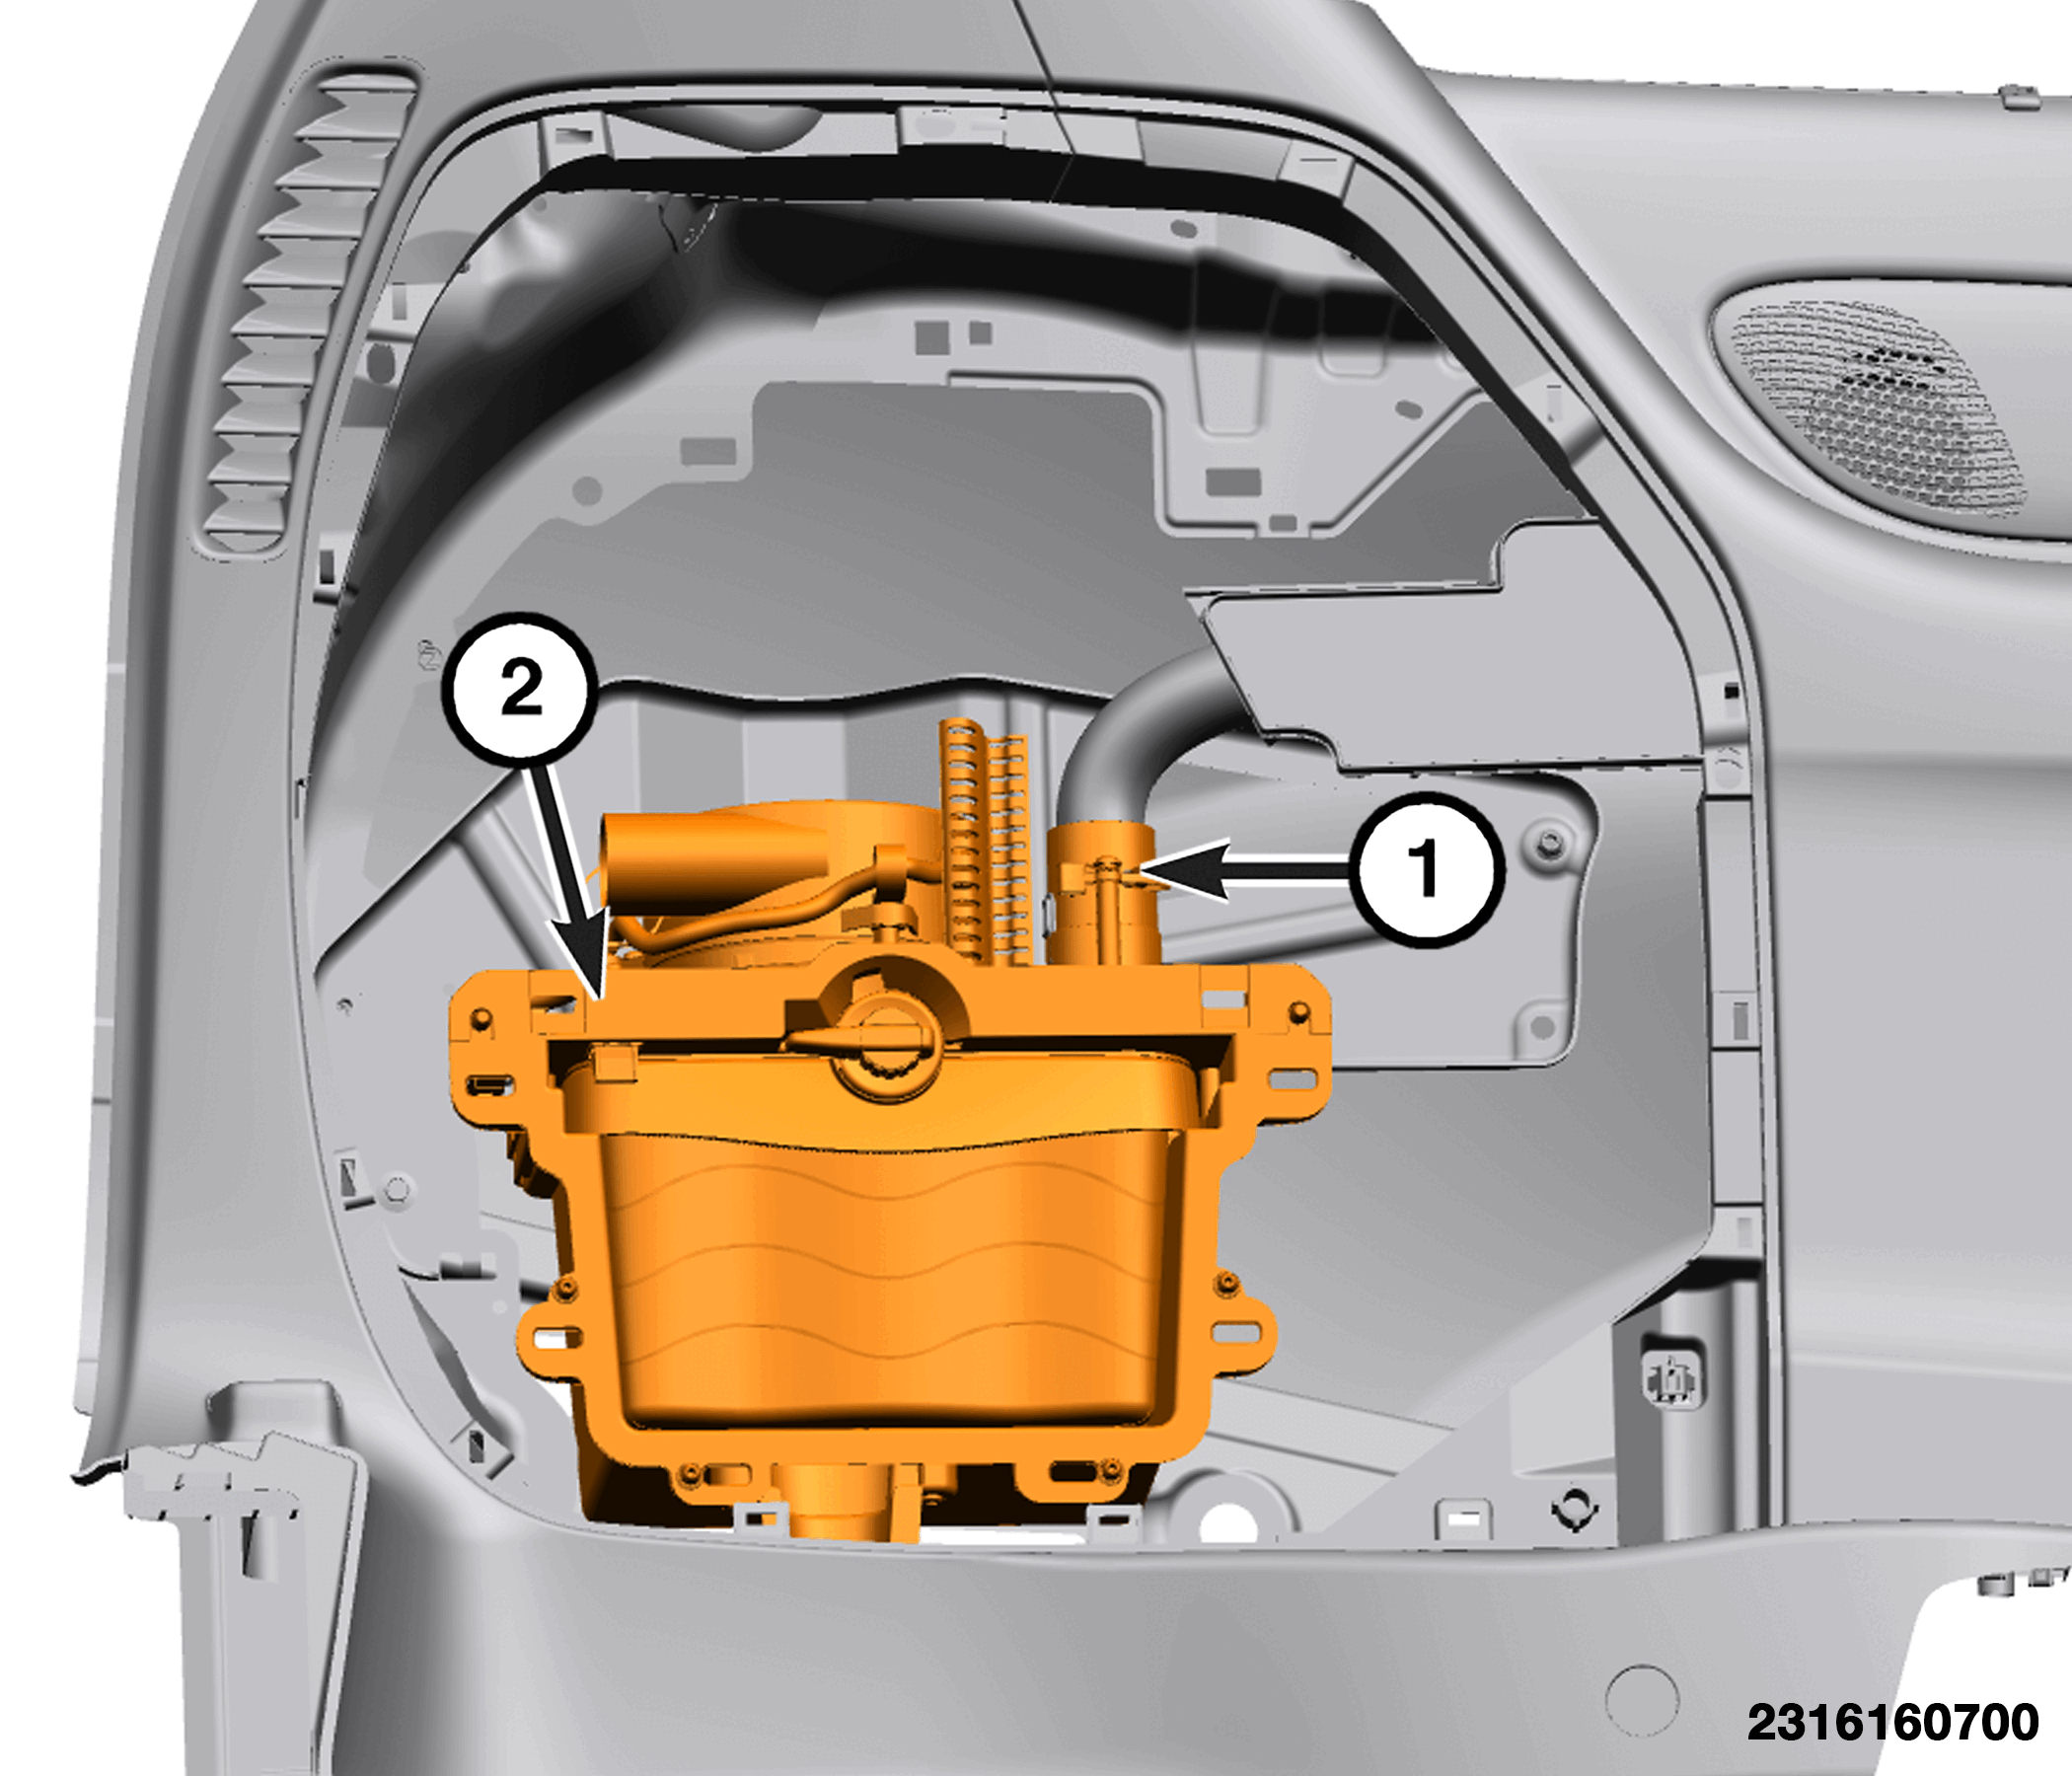
- Disconnect the vacuum hose (1) from the vacuum (2).NOTE:
The vacuum does not need to be removed, just removed for clarity.
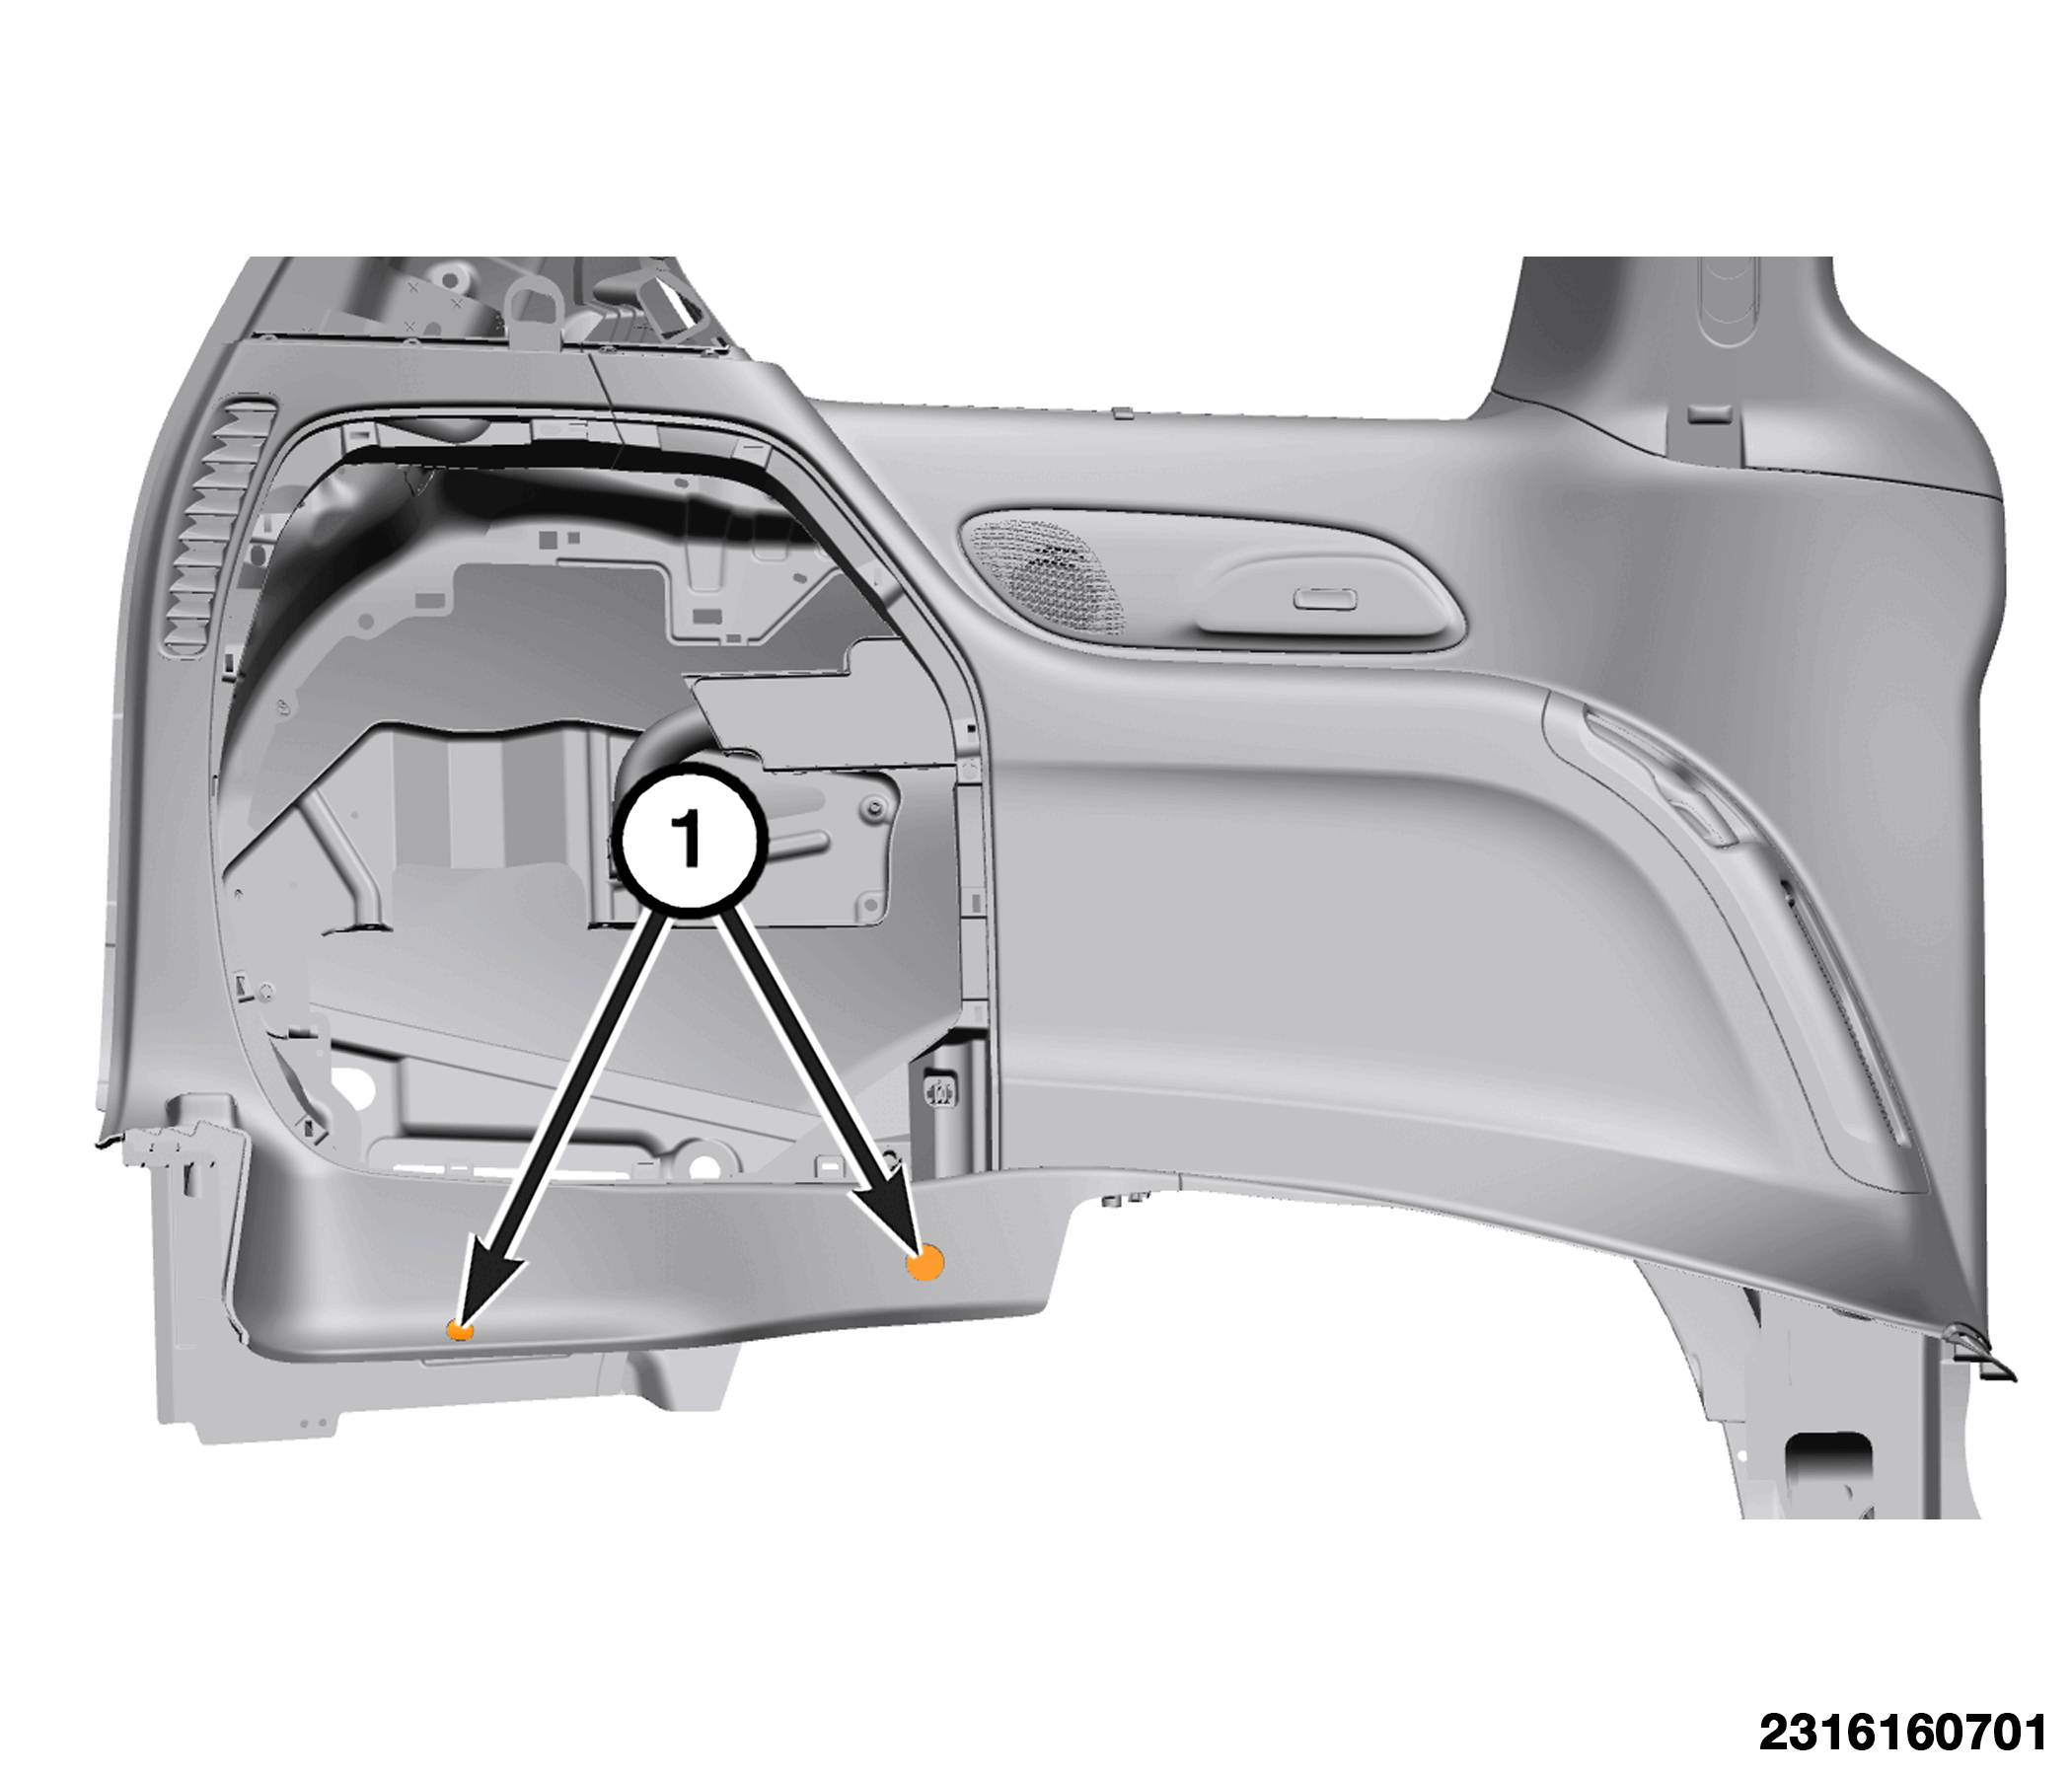
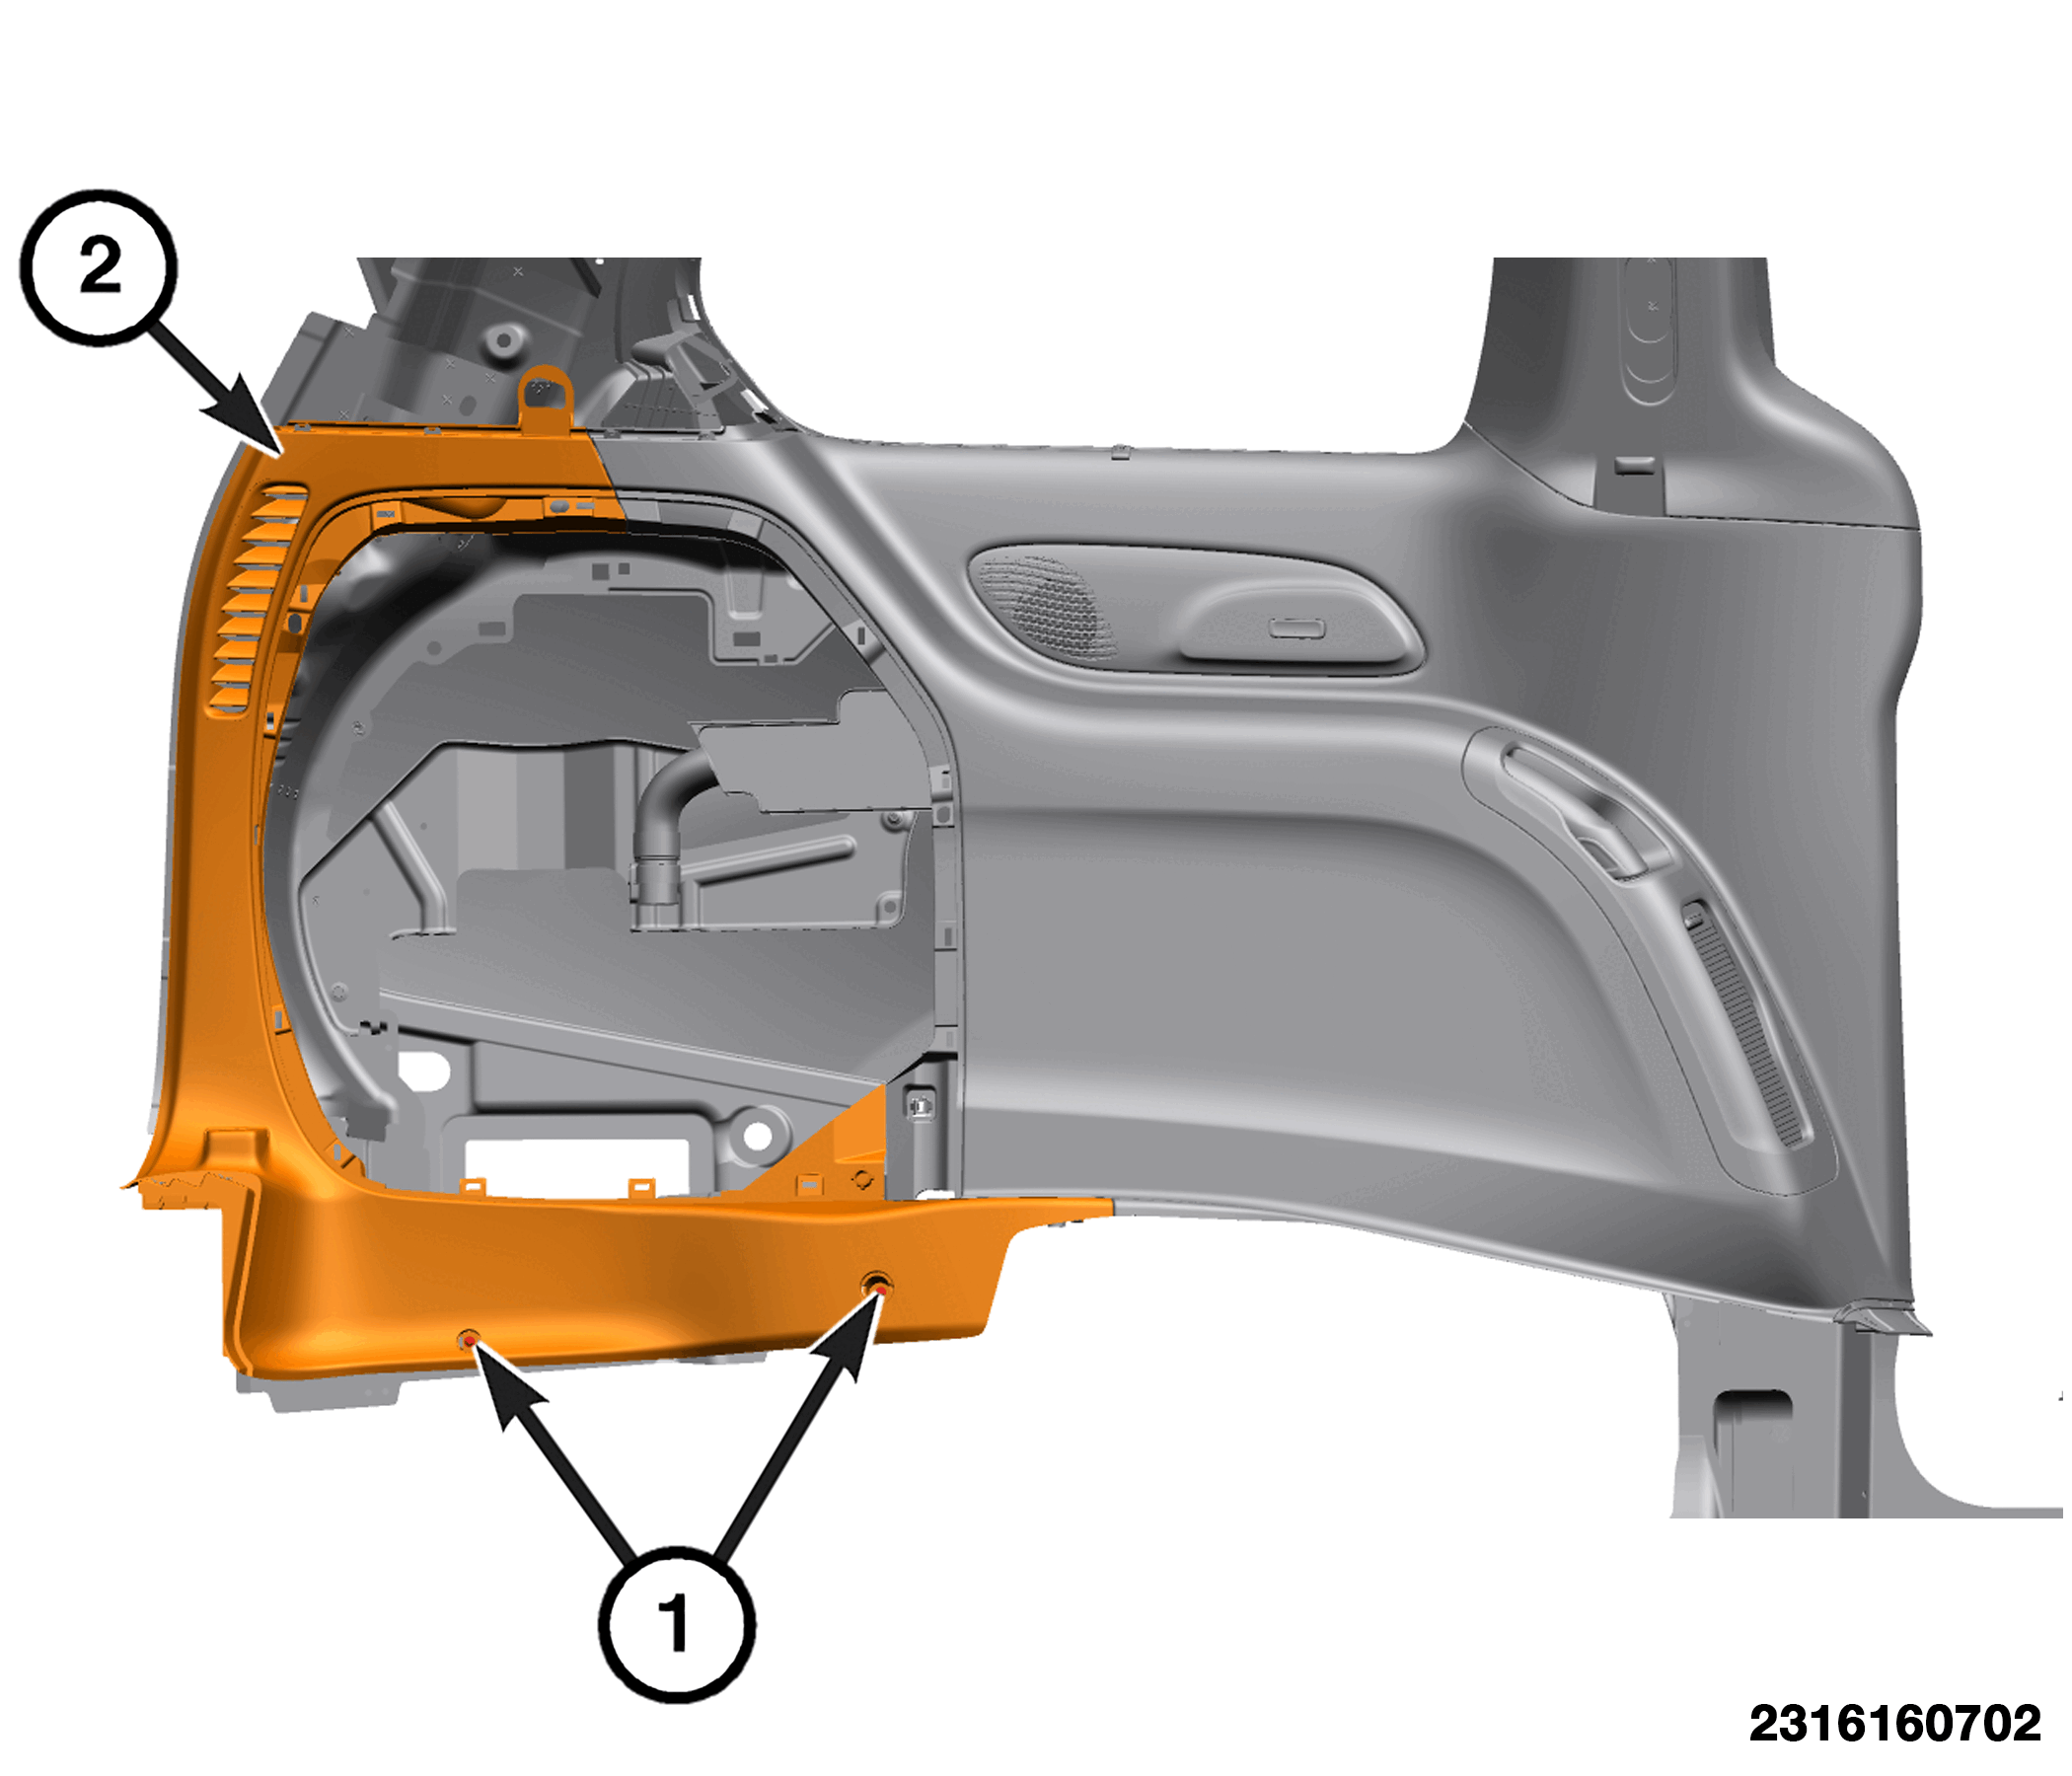
- Remove the fastener covers (1) at the bottom of the quarter trim panel.
- Remove the fasteners (1).
- Using a trim stick or equivalent, remove the rear portion of the quarter trim panel (2) from the front portion of the quarter panel trim.NOTE:
It is very important to follow the removal steps closely in order to prevent damage to the quarter trim panel.
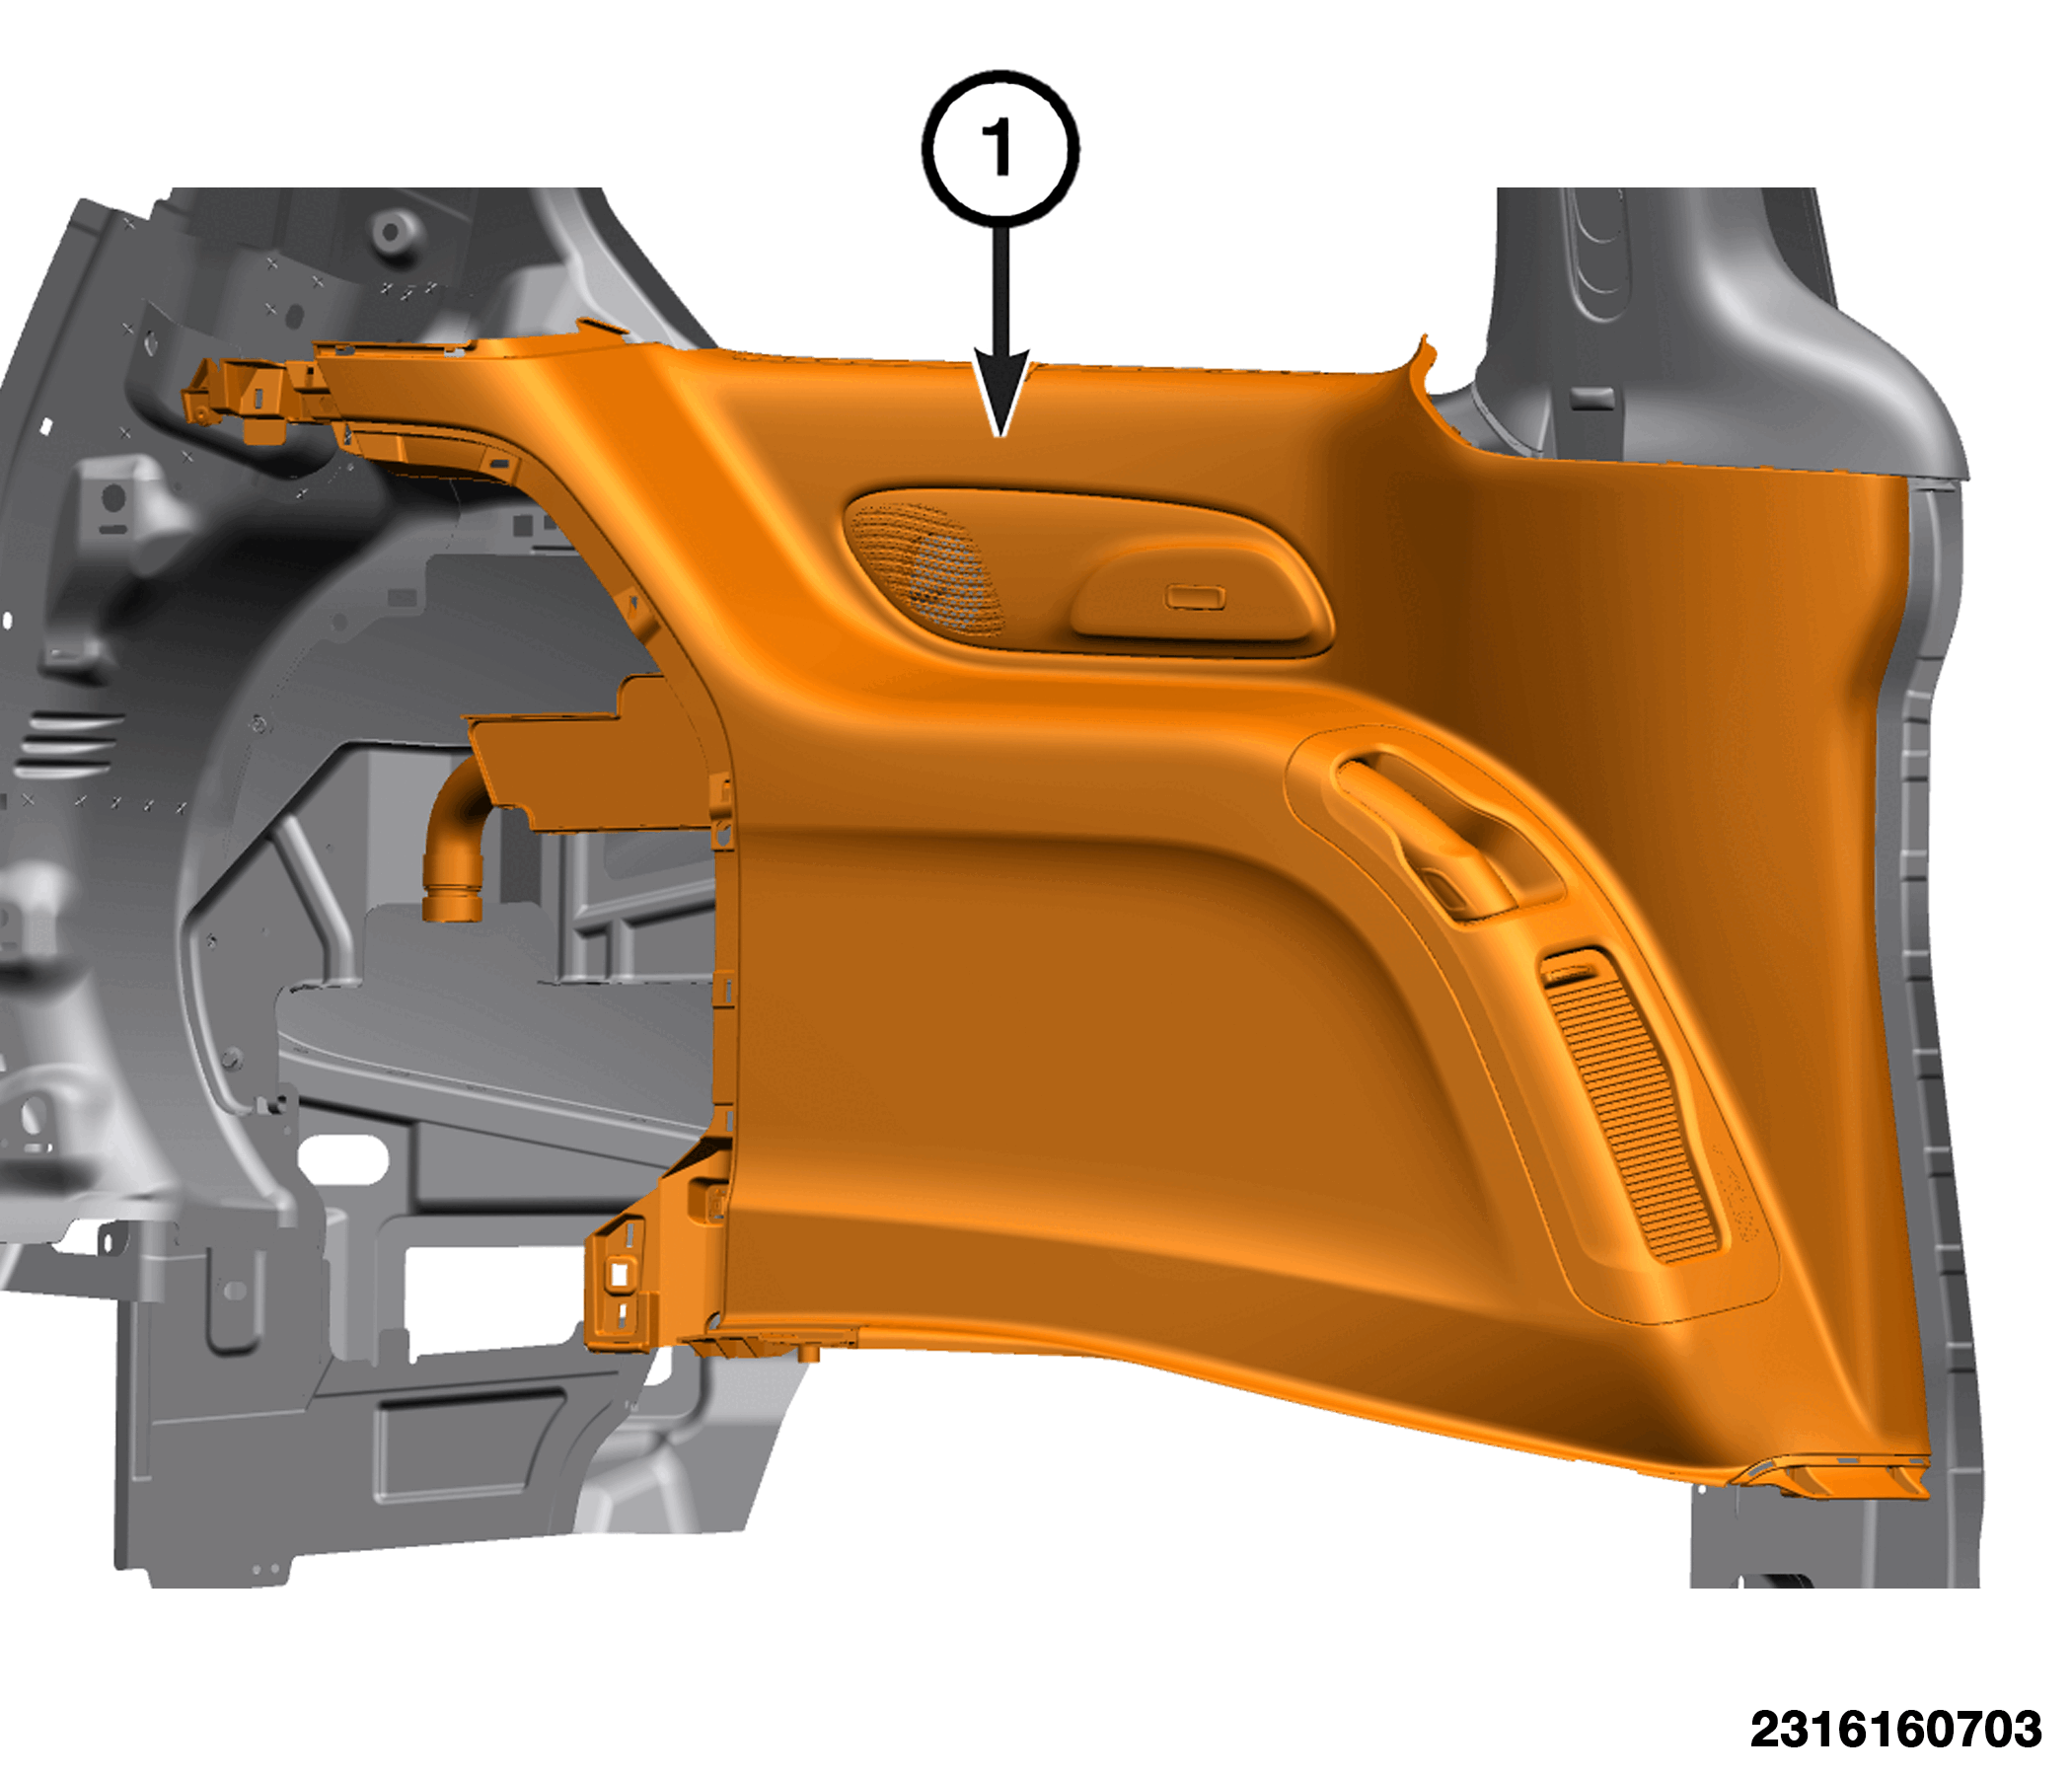
- Using a trim stick or equivalent, carefully release the top of the quarter trim panel (1) from the C-pillar trim panel.
- Using a trim stick or equivalent, starting at the top and release the retainers at the front edge the quarter trim panel.
- Using a trim stick or equivalent, release the fasteners at the lower edge the quarter trim panel.
- Pull straight away at the center of the quarter trim panel and partial remove.
- If necessary, disconnect the wire harness connectors and remove the quarter trim panel.