Selector Lever Cable - 6F35: Installation
- 1.
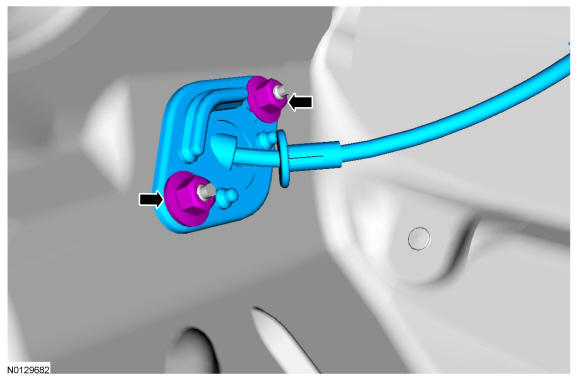
Install the selector lever cable, position the grommet in place and install the 2 nuts.- 1.
Tighten to 7 Nm (62 lb-in).
- 1.
- 4.
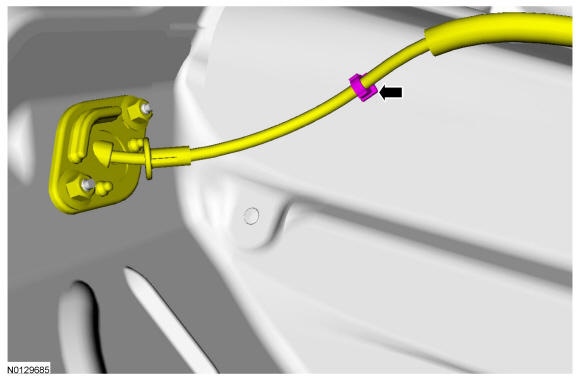
Install the new plastic selector lever cable retaining clip on the selector lever cable and install the selector lever cable into the selector lever cable bracket.
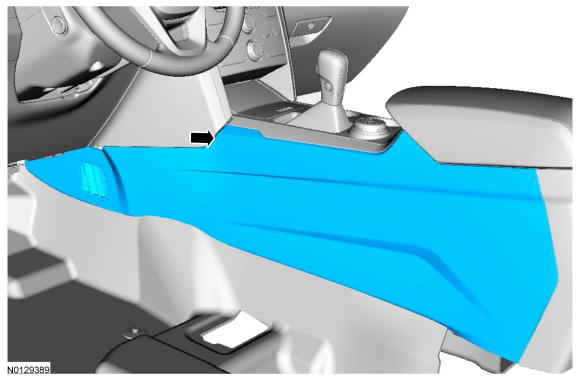
- 5.NOTE: The console upper finish panel is removed for clarity.
Connect the selector lever cable to the selector lever.
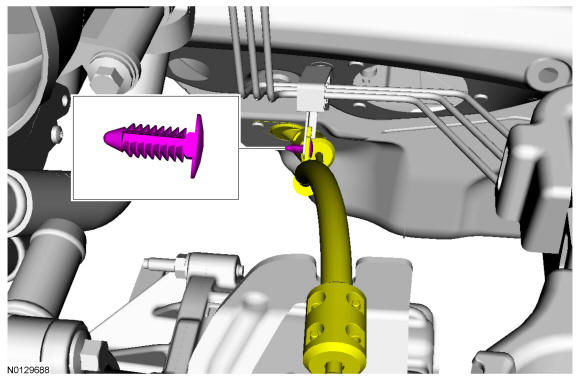
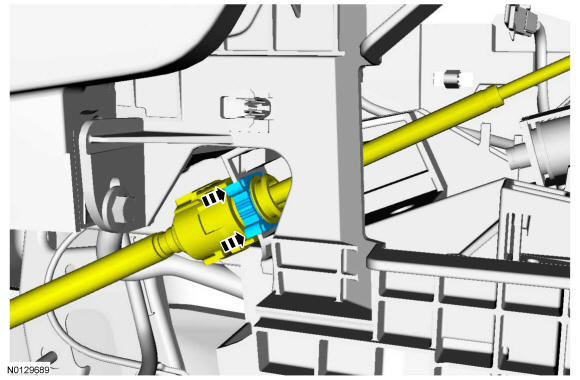
- 10.NOTE: To prevent selector lever cable damage, do not apply force to the selector lever cable between the manual control lever and the selector lever cable bracket.NOTE: When installing the selector lever cable, make sure that the selector lever cable locking tabs are locked in place. Press the selector lever cable into the selector lever cable bracket and listen for the selector lever cable retainer to click in place. Pull back on the selector lever cable to make sure that the selector lever is locked into the selector lever cable bracket.
Install the selector lever cable in the selector lever cable bracket.
- 11.
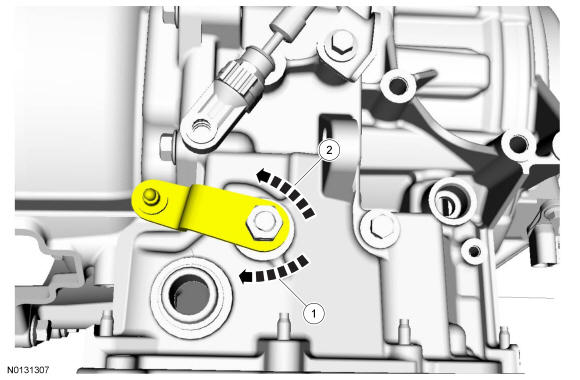
Place the manual control lever in DRIVE.- 1.
Rotate the manual control lever clockwise until it stops.
- 2.
Rotate the manual control lever counterclockwise 3 detent stops.
- 1.
- 12.
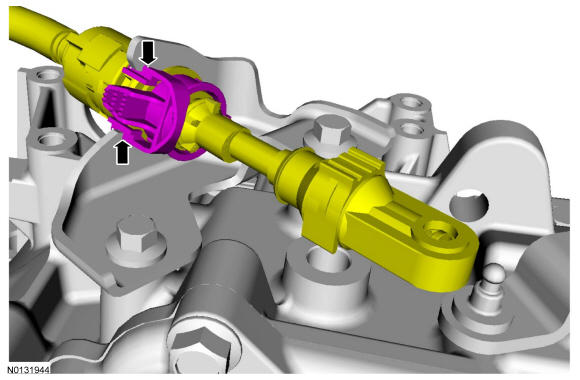
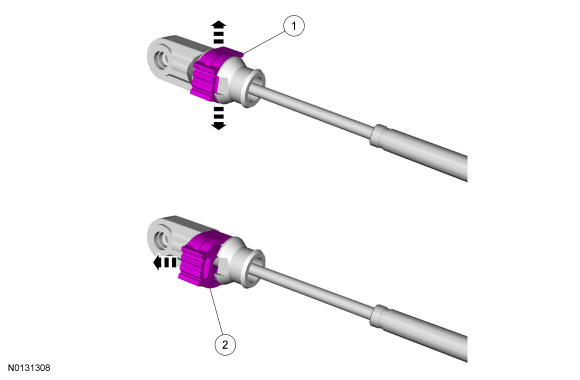
Release the selector lever cable adjuster lock.- 1.
Carefully pry outward the adjuster lock tabs.
- 2.
While holding the adjuster lock tabs outward, slide the lock to unlock the selector lever cable.
- 1.
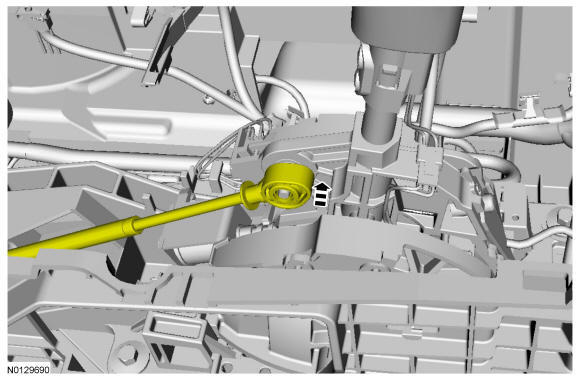
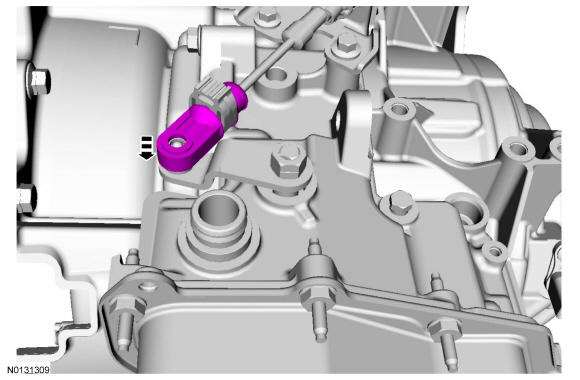
- 13.NOTE: To prevent selector lever cable damage, do not apply force to the selector lever cable between the manual control lever and the selector lever cable bracket.NOTE: Make sure that the selector lever cable end is correctly installed onto the manual control lever ball stud by pulling back on the selector lever cable end.
With the adjuster locking tab released, connect the selector lever cable end to the manual control lever.
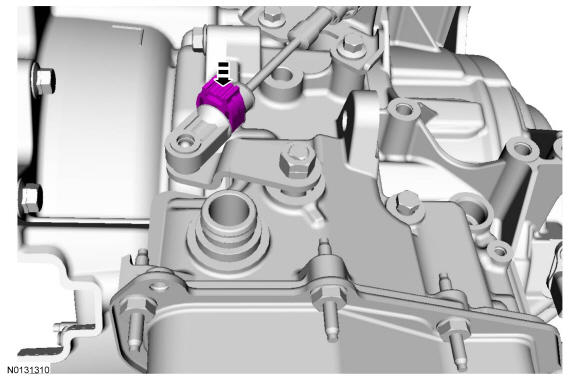
- 14.NOTE: After locking the adjuster, pull back on the adjuster to make sure it is securely installed.
Slide the release tab back to lock the adjuster.
- 15.
Install the ACL assembly. REFER to Intake Air Distribution and Filtering .